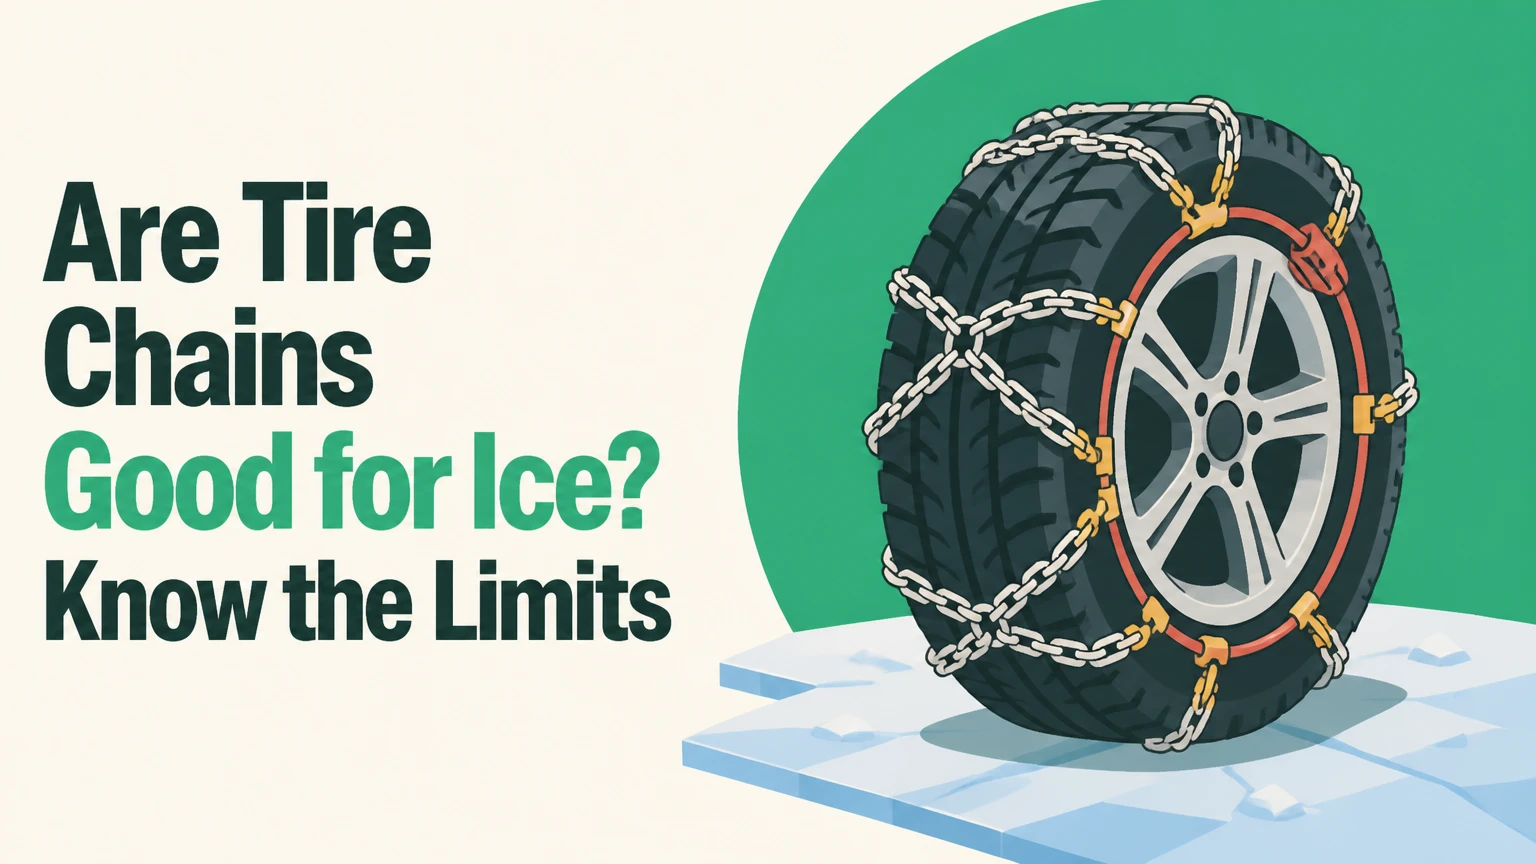
Tire chains are highly effective on packed snow and hard, textured ice because metal links create mechanical edges that bite below the tire’s contact surface. They can improve acceleration, cornering, and braking, but they do not make glare ice safe, and they can reduce control or damage the vehicle when installed incorrectly or driven on bare pavement.
Key facts at a glance
Tire chains usually provide more low-speed traction on packed ice than all-season tires.
Chains work best below approximately 30 mph, with slower speeds appropriate for glare ice, curves, and downhill travel.
Chains must fit the exact tire size and vehicle clearance; Class S products typically address wheel-well clearance near 37 mm.
Front-wheel-drive vehicles normally use chains on the front axle, while AWD and 4WD vehicles require the owner’s manual’s specific arrangement.
Winter tires provide more consistent everyday grip, steering response, and ride quality than chains on roads that remain paved and cleared.
A loose or broken chain can damage brake hoses, suspension parts, wheel wells, alloy wheels, and ABS wiring within seconds.
Are Tire Chains Good for Ice?
Tire chains are good for ice when the surface is packed, rough, or covered by snow, and when the vehicle travels slowly enough for the chain links to maintain contact. Chains are less dependable on smooth black ice because the tire can still slide between links, especially during braking or steering.
Chains concentrate tire load onto small metal contact points. Those points can fracture surface ice, press into frozen snow, and reduce wheel spin where a conventional tread compound has little texture to engage. The benefit is greatest during uphill starts and low-speed travel through ruts.
A chain is not a substitute for cautious driving. Smooth ice can overwhelm chains, winter tires, four-wheel drive, and electronic traction control because none can create friction where the road surface provides almost no texture. Reduce speed before curves, leave several times the normal following distance, and avoid abrupt throttle, braking, or steering inputs.
Do chains work on black ice?
Chains may improve traction on black ice, but they do not reliably prevent sliding on a thin, smooth ice film. Black ice often forms where bridges, shaded pavement, elevated ramps, and exposed road sections cool faster than surrounding pavement.
The safest response is to reduce speed before reaching suspected ice, keep the steering nearly straight, and make gentle inputs. If the vehicle begins sliding, release the accelerator, look and steer toward the intended path, and avoid stamping on the brake. Anti-lock brakes can preserve steering ability, but ABS cannot create additional road friction.
Why Do Chains Grip Frozen Roads?
Tire chains grip frozen roads by adding rigid edges between the rubber tread and the surface. The edges deform or penetrate textured ice and packed snow, while the chain’s cross-links limit tread slip during acceleration and braking.
A tire’s grip depends on the available friction and the normal load pressing it against the road. Chains do not multiply vehicle weight, but they change the contact geometry by placing small steel surfaces at the road interface. This mechanism differs from winter tires, which use softer rubber, dense siping, and tread patterns that remain flexible in low temperatures.
Chains also improve traction unevenly around the tire. The chain has gaps between links, so grip changes as each cross-chain reaches the road. That produces vibration and can make a vehicle feel less settled than it does on winter tires.
The common claim that centrifugal force “cleans” chains should not guide a purchase decision. Wheel rotation may eject loose snow, but compacted snow and ice can remain lodged in the links, and chain grip still depends on tension, surface texture, tire pressure, and speed.
Which Type Works Best on Ice?
Square-link or diamond-pattern alloy chains generally provide the strongest low-speed bite on packed ice, while cable chains trade some traction for lower profile and easier storage. Fabric socks can help on light snow and short emergency movements, but they usually wear faster and provide less mechanical penetration on hard ice.
| Traction device | Typical price per vehicle set | Typical speed limit | Packed-ice behavior | Clearance and durability |
|---|---|---|---|---|
| Square-link steel chains | $80-$220 | 25-30 mph | Deepest metal bite and strongest climbing traction | Requires the most clearance; 3-5 seasons with limited asphalt |
| Diamond-pattern alloy chains | $120-$350 | 25-30 mph | More continuous contact and smoother lateral grip | Often faster to fit; 3-5 seasons with proper use |
| Steel cable chains | $40-$110 | 25-30 mph | Moderate bite with lower contact height | Useful for Class S fitments; commonly 1-3 seasons |
| Fabric snow socks | $60-$150 | 20-30 mph | Surface friction and moisture absorption, limited penetration | Low clearance demand; often one season after asphalt exposure |
| Automatic quick-fit chains | $300-$800 or more | 25-30 mph | Steel contact with rapid deployment | Vehicle-specific hardware; commonly 3-6 seasons |
Manufacturers publish the controlling speed limit, so the package instructions override any typical range. A chain rated for 30 mph is not a recommendation to travel at 30 mph on glare ice.
Are cable chains as good as metal chains?
Cable chains are usually less effective than conventional link chains on thick, rutted ice because their smaller contact elements create less aggressive penetration. Cable chains remain useful where a vehicle has restricted wheel-well space or where a local chain-control requirement accepts them.
Cable products can also be easier to install and lighter to carry. Their lower profile reduces the chance of contacting struts or fender liners, but it does not remove the need to check the vehicle manual. A cable that fits one wheel and tire combination may be unsafe on another with the same nominal diameter.
How Do Chains Compare With Winter Tires?
Winter tires are the better primary solution for frequent icy driving, while tire chains are the stronger temporary traction aid for severe packed snow, steep grades, and regulated chain zones. Chains deliver more aggressive low-speed bite, but winter tires provide better steering consistency and daily road manners.
| Criterion | All-season tires | Winter tires | Studded winter tires | Tire chains |
|---|---|---|---|---|
| Cold-weather rubber flexibility | Reduced below 45°F | Designed below 45°F | Designed below 45°F | Depends on the underlying tire |
| Smooth-ice performance | Low | Moderate | Highest among tires on permitted roads | High at low speed, surface dependent |
| Packed-snow climbing | Low to moderate | High | High | Very high at low speed |
| Dry-pavement handling | Quietest of these options | Acceptable, faster wear in warmth | More noise and road wear | Severe vibration and roughness |
| Typical purchase cost | $500-$1,000 per set | $600-$1,200 per set | $700-$1,400 per set | $40-$800 per vehicle set |
| Installation time | None after mounting | None after mounting | None after mounting | 5-30 minutes per installation |
| Suitable sustained speed | Normal road limit | Normal road limit | Normal road limit where legal | Usually 25-30 mph maximum |
The National Highway Traffic Safety Administration recommends winter tires for winter conditions and advises drivers to follow tire-chain instructions and local requirements. The practical distinction is simple: winter tires improve every mile of a cold season, whereas chains are specialized equipment for a limited segment of difficult road.
A chain-equipped all-season tire can still brake poorly on smooth ice. The chain changes the contact interface, but the tire’s rubber and the driver’s speed remain part of the stopping equation.
When Are Chains Legally Required?
Chains are legally required when a transportation agency activates a chain or traction-control restriction, usually on mountain routes during heavy snow, freezing rain, or unsafe road conditions. The exact requirement varies by road, vehicle class, axle configuration, and jurisdiction, so roadside signs and the relevant transportation department control.
California chain controls, for example, can require chains, approved traction devices, or snow tires depending on the posted level and vehicle type. Caltrans distinguishes between different levels of restriction, and enforcement officers can turn vehicles around before a driver reaches the worst section.
Colorado’s Passenger Vehicle Traction Law can require approved traction equipment or adequate winter tires during severe weather on designated highways. Oregon and Washington also publish route-specific chain requirements through their transportation departments.
Carry chains before entering a controlled route. A checkpoint may require drivers to install them even when pavement near the checkpoint appears dry, because conditions farther uphill can change rapidly.
Which Axle Gets the Chains?
Front-wheel-drive vehicles normally receive chains on the front tires, and rear-wheel-drive vehicles normally receive them on the rear tires. AWD and 4WD vehicles have no universal axle rule, so the owner’s manual and the chain manufacturer’s fitment guide take priority over generic advice.
| Drivetrain | Usual chain location | Why the location matters | Manual check required |
|---|---|---|---|
| Front-wheel drive | Both front tires | Front tires steer, brake, and provide drive torque | Yes, for clearance and approved devices |
| Rear-wheel drive | Both rear tires | Rear tires provide propulsion and reduce drive-wheel spin | Yes, especially on pickups |
| Full-time AWD | Manual-specified axle or all four | Differentials and wheel-speed systems vary | Always |
| Selectable 4WD | Manual-specified axle or all four | Transfer-case and clearance limits vary | Always |
| Dual-tire rear axle | Vehicle-specific commercial arrangement | Inner and outer spacing can restrict chains | Always |
Installing chains on only the non-driven axle usually provides little propulsion benefit and can create an uneven handling balance. Some manufacturers prohibit chains entirely on particular axles because the inner sidewall may contact suspension or steering components.
What Should Low-Clearance Drivers Use?
Low-clearance drivers should choose a vehicle-approved Class S chain, cable, or textile device only after confirming the exact tire size and wheel-well restrictions. Class S generally refers to tire chains designed for restricted clearance, with a commonly cited minimum of about 1.46 inches, or 37 mm, between the tire sidewall and nearby components.
The 37 mm figure is not a universal permission slip. A manufacturer may require less or more clearance, prohibit chains on a particular axle, or approve only a named low-profile product. Check the owner’s manual, tire placard, wheel size, suspension configuration, and chain application guide.
Measure clearance with the steering straight and turned fully in both directions when the vehicle is stationary. Inspect the inner sidewall, strut, brake hose, sway-bar link, and fender liner. Never assume that a product marketed as “universal” fits safely.
TPMS sensors and alloy wheels also need consideration. Properly fitted chains should not touch the valve stem, sensor, wheel face, or brake hardware.
How Do You Install Chains Correctly?
Most passenger-vehicle chains take 15-30 minutes for a first installation and 5-10 minutes after practice. The decisive factor is correct fit and tension, not speed, because a chain that appears tight while parked can settle and develop dangerous slack after the first few wheel rotations.
Before you start
- Location: Use a pullout away from moving traffic, preferably on level ground.
- Equipment: Carry the matched chain set, gloves, waterproof layer, kneeling mat, flashlight, reflective vest, and rubber tensioners if specified.
- Vehicle setup: Park, apply the parking brake, turn off the engine, and consult the owner’s manual.
- Fitment: Confirm the tire sidewall size, drive axle, clearance class, and approved chain style.
- Condition: Lay each chain flat and remove twists, crossed side cables, and damaged links.
Step 1: Position the chains
Lay the chains behind or in front of the drive tires according to the product design, with the fastening hardware accessible. Keep the cross-links centered across the tread rather than gathered on one shoulder.
Success checkpoint: Each cross-link lies flat and the side chain follows the tire circumference.
Common mistake: Installing a chain with one cross-link twisted under the tread.
Step 2: Drape the chain over the tire
Center the chain over the top half of the tire, then tuck both sides down evenly. Keep hooks facing outward or in the direction specified by the manufacturer; exposed hook ends should not point into the rubber.
Success checkpoint: Similar chain length hangs on both sides of the tire.
Common mistake: Leaving the inner connector inaccessible behind the wheel.
Step 3: Connect the inner side
Reach behind the tire and connect the inner side chain at the closest tight position that does not distort the chain. Some products use a cable, while others use a hook or lever.
Success checkpoint: The inner side sits close to the sidewall without touching the wheel or suspension.
Common mistake: Choosing a loose inner setting and trying to correct all slack with the outer fastener.
Step 4: Connect and tension the outer side
Fasten the outer connector, then use the supplied cam locks, lever, ratchet, or elastic tensioners. Tensioners should pull slack evenly around the wheel rather than concentrate force at one point.
Success checkpoint: No cross-link can be pulled far away from the tread by hand.
Common mistake: Replacing a required tensioning system with improvised rope or wire.
Step 5: Move and retighten
Drive approximately 10-20 feet, stop in a safe location, apply the parking brake, and inspect every chain. Reconnect or tighten any section that has settled.
Success checkpoint: The chain remains centered after the tire rotates through one full revolution.
Common mistake: Skipping the retightening check because the initial installation looked neat.
Step 6: Drive slowly and monitor
Begin at walking speed, then increase only enough to maintain control. Stop immediately if you hear rhythmic slapping, metallic scraping, or repeated impact in the wheel well.
Success checkpoint: Vibration remains consistent and no chain contacts the vehicle.
Common mistake: Continuing because the vehicle still moves forward.
How Fast Can You Drive?
Most tire-chain manufacturers specify a maximum of 30 mph, and many recommend lower speeds when the road is icy, curved, uneven, or partially bare. Speed should match the surface, not merely the number printed on the package.
| Driving condition | Practical speed ceiling | Main reason | Required driver response |
|---|---|---|---|
| Deep, unbroken snow | 15-25 mph | Prevents chain impact and wheel spin | Maintain gentle throttle |
| Textured packed ice | 10-20 mph | Preserves steering and braking margin | Increase following distance |
| Glare or black ice | 5-15 mph | Chains cannot guarantee surface penetration | Avoid abrupt inputs |
| Mixed snow and bare pavement | 10-20 mph | Reduces chain and tire damage | Remove chains when permitted |
| Bare dry asphalt | 0 mph with chains fitted | Rapid wear and possible vehicle damage | Pull over and remove them |
The “under 30 mph” rule is a ceiling, not a target. Tire chains can fail from excessive speed, wheel spin, incorrect tension, or a damaged link even when the vehicle remains below 30 mph.
How Much Do Chains Cost and Last?
Passenger-car traction devices typically cost $40-$220 for cable or standard steel chains, $60-$150 for fabric socks, and $300-$800 or more for premium automatic systems. Standard steel chains can last three to five winters when used mainly on snow, while asphalt exposure can reduce useful life to a single season.
| Product category | Typical purchase price | First-install time | Typical service life | Main cost risk |
|---|---|---|---|---|
| Cable chains | $40-$110 | 10-25 minutes | 1-3 winters | Cable or roller wear |
| Standard link chains | $80-$220 | 15-30 minutes | 3-5 winters | Link damage from asphalt |
| Premium alloy chains | $120-$350 | 5-15 minutes | 3-6 winters | Higher replacement price |
| Fabric socks | $60-$150 | 3-10 minutes | 1 winter with asphalt use | Abrasion and tearing |
| Automatic systems | $300-$800+ | Under 5 minutes after fitting | 3-6 winters | Vehicle-specific hardware |
Prices are typical retail ranges rather than fixed market prices. Exact cost depends on tire dimensions, chain pattern, vehicle clearance, tensioning method, and whether the set covers two or four tires.
Inspect chains before every trip. Replace a chain when links are cracked, hooks are bent, cables are frayed, tensioners are broken, or wear has reduced the link material enough to change its shape.
When Can Chains Cause Damage?
Tire chains can cause damage when they are loose, incorrectly sized, installed on a prohibited axle, driven on dry pavement, or used above their rated speed. A loose chain can strike the wheel well repeatedly and reach a brake hose, ABS sensor wire, strut, or suspension arm within a short distance.
Stop immediately when you hear a repeating slap or metal-on-metal strike. Park safely, switch off the engine, and inspect the inside and outside of the tire before moving again.
Common damage modes include:
- Brake-line contact: A loose inner section can abrade or sever a flexible hose.
- ABS sensor damage: A displaced chain can strike wiring near the hub.
- Fender-liner damage: Repeated impacts can tear plastic and expose wiring.
- Wheel damage: Hooks or poorly oriented connectors can scratch alloy wheels.
- Tire damage: A broken link can cut the sidewall or tread shoulder.
- Drivetrain stress: Excessive wheel spin can create abrupt load changes in AWD and 4WD systems.
Do not use a damaged chain temporarily. Remove it, fit the spare matched chain if available, or stop driving until the vehicle can be moved safely.
Are Fabric Socks a Real Alternative?
Fabric snow socks are a practical alternative for light snow, emergency use, and vehicles that cannot accept metal chains, but they are not equivalent to steel links on hard, rutted ice. Textile fibers improve surface contact and can absorb a thin moisture layer, yet they lack the rigid edges that create mechanical bite.
Socks are quieter and easier to install. They also reduce the risk of contact with tight suspension components, although vehicle and road authorities may not accept every textile product as a legal chain substitute.
Use socks only on snow-covered or icy pavement and remove them before extended travel on bare asphalt. Follow the manufacturer’s speed limit, which commonly ranges from 20-30 mph. A sock that tears can lose traction abruptly, so inspect it after every stop.
Studded winter tires are a better alternative for drivers who encounter ice throughout an entire season and can legally use studs. Stud restrictions vary by jurisdiction because studs damage pavement, so check local transportation rules before purchase.
What Mistakes Reduce Ice Traction?
The most damaging mistake is treating chains as permission to drive normally. Chains improve the tire-road interface, but they do not preserve normal stopping distance, steering response, or cornering speed on ice.
Avoid these failure patterns:
- Flooring the accelerator after a stop: Wheel spin can dig holes, shock the chain, and leave the vehicle more stuck.
- Braking late for a turn: Chains cannot compensate for excess entry speed on smooth ice.
- Using only one chain: A mismatched or incomplete set creates uneven traction and handling.
- Skipping a practice fit: First-time installation on a dark roadside is slow and error-prone.
- Ignoring the owner’s manual: AWD systems and low-clearance vehicles often have specific restrictions.
- Leaving chains on after the control zone: Bare pavement destroys links and can damage the vehicle.
- Driving with traction control misunderstood: Some vehicles need traction control enabled, while others require a temporary off setting to escape deep snow; the manual controls.
A useful practitioner rule is to practice installation twice in daylight before winter travel. Time the second attempt, then add gloves and low visibility to the estimate.
Which Drivers Should Choose Chains?
Drivers should choose chains when they face occasional severe snow, a steep controlled mountain route, or unplowed private roads and can confirm safe fitment. Drivers who commute daily on icy paved roads generally need winter tires first, with chains carried for exceptional conditions.
| Driver situation | Primary choice | Secondary equipment | Reason |
|---|---|---|---|
| Occasional mountain-pass traveler | Class S cables or alloy chains | Gloves and kneeling mat | Compact storage and legal-route flexibility |
| Rural driver on unplowed roads | Square-link or diamond chains | Winter tires | Strong low-speed bite and durability |
| Luxury sedan with restricted clearance | Approved textile device or premium Class S chain | Manufacturer fitment guide | Lower contact risk near suspension |
| Daily icy-road commuter | Four winter tires | Chains for severe controls | Consistent steering and braking |
| AWD crossover owner | Manual-approved device | Four matching winter tires | Axle restrictions vary by model |
| Emergency roadside kit user | Fabric socks or cables | Rechargeable flashlight | Fast temporary deployment |
Chains are a poor choice when the vehicle has no approved product, when the route is mostly dry pavement, or when the driver cannot safely install and inspect them. In those situations, delaying travel is safer than forcing an incompatible device onto the tire.
The Bottom Line
Are tire chains good for ice? Yes, tire chains are among the most effective temporary traction devices for low-speed travel on packed snow and textured ice, particularly on steep grades and chain-control routes. They are not a guarantee against sliding on smooth black ice, and they are not a replacement for winter tires on daily cold-weather roads.
Choose an approved chain or cable that matches the tire size, axle, and clearance specification. Install it before the steep or icy section, retighten it after 10-20 feet, stay below the manufacturer’s speed limit, and remove it when bare pavement returns.
Frequently Asked Questions
Do tire chains help with braking on ice?
Tire chains can improve braking traction when their links engage textured ice or packed snow, but stopping distances remain highly dependent on speed, tire condition, road texture, and vehicle weight. Chains do not guarantee shorter stops on smooth black ice. Brake early, keep ABS unobstructed, and increase following distance substantially.
Should chains go on all four tires?
Some vehicles benefit from chains on all four tires, but the correct arrangement depends on drivetrain, clearance, and manufacturer instructions. FWD and RWD vehicles commonly use two chains on the drive axle. AWD and 4WD vehicles can require all four or a specific axle, so the owner’s manual is authoritative.
Can I use tire chains with all-season tires?
You can use tire chains with all-season tires when the vehicle manual and chain manufacturer approve the combination. Inspect tread depth, sidewall condition, and tire size first. Chains add mechanical traction, but they do not give an all-season tire the cold-weather rubber compound or steering behavior of a dedicated winter tire.
Do chains work better than four-wheel drive on ice?
Four-wheel drive helps a vehicle apply power to more wheels, while chains improve the contact between each equipped tire and the road. Chains can provide more useful low-speed traction than unchained AWD on packed ice, but neither system guarantees braking or cornering control. Tires and speed remain decisive.
Can I leave chains on for a long highway trip?
You should not leave conventional tire chains on for a long trip over bare or mostly dry highway. Asphalt rapidly wears metal links and fabric devices, increases vibration, and raises the chance of a broken chain striking vehicle components. Remove chains when conditions and local rules permit, then store them dry.
What should I carry with tire chains?
Carry waterproof gloves, a kneeling mat, reflective clothing, a flashlight, spare tensioners, and the installation instructions. A small tarp keeps hardware out of slush, while a dedicated storage bag prevents wet chains from corroding inside the vehicle. Practice fitting the exact set to the exact tires before departure.


