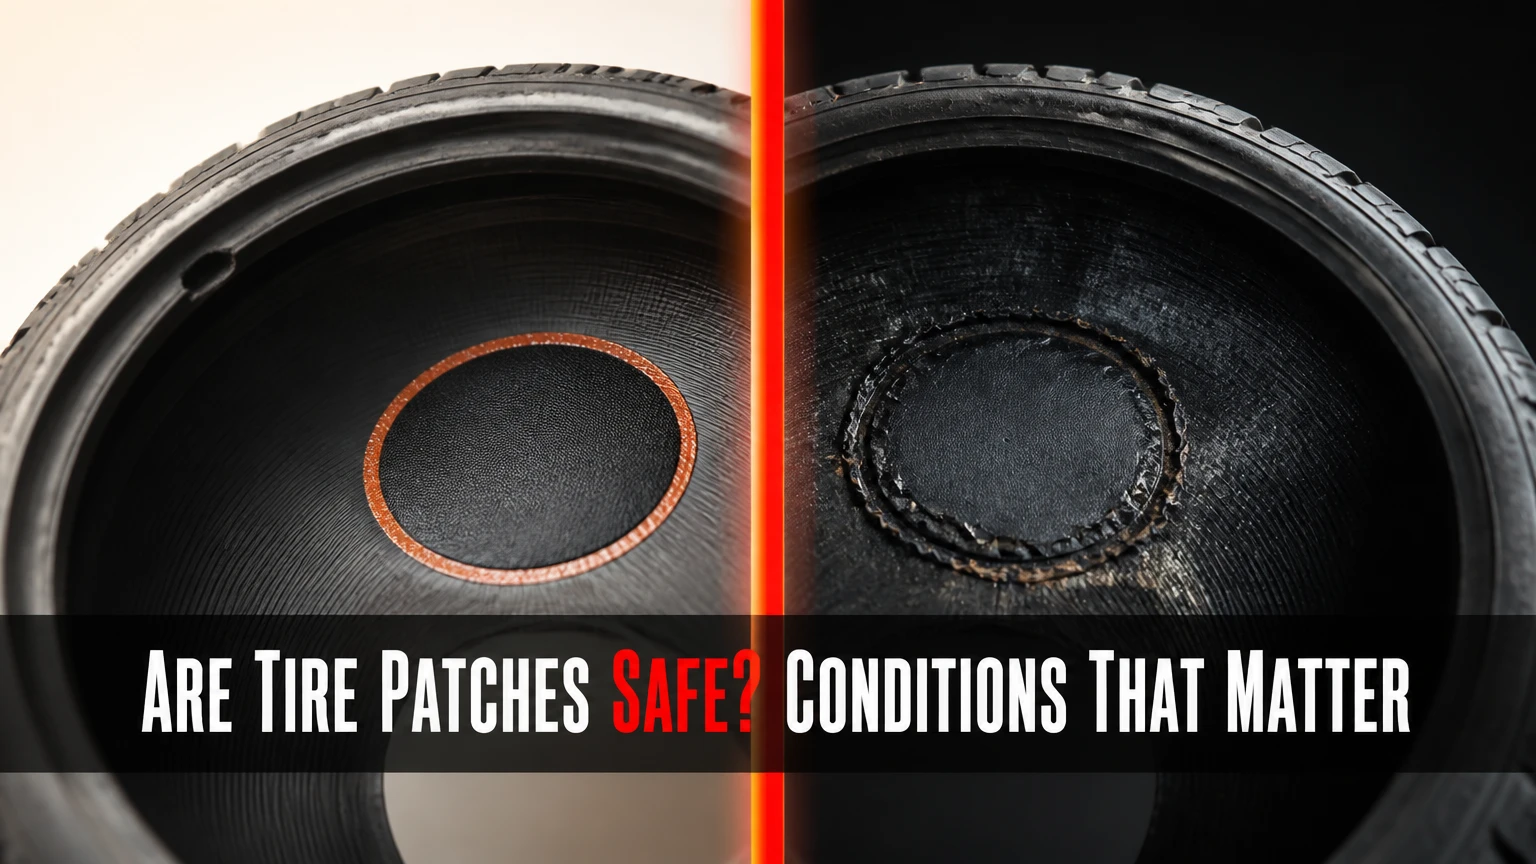
A tire patch can be safe and durable when a trained technician removes the tire, inspects the casing, and installs an approved combination repair within the tire maker’s limits. A flat patch applied from the inside or an exterior string plug alone is not the same repair, and neither corrects hidden damage from driving underinflated.
Key Facts at a Glance
- A professional tire repair normally requires removing the tire from the wheel for internal inspection.
- The commonly cited maximum puncture diameter for passenger tires is 1/4 inch, or 6 mm, in the repairable tread area.
- Sidewall and shoulder injuries are generally non-repairable because those areas flex and generate heat differently from the crown.
- A combination patch-plug seals the injury channel and the inner liner; a flat patch seals only the inner surface.
- No repair restores a tire damaged by a run-flat condition, belt separation, exposed cords, bulging, or severe aging.
- Repair cost is typically $15-$50, and a professional repair commonly takes 30-45 minutes, although prices and timing vary by shop and tire type.
What Does a Tire Patch Actually Mean?
A tire patch is a rubber repair unit bonded to the inside of a dismounted tire. A proper puncture repair also fills the hole through the tread with a rubber stem, so industry guidance usually describes the finished repair as a combination patch-plug rather than a patch alone.
The U.S. Tire Manufacturers Association, or USTMA, and the Tire Industry Association, or TIA, both emphasize internal inspection and a repair that seals the injury channel. USTMA’s consumer guidance states that “a tire must be removed from the wheel for a complete inspection” before repair. That requirement matters because an exterior inspection cannot reveal liner abrasion, broken cords, or heat damage caused by low pressure.
A patch does not make a worn or structurally damaged tire new. It repairs a qualifying puncture in an otherwise serviceable casing. The tire’s age, tread depth, previous repairs, load rating, speed rating, and manufacturer restrictions remain relevant after the repair.
Patch, Plug, and Patch-Plug Definitions
| Repair method | Installation direction | What it seals | Normal use |
|---|---|---|---|
| Flat internal patch | Inside only | Inner liner surface | Not generally accepted as a complete puncture repair |
| Exterior string plug | Outside only | Injury channel partially | Temporary roadside mobility |
| Two-piece repair | Inside and through injury | Channel plus inner liner | Professional repair when the injury requires separate components |
| One-piece patch-plug | Inside and through injury | Channel plus inner liner | Common professional repair for qualifying tread punctures |
| Liquid sealant | Through valve stem | Coats interior temporarily | Emergency inflation or mobility, subject to product limits |
How Does a Professional Tire Repair Work?
A professional tire repair begins with a complete inspection, not with inserting rubber into the visible hole. The technician removes the tire, identifies the injury, checks for internal damage, prepares the channel and liner, installs the repair unit, and verifies pressure retention after remounting.
The foreign object is removed and the injury is prepared according to the repair-material instructions. Preparation may include probing, cleaning, and controlled reaming to remove loose rubber and create a suitable channel. The inner liner is then cleaned and lightly textured in the repair area, because contamination, excessive buffing, or an improperly dried cement layer can cause adhesion failure.
The repair unit is installed from the inside, and a roller presses the patch against the liner to remove trapped air. The exposed stem is trimmed, the repaired area is sealed where required, and the tire is remounted. The wheel is inflated to the vehicle manufacturer’s recommended pressure, checked for leaks, and usually balanced if the tire was removed.
Professional Repair Checkpoints
- Identify the injury: Record the puncture’s diameter, angle, and position relative to the tread center and shoulder.
- Remove and inspect: Look for inner-liner abrasion, wrinkles, exposed cords, belt separation, and evidence of driving without pressure.
- Prepare the injury: Follow the repair manufacturer’s specified tools and preparation method.
- Prepare the liner: Clean and texture only the prescribed area, avoiding deep gouges or excessive material removal.
- Install the combination unit: Seat the patch fully and fill the injury channel without leaving voids.
- Finish the repair: Stitch the patch, trim the stem, and apply liner sealer when specified.
- Test the assembly: Reinflate, inspect for leaks, reinstall, and balance the wheel as needed.
The success checkpoint is stable pressure after testing and a visibly sound liner with no bulges, exposed cords, or separation around the repair.
Which Tire Punctures Can Be Repaired?
A tire puncture is generally repairable only when it is small, straight enough for the repair material, located in the crown tread, and found before internal damage develops. A typical passenger-tire limit is a 1/4-inch, or 6-mm, injury diameter, but the tire manufacturer’s instructions and the repair product’s limits control the decision.
The “crown” is the central tread area that contacts the road. The shoulder is the curved transition from tread to sidewall. Even a small injury near that transition can move into a high-flex region as the tire rolls, making a permanent repair inappropriate.
Repairability by Injury
| Injury condition | Typical decision | Main reason |
|---|---|---|
| 3-mm nail in central tread | Repair may qualify | Small crown puncture with limited casing injury |
| 6-mm screw hole in central tread | Borderline maximum | At the common passenger-tire limit, requiring measurement |
| Cut extending into shoulder | Replace tire | Shoulder flex creates heat and repair stress |
| Sidewall puncture or gouge | Replace tire | Sidewall structure cannot safely receive a normal puncture repair |
| Two adjacent holes 10 mm apart | Usually replace or specialist evaluation | Damage may overlap and weaken the casing |
| Puncture after driving several miles flat | Often replace | Low-pressure operation may wrinkle or abrade the inner liner |
A puncture that entered at an angle is not automatically unsafe, but the repair technician must confirm that the injury can be properly cleaned and filled. The overview’s universal 25-degree rule should not be treated as a national requirement. Repair-unit manufacturers specify acceptable injury shapes and angles, and a technician should follow those instructions.
When Should a Tire Not Be Patched?
A tire should not be patched when the injury affects the sidewall or shoulder, exceeds the repair material’s size limit, overlaps another repair, or reveals internal structural damage. Replacement is also the safer choice when the tire has reached its wear indicators, has a severe age-related condition, or cannot meet the vehicle’s required specification.
Driving on a flat or severely underinflated tire is one of the most important hidden risks. The sidewall may fold against itself and create heat, scuffing, and wrinkles inside the casing. A tire can look acceptable externally while its inner liner has been permanently damaged.
Non-Repairable Conditions
| Condition | Inspection finding | Recommended action |
|---|---|---|
| Sidewall injury | Cut, puncture, or bulge outside tread crown | Replace |
| Shoulder injury | Damage in curved tread-to-sidewall area | Replace |
| Run-flat damage | Wrinkles, abrasion, or loose rubber inside | Replace |
| Belt or cord damage | Exposed, broken, or separated reinforcement | Replace |
| Excessive wear | Tread at or near 2/32 inch, 1.6 mm | Replace |
| Old or weather-cracked casing | Cracks, ozone damage, or hardened rubber | Replace or obtain manufacturer guidance |
| Oversized injury | Diameter beyond repair-unit specification | Replace |
| Overlapping repair | New injury intersects previous repair | Replace or specialist evaluation |
The 2/32-inch tread figure is a widely used minimum legal threshold for passenger tires in the United States, but it is not a universal safety rule for every jurisdiction or driving condition. Wet-weather performance can decline well before that depth, and a tire at the wear bars is a poor repair candidate.
Is a Patch Safer Than a Plug?
A professional combination patch-plug is safer as a permanent repair than an exterior plug alone because it seals both the injury channel and the inner liner while allowing internal inspection. An exterior string plug can provide temporary mobility, but it cannot prove that the casing is undamaged or create the same internal seal.
| Decision factor | Combination patch-plug | Exterior string plug | Flat patch only | Liquid sealant |
|---|---|---|---|---|
| Tire dismounted | Yes | No | Yes | No |
| Inner inspection | Possible | No | Possible | No |
| Channel sealed | Yes | Partially, product-dependent | No | Temporarily |
| Permanent suitability | Commonly accepted when qualified | Generally not accepted | Not complete alone | Not a permanent repair |
| Typical cost | $15-$50 | $5-$10 DIY kit | $10-$30, where offered | $8-$20 product |
| Main limitation | Requires equipment and trained labor | Hidden damage remains | Injury channel remains exposed | May affect TPMS and cleanup |
A plug is reasonable as an emergency measure when a driver is stopped in an unsafe location and must reach a tire shop. The driver should follow the kit instructions, limit speed according to the product and shop guidance, and obtain a proper inspection immediately. A temporary plug should not become a reason to postpone the final repair.
Does a Tire Patch Preserve Speed Rating and Load Capacity?
A repaired tire does not automatically retain its original speed rating or load capacity in every application. The tire manufacturer, repair-material maker, vehicle manufacturer, and local regulations may impose restrictions, especially for high-speed, run-flat, commercial, or performance tires.
For an ordinary passenger tire with a qualifying crown puncture, a professional repair may remain in service for the tire’s usable tread life. That statement does not mean the patch grants a new service life. Tire age, heat cycles, load, inflation pressure, and the tire’s original condition still determine safety.
Performance drivers should consult the tire maker before repairing a W-, Y-, or Z-rated tire. Track use adds repeated high-temperature cornering loads that ordinary road-repair guidance may not address. A repaired tire used on a track can have a different risk profile from the same tire used for commuting.
How Much Does a Tire Patch Cost and How Long Does It Take?
A professional puncture repair typically costs $15-$50 and takes about 30-45 minutes, based on common U.S. tire-shop pricing rather than a regulated national fee. The price can be zero under a tire retailer’s road-hazard policy, or higher for specialty tires, run-flat designs, foam-lined EV tires, or mobile service.
| Service situation | Typical price | Typical time | Variables |
|---|---|---|---|
| Standard passenger tire at independent shop | $15-$35 | 30-45 minutes | Local labor and balancing policy |
| Tire-chain repair | $20-$50 | 30-60 minutes | Inspection, warranty, and appointment volume |
| Road-hazard coverage | $0-$25 | 30-60 minutes | Policy terms and proof of purchase |
| Mobile roadside repair | $50-$120 total | 45-90 minutes | Travel charge and location |
| Replacement for non-repairable tire | $100-$400 or more | 45-120 minutes | Tire size, brand, mounting, and alignment |
A shop may decline a free repair if the tire fails inspection. That decision protects the repair warranty and prevents a puncture service from concealing casing damage.
Can an EV or Run-Flat Tire Be Patched?
An EV tire can sometimes be repaired, but acoustic foam, high vehicle weight, and manufacturer-specific instructions require additional care. A run-flat tire may also be repairable under some manufacturer policies, yet many makers prohibit repair after the tire has operated without adequate pressure.
Electric vehicles can place higher loads on tires because of battery mass and strong motor torque. Some tires include an interior sound-absorbing foam layer that must be removed locally and reattached or handled according to the tire maker’s procedure. A shop unfamiliar with foam-lined tires can damage the liner while exposing the repair area.
For run-flat tires, the key question is not only where the puncture occurred. The technician must determine whether the tire traveled while deflated and whether the casing shows heat or compression damage. The owner’s manual and tire sidewall instructions take priority over generic plug-versus-patch advice.
Can a Tire Be Patched Twice?
A tire can sometimes receive more than one repair, but there is no universal U.S. rule that permits exactly two repairs or requires 16 inches of spacing. Tire manufacturers and repair organizations may set different limits involving total repairs, spacing, injury size, and whether repairs overlap.
The overview’s fixed “maximum of two repairs” should therefore be treated as a possible policy, not a universal legal standard. A technician should map every existing repair, inspect the entire casing, and reject any tire where repairs overlap, sit too close together, or compromise the tread’s structural area.
The practical rule is conservative: one qualifying crown puncture is the simplest repair case. Multiple injuries increase uncertainty, and replacement often becomes the better financial decision when the tire is older, partly worn, or inexpensive compared with labor and risk.
What Problems Can Appear After a Tire Repair?
A properly repaired tire should maintain pressure and run without a new vibration, bulge, or unusual noise. Pressure loss, tread distortion, or vibration after service requires prompt inspection because the cause may be a leak at the repair, a bead problem, wheel damage, imbalance, or a pre-existing casing failure.
Check cold pressure with an accurate gauge after the vehicle has been parked for several hours. Compare the reading with the driver-door placard, not the maximum pressure molded into the tire sidewall.
Post-Repair Symptoms and Responses
| Symptom | Possible cause | Immediate response |
|---|---|---|
| Repeated loss above 1 psi per week | Repair leak, valve leak, or bead leak | Stop high-speed driving and request a leak test |
| Steering-wheel vibration | Lost balance weight, bent wheel, or tire distortion | Return for balance and casing inspection |
| Bulge or bubble | Impact or internal cord failure | Do not drive; replace tire |
| New rhythmic thumping | Separated belt or irregular casing | Stop and arrange inspection |
| TPMS warning | Low pressure or sensor issue | Check pressure immediately and inspect repair |
| Air loss after sealant use | Sealant limitation or unsealed puncture | Avoid relying on sealant; seek tire service |
A slow leak is not proof that the patch failed. Valve stems, bead seats, wheels, and a second puncture can produce the same symptom. A technician should test the entire wheel and tire assembly.
Should You Patch the Tire or Replace It?
Repair the tire only when the puncture is within the crown, within the repair unit’s size limits, and free of run-flat, belt, bead, age, or tread problems. Replace the tire when the injury reaches the shoulder or sidewall, the tire was driven flat, or the casing cannot pass internal inspection.
Use this decision sequence:
- Check pressure: If the tire is rapidly losing air, use the spare or roadside assistance rather than continuing to drive.
- Locate the injury: Crown punctures may qualify; shoulder and sidewall injuries normally do not.
- Measure the damage: Do not estimate a large cut by eye. The shop must measure the actual casing injury.
- Check driving history: Tell the technician how far and how fast the tire traveled underinflated.
- Check tire condition: Inspect tread depth, age, cracking, bulges, previous repairs, and uneven wear.
- Confirm specifications: Ask about the tire maker’s policy, speed category, run-flat status, EV foam, and warranty.
- Request the finished repair: For a permanent repair, ask whether the tire will be removed and repaired internally with a combination unit.
Expert Inspection Rules That Prevent Mistakes
- A visible nail does not identify the full injury. Removing a screw can expose a long, angled channel that is larger than the entry point.
- A new repair cannot reverse water or heat damage. If a puncture remained open while the tire was driven, corrosion or belt separation may already exist.
- Balancing is not the same as structural approval. A tire can balance normally and still contain a dangerous internal defect.
- Sealant changes the inspection process. Tell the shop if aerosol or liquid sealant was used because it can obscure leaks, affect TPMS components, and require cleanup.
- Pressure determines heat. Underinflation increases sidewall flex and temperature, so correct inflation protects a repaired tire more effectively than simply adding a larger patch.
How Can You Protect a Repaired Tire?
Maintain the cold pressure listed on the vehicle placard, inspect pressure monthly and before long trips, and rotate tires according to the vehicle manufacturer’s schedule. Avoid carrying loads beyond the vehicle’s axle or tire limits because extra load increases casing temperature and deflection.
Record the repair location, date, tire mileage, and shop recommendation. If the vehicle has a direct TPMS sensor, confirm that the sensor reports the repaired tire correctly after service. Check the repaired tread visually during every pressure check, but do not use visual inspection as a substitute for professional evaluation.
Tire age also matters. The DOT identification code on the sidewall identifies the manufacturing week and year, while the tire manufacturer provides the applicable replacement guidance. A patch may remain bonded while the surrounding rubber ages, cracks, or loses resilience.
Frequently Asked Questions
Can I drive immediately after a tire patch?
A professionally installed repair is normally ready for road use after the technician completes the leak test, inflation, and any required balancing. Confirm the correct cold pressure before leaving, then monitor the tire over the next several days. Do not drive on it if pressure drops, a bulge appears, or vibration begins.
Is a tire patch safe at highway speed?
A qualifying professional repair may be safe at normal highway speed when the tire manufacturer permits repair and the casing passes inspection. A repair does not authorize speeds above the tire’s rating, and an exterior plug alone should not be treated as equivalent to an internal combination repair.
Can I patch a tire with a nail still in it?
A tire should not be patched with the nail still installed. The technician must remove the object, measure and inspect the actual injury, and prepare the channel for the repair unit. Leaving the object in place prevents a reliable assessment of the hole’s direction and size.
Can tire sealant replace a patch?
Liquid tire sealant cannot replace a professional puncture repair. Sealant may provide temporary mobility for a product-approved injury, but it can interfere with TPMS components, contaminate the tire interior, and conceal additional damage. Tell the tire shop which sealant was used before service.
How long will a professionally patched tire last?
A qualifying professional repair can remain in service for the tire’s remaining usable life, but the repair does not extend the tire’s age or tread life. Replacement becomes necessary when the tire reaches its wear limit, develops cracking or structural damage, or reaches the manufacturer’s age recommendation.
What should I ask the tire shop before approving a repair?
Ask whether the tire will be removed for internal inspection, whether the injury is in the repairable crown area, which repair unit will be installed, and whether the tire maker permits that repair. Also ask about the repair warranty, pressure check, balancing, and any restrictions for speed, load, EV, or run-flat use.
The Bottom Line
Are tire patches safe? Yes, a properly inspected and professionally installed combination patch-plug can be a safe permanent repair for a small crown puncture in an otherwise healthy tire. The answer changes when the injury reaches the shoulder or sidewall, the tire was driven underinflated, the casing is worn or aged, or the repair method seals only one side of the injury.


