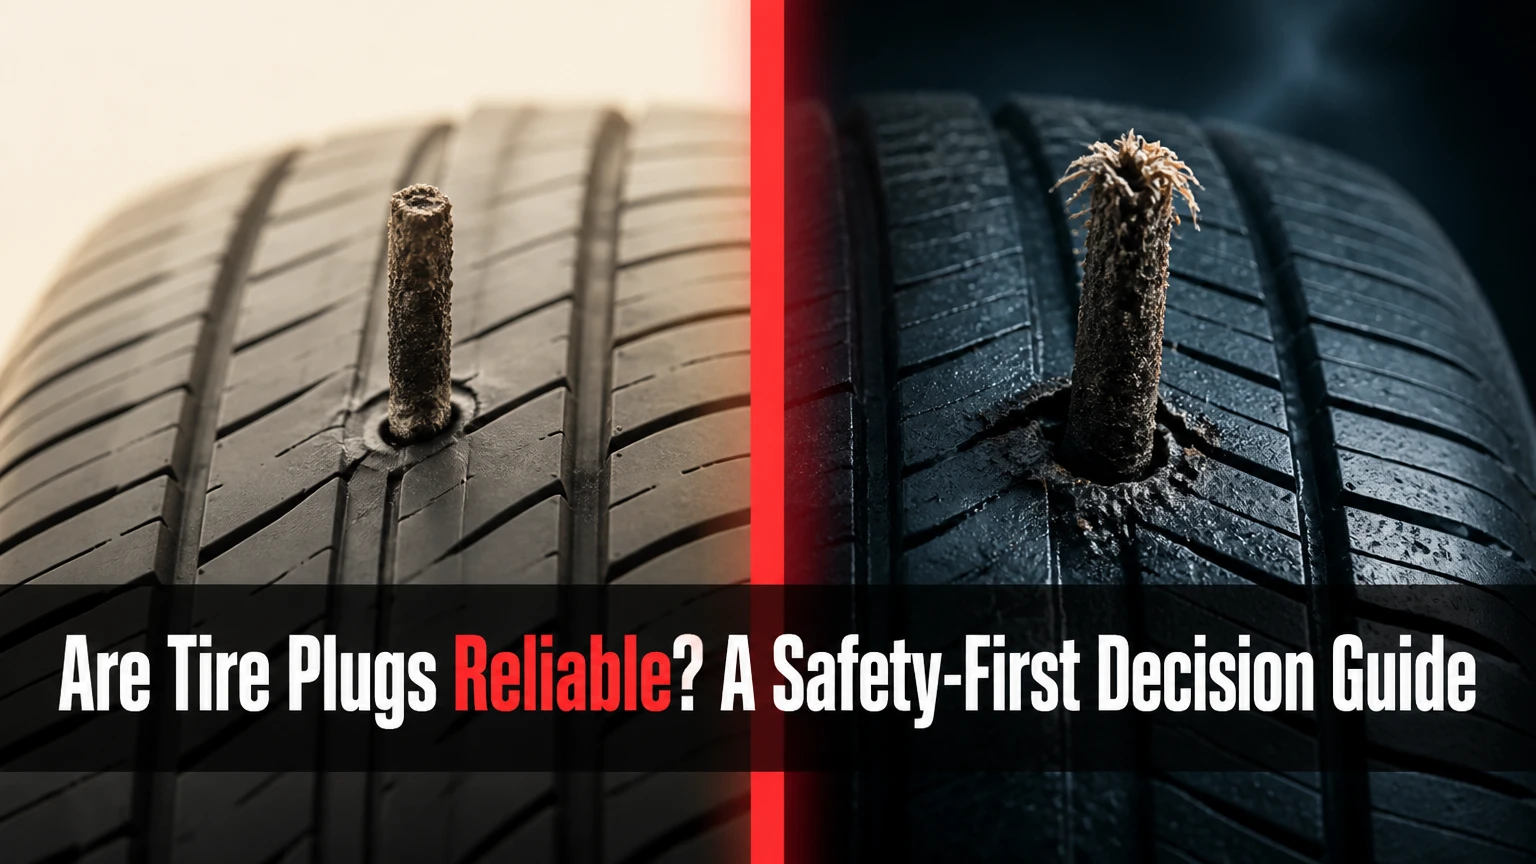
Tire plugs are reliable for temporarily sealing a small puncture in the central tread, provided the tire has not been driven flat and the plug is installed correctly. A rope plug is not a verified permanent repair: a tire shop should remove the tire, inspect its interior, and install a manufacturer-compliant plug-patch or replace the tire.
Key Facts at a Glance
A repairable puncture is typically no larger than 1/4 inch, or 6 mm, in the tread’s repairable zone.
Sidewall and shoulder punctures should not be repaired with an external plug.
A rope plug can stop an emergency leak, but it does not reveal internal damage caused by underinflation.
The U.S. Tire Manufacturers Association recommends an internal inspection and a combination repair, commonly called a plug-patch.
There is no universal safe mileage for every external plug; heat, speed, load, installation, and tire condition determine risk.
A plug that leaks, pulls out, or causes vibration requires immediate inspection rather than another outside repair.
What Is a Tire Plug?
A tire plug is a rubber or elastomer insert pushed into a puncture in a tubeless tire to reduce or stop air loss. Most roadside kits contain sticky rope plugs and a rasp-and-insertion tool, while professional systems may use molded mushroom plugs or combination repairs installed after the tire is removed from the wheel.
A rope plug fills the puncture channel from the outside. Tire pressure presses the material against the hole, and the plug’s tacky compound helps it grip the surrounding rubber. Heat and pressure may improve sealing, but the process should not be described as guaranteed vulcanization: a roadside plug does not recreate the tire manufacturer’s original cured structure.
The central limitation is visibility. An external plug seals the hole without showing whether the tire’s inner liner, carcass, or steel belts were damaged while the tire was underinflated. That hidden condition is why a successful leak stop does not prove that the tire is safe for continued high-speed use.
How Does a Tire Plug Work?
A tire plug works by occupying the puncture path and creating friction and compression against the tread rubber. A correctly sized plug can stop air escaping through a nail or screw hole, but its reliability depends on a clean channel, suitable location, correct insertion angle, and adequate remaining tire structure.
The repair tool first roughens and cleans the hole. The insertion tool then places the plug across the channel, leaving a small amount outside the tread for trimming. Once the tire is inflated, internal air pressure pushes the plug outward against the puncture walls.
Rubber cement can help some rope plugs seal, but cement cannot compensate for an oversized hole, wet contamination, a damaged belt package, or a puncture near the shoulder. Driving heat may soften and conform the plug, yet heat also increases stress in a marginal repair. That trade-off makes a plug more useful as a controlled emergency measure than as a universal lifetime repair.
The Internal Damage Problem
Driving on a significantly deflated tire can create abrasion and folding damage inside the sidewall, even when the exterior looks normal. A tire that was driven several miles while flat deserves an internal inspection before any repair decision.
A tire pressure monitoring system warning does not identify the cause of air loss. Check the puncture, valve stem, wheel rim, and inner liner. TPMS sensors typically sit inside the tire and can be damaged by careless tool insertion or tire removal, not by the rubber plug itself.
Are Tire Plugs Reliable at Highway Speed?
A properly installed plug in a small, central tread puncture may hold at highway speed, but no external rope plug should be treated as a guaranteed highway repair. Highway speed increases casing flex, temperature, centrifugal force, and the consequences of sudden air loss, so the safest plan is to drive slowly and directly to a qualified tire shop.
The U.S. Tire Manufacturers Association, or USTMA, states in its tire repair materials that a proper repair requires removing the tire for internal inspection. USTMA’s repair procedure uses a combination unit that fills the puncture and seals the inner liner. Tire Industry Association training also teaches that puncture repairs must account for the tire’s internal condition, not only the visible hole.
A short trip at moderate speed to a repair facility is different from commuting for weeks on a rope plug. Avoid heavy loads, towing, sustained high speed, and long motorway journeys until the tire has received an internal inspection.
Who Should Treat an External Plug as an Emergency Measure?
| Driver situation | External plug decision | Safer next action | Main risk |
|---|---|---|---|
| City driver, 3 miles to a shop | Acceptable as a temporary measure if tread puncture is small | Maintain correct pressure and drive slowly | Plug leakage |
| Highway trip, 150 miles remaining | Poor choice for continued travel | Use a spare or call roadside assistance | Heat-related failure |
| Loaded pickup towing a trailer | Do not rely on a rope plug | Install the spare or obtain professional repair | High tire load |
| Off-road vehicle on a trail | Useful trail-side recovery tool | Repair internally before road travel | Repeated flexing and contamination |
| Motorcycle with a tubeless tire | Emergency use only, with speed reduced | Follow tire maker’s motorcycle guidance | Smaller contact patch and handling change |
Where Can a Tire Be Plugged?
A tire plug is generally limited to a small puncture in the central tread area, away from the shoulder and sidewall. A puncture in the sidewall, bead, or shoulder should normally lead to tire replacement because those areas flex heavily and carry structural loads that an external plug cannot safely restore.
The often-cited 1/4-inch, or 6 mm, maximum is a useful industry rule of thumb, not permission to enlarge every hole to that size. Tire makers can impose stricter limits, and a puncture that is irregular, torn, angled, or close to another repair may be unrepairable even when its opening measures less than 6 mm.
Do not judge location from the visible entry point alone. A nail can travel diagonally through the tread and exit near the shoulder. The tire must be inspected from inside to identify the complete injury path.
| Puncture location | Typical repair status | Why the location matters | Recommended decision |
|---|---|---|---|
| Center tread grooves | Often repairable | Lower flex and thicker repairable rubber | Internal inspection and plug-patch |
| Outer tread near shoulder | Usually excluded | High flex at the transition zone | Replace unless tire maker permits repair |
| Sidewall | Not repairable | Sidewall carries repeated bending stress | Replace the tire |
| Bead or rim seat | Not repaired with a rope plug | Air seal depends on wheel interface | Inspect wheel and replace or repair tire |
| Two punctures 2 inches apart | Case-dependent | Injuries may overlap internally | Professional inspection |
| Hole over 1/4 inch | Commonly unrepairable | Excessive material removal weakens the casing | Replace the tire |
Which Tire Repair Method Is Strongest?
A professional plug-patch is generally the strongest repair option for an eligible puncture because its stem fills the injury while its patch seals the inner liner. An external rope plug is faster and cheaper, while an inside-only patch improves the liner seal but leaves the puncture channel open to contamination.
The repair industry’s preferred procedure begins with removing the tire from the rim. The technician inspects the inner liner for abrasion, bulges, separation, and evidence of run-flat driving, then prepares the injury and installs a combination repair appropriate for the tire.
An inside patch alone is not automatically equivalent to a plug-patch. Water, road salt, and debris can enter the puncture from the outside and reach belts or casing materials. The integrated stem in a combination repair closes that channel.
| Repair method | Tire removal | Typical time | Typical US cost | Best use |
|---|---|---|---|---|
| Sticky rope plug | No | 10-20 minutes | $5-$25 DIY | Roadside emergency |
| Mushroom plug | Usually no for some kits | 10-30 minutes | $10-$40 | Controlled temporary repair |
| Inside patch | Yes | 30-60 minutes | $20-$40 | Eligible puncture after inspection |
| Plug-patch combination | Yes | 30-60 minutes | $25-$60 | Preferred permanent repair |
| Tire replacement | Yes | 30-90 minutes | $100-$400+ | Structural or excluded damage |
Prices are typical US consumer ranges, not fixed national rates. Tire size, vehicle type, local labor, run-flat construction, wheel access, and shop policy can change the final price.
What Does a Plug-Patch Actually Repair?
The plug stem seals the puncture channel, while the patch bonds to the prepared inner liner. The two components address different failure paths, which is why a combination unit offers more complete protection than a rope inserted only from the tread surface.
A plug-patch is still not suitable for sidewall damage, a severely enlarged injury, exposed or cut cords, a tire driven flat, or a tire below its legal or manufacturer tread limit. “Permanent repair” means an accepted repair for an eligible injury, not a guarantee that an old tire will last indefinitely.
Can You Install a Plug Yourself?
You can install a rope plug yourself when the tire is tubeless, the puncture is visible and central in the tread, the tire has not been driven flat, and you can inflate and monitor it immediately. A typical kit takes 10-20 minutes, but DIY installation should get the vehicle to a tire shop rather than end the repair process.
Before starting, gather pliers, a plug kit, an air compressor, pressure gauge, soapy water, side cutters, and eye protection. Confirm the tire’s recommended cold pressure from the vehicle placard, not the maximum pressure molded into the sidewall.
Before You Start
| Requirement | Typical specification | Why it matters |
|---|---|---|
| Puncture size | 1/4 inch or less | Larger injuries may exceed repair limits |
| Tread position | At least 1/2 inch from shoulder transition | Shoulder flex can eject the plug |
| Inflation source | 12-volt compressor, 100-150 psi rating | A hand pump may be impractical |
| Leak test | Soapy water for 60 seconds | Bubbles reveal continued air loss |
| Monitoring | Check pressure before each trip | A plug can lose air gradually |
Step 1: Locate and Mark the Injury
Inflate the tire enough to expose the leak, then apply soapy water to the tread, valve, and bead. Mark the exact bubbling point before removing the nail or screw because the entry hole can become difficult to see afterward.
You will know the location is confirmed when bubbles form repeatedly from one channel. A common mistake is assuming the largest visible object caused the leak while ignoring a second puncture.
Step 2: Remove the Object and Follow Its Angle
Use pliers to remove the nail or screw, noting the direction in which it entered. Do not force a plug at a sharply different angle because the rasp can create a second channel through the tread.
You will know the object is out when the tire begins losing air through one identifiable opening. If the injury is a tear rather than a round puncture, stop and arrange professional inspection.
Step 3: Prepare the Puncture Conservatively
Insert the rasp through the original path and work it several times to clean loose rubber. Do not repeatedly enlarge the hole to make insertion easier because excess rasping removes supporting tread material.
You will know the channel is prepared when the tool follows the original path and the plug can enter with firm resistance. A dry, dirty, or oversized channel is a common cause of early leakage.
Step 4: Insert the Plug
Thread the rope plug through the insertion tool so equal lengths extend from the eyelet, then push it into the channel while preserving the original angle. Leave approximately 1/4-1/2 inch above the tread surface.
You will know the plug is seated when the tool reaches its insertion stop and the cord remains in the rubber as you pull the tool straight out. Twisting aggressively during extraction can pull the plug back out.
Step 5: Inflate, Trim, and Test
Inflate the tire to the vehicle placard pressure, trim excess cord close to the tread, and apply soapy water again. Wait at least 60 seconds while watching for a growing bubble.
You will know the emergency seal is holding when no new bubbles form and the pressure remains stable. A plug that leaks after proper preparation needs internal inspection, not repeated plugging.
Step 6: Drive Only to Repair
Recheck pressure before moving and drive directly to a repair facility at reduced speed. Stop if the TPMS warning returns, the vehicle pulls, vibration develops, or the repair area bubbles.
The plug has completed an emergency task when it gets the vehicle safely to inspection. It has not automatically earned lifetime service.
How Long Is a Tire Plug Reliable?
A tire plug has no universal safe lifespan or mileage limit. Some external plugs remain sealed for months, while others leak within minutes; the result depends on puncture geometry, preparation, rubber condition, speed, heat, load, and whether the tire suffered internal damage.
The frequently repeated “50-100 miles” figure is not a manufacturer-backed lifespan for every rope plug. It is better treated as a conservative emergency travel suggestion when a driver must reach a repair shop, not as a warranty or maintenance interval.
A professionally installed plug-patch can remain in service for the life of an otherwise sound tire, subject to the tire maker’s instructions and normal wear. A repaired tire still requires pressure checks, tread inspection, and replacement when it reaches the legal or manufacturer wear limit.
Why Does a Plug Leak or Come Out?
A tire plug leaks when the puncture is too large, the channel was contaminated, the insertion angle was wrong, the cord was damaged, or the tire has internal structural damage. A plug can also fail because the puncture lies in a flexing shoulder zone or because the tire was driven underinflated.
Use soapy water to identify the leak source. Bubbles at the tread may indicate the plug, while bubbles at the bead or valve point to a different fault. A plug that physically backs out suggests inadequate grip, excessive hole size, unsuitable location, or an incorrect installation.
| Symptom | Likely cause | Immediate action | Do not do |
|---|---|---|---|
| Bubbles around plug | Poor preparation or oversized hole | Inflate only enough to reach a shop | Add another plug beside it |
| Pressure falls overnight | Slow leak or internal damage | Measure cold pressure and inspect | Assume normal permeation |
| Plug protrudes or ejects | Shoulder injury or weak grip | Fit the spare or tow | Continue at highway speed |
| Steering vibration | Tire damage, imbalance, or wheel issue | Stop and inspect promptly | Balance blindly without inspection |
| TPMS warning returns | Ongoing leak or low pressure | Recheck with a gauge | Rely only on the dashboard |
| Visible bulge | Casing or sidewall failure | Replace the tire | Plug the bulge |
A second external plug may temporarily reduce air loss but can obscure the original injury and make later professional repair less reliable. Shops may reject a tire with multiple overlapping repairs.
When Should You Replace the Tire?
Replace the tire instead of plugging it when damage affects the sidewall, shoulder, bead, or cords; the puncture exceeds the maker’s limit; the tire was driven flat; or the tread is too worn for safe remaining service. Replacement is also appropriate when a professional inspection finds inner-liner abrasion, belt separation, or a bulge.
Run-flat tires deserve special caution. A run-flat can travel a limited distance after pressure loss, but the manufacturer’s distance and speed limits vary, and internal damage may be invisible from the outside. A tire shop must inspect the carcass before deciding whether repair is allowed.
Replace rather than repair in these situations:
- The tire has a sidewall cut, bulge, exposed cord, or bead damage.
- The puncture lies in the shoulder transition or outside the repairable zone.
- The tire was driven with little or no air.
- Tread depth is near the replacement limit or wear bars.
- The casing has a previous unsafe repair or overlapping punctures.
- The tire has age-related cracking, severe weathering, or separation.
- The wheel is bent, cracked, or unable to hold the bead seal.
How Much Does Tire Repair Cost?
A DIY rope plug kit typically costs $5-$25, while a professional plug-patch commonly costs about $25-$60 in the United States. A replacement passenger tire and installation typically cost $100-$400 or more, depending on size, brand, performance category, taxes, disposal, and balancing.
A shop may charge less for a standard passenger tire and more for a run-flat, low-profile performance tire, commercial truck tire, or vehicle requiring special equipment. Some retailers inspect and repair eligible punctures at no charge for tires purchased under a road-hazard plan.
| Decision factor | Rope plug | Plug-patch | Replacement |
|---|---|---|---|
| Up-front material cost | $5-$25 | $25-$60 | $100-$400+ |
| Typical installation time | 10-20 minutes | 30-60 minutes | 30-90 minutes |
| Internal inspection | No | Yes | Yes, during removal |
| Sidewall suitability | No | No | Yes, by replacing tire |
| Long-term status | Emergency measure | Accepted repair if eligible | Full new tire |
| Air-loss risk source | Plug and injury channel | Repair unit and tire condition | Valve, bead, or new damage |
What Are the Alternatives to a Tire Plug?
The main alternatives are a spare tire, roadside assistance, a professional plug-patch, or tire sealant approved for the specific vehicle and tire. A spare provides the most predictable short-term mobility when the tire is unsafe to repair, while sealant can complicate later cleaning and may not suit every TPMS or tire design.
A mobility kit with sealant and an inflator can work for small tread punctures, but sealant does not repair sidewall damage and may not seal a large or irregular injury. Follow the vehicle manufacturer’s instructions, including maximum speed and distance after using the kit.
For a stranded driver, the decision order is straightforward:
- Install the spare if the puncture is outside the tread repair zone.
- Call roadside assistance when no safe spare or inflation method exists.
- Use a rope plug only for a small, central tread puncture as a controlled route to repair.
- Obtain a plug-patch after inspection if the tire remains eligible.
- Replace the tire when structural damage or manufacturer limits rule out repair.
Which Driver Should Choose Which Repair?
Daily Commuter
A commuter can carry a rope-plug kit, pressure gauge, and 12-volt inflator for emergencies. The kit is valuable because it may prevent a tow after a small tread puncture, but the repair should end at the tire shop, not at the roadside.
Highway Traveler
A highway traveler should prefer a spare tire or roadside assistance over continuing a long journey on an external plug. Heat and sustained speed magnify the consequences of a marginal seal, particularly when the tire carries luggage or passengers.
Off-Road Driver
An off-road driver benefits from a robust plug kit because trail punctures often occur far from service facilities. Low-speed trail use can justify temporary plugging, but road-speed travel after the trail still requires internal inspection and a proper repair.
Performance or Heavy-Load Driver
A performance-car owner, trailer user, or heavily loaded pickup driver should avoid relying on a rope plug. Higher cornering forces, load, heat, and speed reduce the margin available when the injury or repair is imperfect.
FAQ
Can an AWD vehicle use a tire with a plug?
An AWD vehicle can use a properly repaired tire only when its manufacturer permits the remaining tread-depth and circumference difference. Some AWD systems require closely matched tire diameters, so replacing one tire may require shaving a new tire or replacing an axle set. Check the owner’s manual and drivetrain service guidance before fitting a repaired or new tire.
Can a tire plug damage the TPMS sensor?
A tire plug installed from the tread usually does not contact the TPMS sensor, which sits inside the tire near the valve. Tire removal can damage the sensor if tools are used carelessly, so tell the technician that the vehicle has direct TPMS. Recalibrate or relearn the system if the vehicle manufacturer requires it.
Can you plug a tire twice?
A tire can sometimes receive more than one professional repair when the injuries are separate, small, and within the manufacturer’s repair zone. Two external plugs should not be treated as equivalent. Multiple repairs close together, overlapping injury paths, or a plug near the shoulder can justify replacement.
Is a tire patch safer than a tire plug?
An internal plug-patch is generally safer and more complete than an external rope plug because it seals both the puncture channel and inner liner after inspection. An inside-only patch is not automatically better if the channel remains open to moisture and debris. The correct repair depends on injury size, location, and internal condition.
Can I drive with a nail in my tire?
A nail may slow air loss, but driving on it can enlarge the channel and cause pressure loss. Check pressure without removing the nail, install the spare or inflate only as needed to reach a nearby tire shop, and avoid high speed. A technician should determine whether the nail caused a repairable puncture.
Should I plug a tire that keeps losing air?
Do not keep adding external plugs to a tire that continues losing air. Repeated pressure loss can indicate a bead leak, valve fault, hidden puncture, belt damage, or an improperly prepared repair. Stop driving if pressure falls rapidly, then have the tire removed and inspected.
The Bottom Line
Are tire plugs reliable? A correctly installed rope plug can reliably stop a small central-tread leak long enough to reach a repair facility, but it is not a universal permanent repair. The safest long-term outcome comes from internal inspection and an approved plug-patch when the tire is structurally sound; sidewall, shoulder, oversized, or run-flat damage may require replacement.


