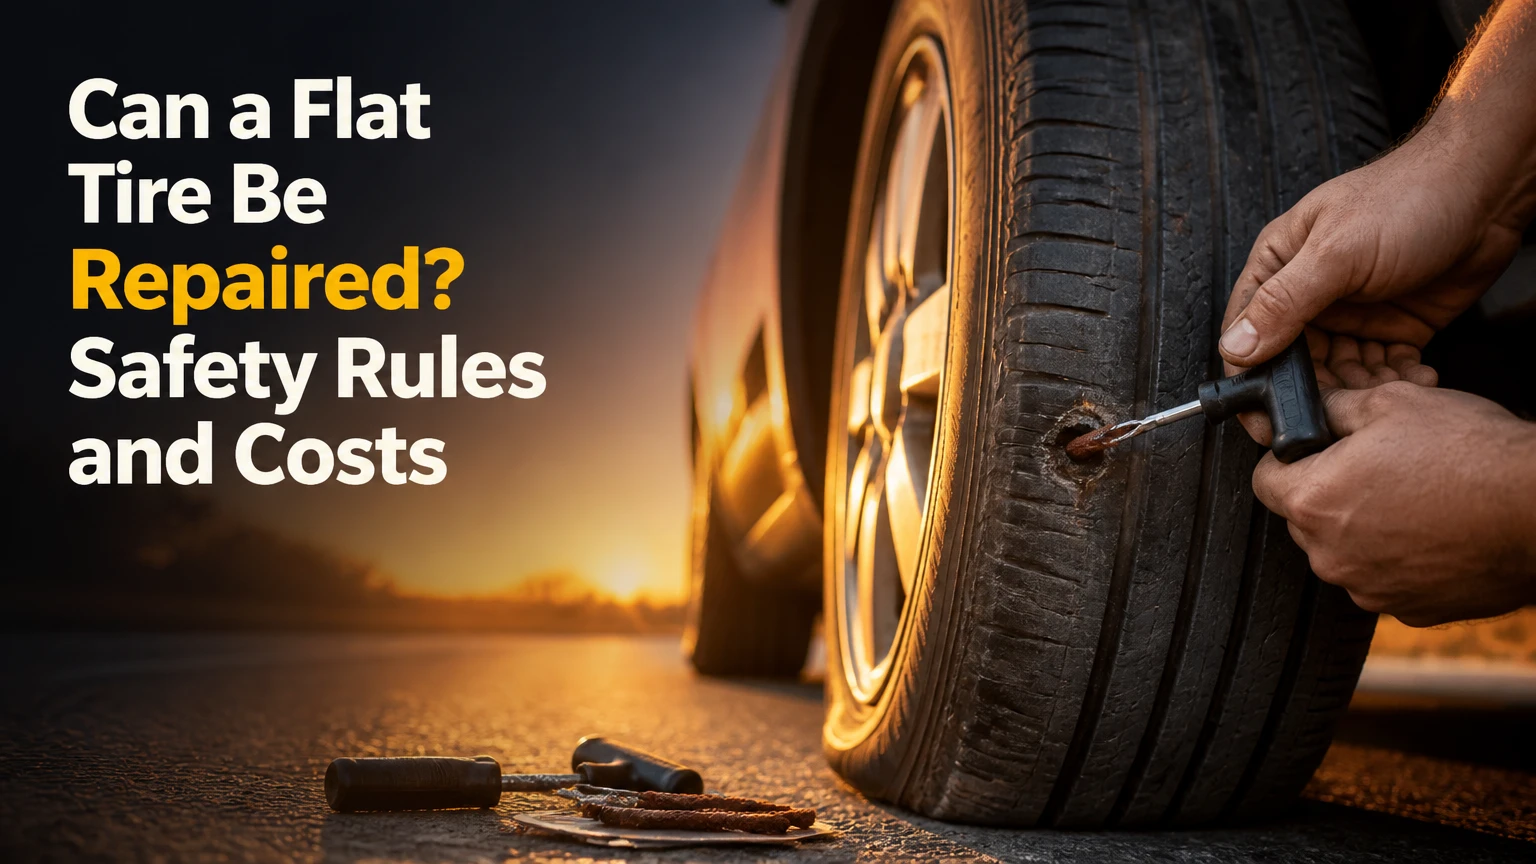
A flat tire can be safely and permanently repaired when the puncture is 1/4 inch (6 mm) or smaller, lies in the central tread, and has not caused internal damage. A tire with shoulder or sidewall damage, a large cut, inadequate tread, or evidence of being driven while severely underinflated generally requires replacement.
Key Facts at a Glance
- A permanent passenger-tire repair normally uses a combination patch-plug installed from inside the dismounted tire.
- The commonly cited maximum repairable puncture diameter is 1/4 inch, or 6 mm.
- Sidewall and shoulder damage is not considered safely repairable because those areas flex heavily during driving.
- A tire must be inspected internally before repair because driving underinflated can create hidden heat damage.
- An external string plug can restore air pressure temporarily, but it does not replace an internal inspection or inner-liner repair.
- The legal 2/32-inch tread limit is a replacement threshold, not a guarantee that an old tire remains suitable for repair.
Can a Flat Tire Be Repaired Safely?
Yes, a flat tire can be repaired safely if the damage meets tire-industry limits and a trained technician confirms that the casing is sound. The decisive factors are puncture diameter, location, tread condition, tire construction, and whether the vehicle was driven after pressure was lost.
The U.S. Tire Manufacturers Association (USTMA) recommends removing the tire from the wheel for a complete inspection before repair. That inspection matters because a tire can look repairable from the outside while containing abrasion, flex cracks, or heat creasing inside the sidewall.
A proper repair restores two functions: the airtight inner liner must hold pressure, and the puncture channel must be sealed against water. The Tire Industry Association (TIA) describes a repair as more than inserting material into the visible hole. A repair must address the injury from the inside and confirm that the tire has not suffered structural damage.
What Makes a Tire Irreparable?
A tire is generally irreparable when the puncture enters the shoulder or sidewall, exceeds 1/4 inch, creates a cut rather than a clean puncture, or appears alongside bulges, exposed cords, or bead damage. A tire driven flat for a significant distance can also be rejected even if the original nail hole is small.
Tire manufacturers can impose stricter rules than general industry guidance. The vehicle owner’s manual, tire manufacturer, local regulations, and the repairing shop’s policy may all affect the final decision. A technician should not approve a repair solely because a plug appears to stop the leak.
Why Do Location and Internal Damage Matter?
Tire location determines repairability because tread rubber and sidewall rubber perform different structural jobs. The tread contains belts and reinforcing layers designed to resist road impacts, while the sidewall must flex repeatedly as the tire carries vehicle load.
The central tread is the normal repair zone because it experiences less continuous flexing than the shoulder. The shoulder begins where the tread curves toward the sidewall, so a puncture near that curve can fail even when part of the hole appears to be in tread rubber.
Moisture is another reason an incomplete repair is unsafe. If water reaches exposed steel cords through an unsealed puncture channel, corrosion can weaken the belt package over time. The risk is not limited to immediate air loss.
Where Is the Damage Located?
Use the following classification as a screening tool, not as a substitute for professional inspection.
| Damage location | Typical repair decision | Main reason | Safe next action |
|---|---|---|---|
| Center tread groove | Often repairable | Stable repair zone | Inflate only to specification and visit a shop |
| Outer tread near shoulder | Usually reject | High flex and curvature | Use spare or roadside assistance |
| Sidewall | Replace tire | Structural flex and no repairable belt zone | Do not plug or patch |
| Bead or rim contact area | Usually reject or wheel service | Seal and casing damage | Inspect tire and wheel together |
| Tread cut with exposed cords | Replace tire | Belt or casing structure may be severed | Tow if pressure cannot be maintained |
A nail in the middle of the tread is a common repair candidate. A slash from a curb, a pothole impact that produces a bulge, or a puncture that reaches the shoulder is not equivalent to a simple nail hole.
What Size Puncture Can Be Fixed?
A clean puncture with an entry diameter of 1/4 inch, or 6 mm, or less is the usual maximum for a standard passenger-tire repair. The 1/4-inch limit does not make every smaller hole repairable, because location, internal condition, tread depth, and tire design still control the decision.
The hole should be measured after the tire is dismounted and the injury is prepared. A torn or irregular opening may measure less than 6 mm at one point but still have damaged cords or a larger internal cavity.
A cut, tear, elongated hole, or missing chunk of tread is not the same as a round nail puncture. Neither is damage caused by driving on the tire after it lost pressure. The technician must evaluate the complete injury, not only the object’s diameter.
Which Punctures Usually Qualify?
| Injury type | Typical size or symptom | Repair outlook | Reason |
|---|---|---|---|
| Nail or screw in central tread | 3-6 mm round channel | Often repairable | Clean, localized cavity |
| Small thorn or staple | 1-3 mm channel | Often repairable | Limited casing injury if no driving damage occurred |
| Glass shard in center tread | 4-6 mm, irregular edges | Inspection required | May cut belts or enlarge the cavity |
| Pothole impact cut | 10-30 mm tear or bulge | Replace | Impact can damage belts and sidewall |
| Knife-like slash | 20 mm or longer | Replace | Casing layers may be severed |
| Multiple nearby punctures | Overlapping channels | Usually replace | Repair material may not support weakened rubber |
How Much Tread Must Remain?
The commonly cited minimum is 2/32 inch of usable tread above the wear bars, but a tire at that threshold is ready for replacement rather than an ideal repair candidate. Tread depth should be measured in several locations because uneven wear can leave one section below the limit.
The USTMA and tire manufacturers commonly identify the tread-wear indicators at 2/32 inch. The threshold addresses remaining tread, not casing age, dry rot, irregular wear, or the tire’s ability to handle wet roads safely.
A technician may refuse a repair on a tire with 3/32 inch of tread if the tire is aged, cracked, cupped, or worn unevenly. Replacing a nearly worn tire avoids paying for a repair that provides little remaining service life.
| Tread reading | Practical interpretation | Repair decision |
|---|---|---|
| 8/32-12/32 inch | New or lightly used range | Repair may be sensible if injury qualifies |
| 5/32-7/32 inch | Moderate remaining tread | Inspect wear pattern and tire age |
| 3/32-4/32 inch | Limited wet-weather margin | Repair only if casing is excellent |
| 2/32 inch | Wear-bar threshold | Replace rather than repair |
| Below 2/32 inch | At or below common minimum | Replace immediately |
Which Repair Method Is Safe?
For a standard passenger tire, the preferred permanent method is a combination repair unit, commonly called a patch-plug. The technician installs the stem through the puncture and bonds the patch to the prepared inner liner, sealing both the channel and the liner surface.
A plug alone fills the channel but does not repair the inner liner. A patch alone covers the inside surface but may leave the puncture channel open to water. Industry guidance therefore favors a combined repair installed after dismounting.
| Method | Typical cost | Intended duration | Internal inspection | Main limitation |
|---|---|---|---|---|
| Internal patch-plug | $20-$50 | Remaining usable tire life | Yes | Requires tire removal and technician |
| External string plug | $5-$15 for a kit | Emergency travel only | No | Does not seal the liner internally |
| Internal radial patch alone | $10-$30 in materials and labor | Policy-dependent | Yes | May not seal the puncture channel |
| Liquid sealant | $8-$20 per can | Temporary route to service | No | Can affect sensors, balance, and cleanup |
| Replacement tire | $100-$400 or more | Full new-tire service life | Not applicable | Higher immediate cost |
Prices are typical U.S. consumer ranges and vary by tire size, vehicle, region, and warranty coverage. Some retailers repair eligible punctures at no charge when the tire was purchased there or covered by road-hazard protection.
Is a Plug as Good as a Patch?
An external plug is not equivalent to a professionally installed patch-plug. A string plug can stop air loss long enough to reach a tire shop, but it does not prove that the inner liner, belts, and sidewall survived the puncture or any low-pressure driving.
Some tire shops will inspect and leave a previously plugged tire in service if the injury remains within the repair zone and their policy permits it. Other shops remove the old material and install a compliant repair, while some reject the tire because the previous repair enlarged or contaminated the channel.
How Does a Professional Repair Work?
A professional tire repair usually takes 30-45 minutes, including removal, inspection, installation, inflation testing, remounting, and balancing. The result depends more on complete internal inspection and correct surface preparation than on the patch brand alone.
Step 1: Remove and Inspect the Tire
The technician dismounts the tire from the wheel and examines the inner liner, sidewalls, bead, tread, and puncture channel. Heat discoloration, circumferential abrasion, rubber dust, or creasing indicates that the tire may have been driven while underinflated.
A tire that has traveled several miles at very low pressure deserves particular caution. No outside-only repair can reveal that damage.
Step 2: Prepare the Puncture Channel
The technician removes the object, identifies the injury angle, and prepares the channel with the tools specified by the repair system. The purpose is to create a clean, uniform path for the repair stem without unnecessarily enlarging the casing injury.
The channel must remain compatible with the selected repair unit. Over-reaming can remove supporting rubber and make an otherwise acceptable puncture unsuitable.
Step 3: Prepare the Inner Liner
The technician cleans and lightly buffs the liner around the injury, then applies the repair system’s vulcanizing cement or bonding compound. Excessive buffing can weaken the liner, while inadequate cleaning can prevent a reliable bond.
Surface preparation is the step most hidden from customers and one of the main reasons an outside plug cannot provide the same assurance.
Step 4: Install the Patch-Plug
The stem passes through the puncture from inside to outside, and the patch is pressed firmly against the prepared inner liner. A roller removes trapped air and ensures full contact between the repair unit and the liner.
The exterior stem is then trimmed flush with the tread. A raised plug can wear unevenly or interfere with the tread surface.
Step 5: Test, Remount, and Balance
The technician inflates the tire to the vehicle or tire manufacturer’s specified pressure, checks the repair for leaks, remounts the tire, and balances the wheel when required. A water-tank or equivalent leak test can reveal bubbles at the repair, bead, valve, or rim.
The correct cold-inflation pressure is printed on the driver’s door placard or listed in the owner’s manual. The number molded into the tire sidewall is generally the tire’s maximum pressure, not the vehicle’s normal setting.
What Should You Do Before Repair?
Do not drive on a visibly flat tire unless moving the vehicle a few feet is necessary for immediate safety. Driving can convert a repairable tread puncture into an irreparable casing failure through heat and sidewall compression.
- Turn on hazard lights and stop away from traffic when possible.
- Apply the parking brake and avoid standing beside moving traffic.
- Check pressure with a gauge if doing so is safe.
- Do not remove a nail or screw before reaching a repair facility.
- Install the spare or call roadside assistance if pressure will not hold.
- Follow the temporary spare’s speed and distance limits.
- Photograph the damage and retain the failed object for warranty documentation.
A portable compressor can restore pressure temporarily only when the tire is structurally intact and the leak is slow. Inflation does not make sidewall damage safe.
How Much Does Repair Cost and Take?
A conventional internal patch-plug typically costs $20-$50 and takes about 30-45 minutes at a tire shop. A roadside string-plug kit commonly costs $5-$15, while a replacement passenger-car tire often costs $100-$400 or more before mounting, balancing, taxes, and disposal fees.
Road-hazard warranties may cover repair or replacement subject to tread depth, mileage, prorating, and purchase records. Dealer and chain policies differ, so ask whether the quoted price includes dismounting, balancing, valve service, and TPMS handling.
| Service outcome | Typical U.S. price | Typical shop time | What the price may exclude |
|---|---|---|---|
| Eligible puncture repair | $20-$50 | 30-45 minutes | TPMS rebuild or valve replacement |
| Roadside plug | $50-$150 service call | 15-30 minutes | Permanent internal repair |
| Tire replacement | $100-$400 per tire | 45-90 minutes for a set or pair | Alignment, road hazard, disposal |
| AWD matching replacement | $400-$1,600 for four tires | 1-3 hours | Shaving or drivetrain inspection |
| Sealant cleanup | $20-$80 | 30-90 minutes | Sensor replacement if damaged |
What Changes With Run-Flat Tires?
A run-flat tire may be repairable after a small tread puncture, but only after the manufacturer’s inspection rules are satisfied. A run-flat driven at zero or very low pressure can suffer internal damage that cannot be detected reliably from the outside.
Distance and speed records matter. Some run-flat manufacturers permit limited operation after pressure loss, while others require replacement after any pressure-deficient driving beyond specified limits. The tire sidewall, model, load rating, and vehicle system determine the rule.
A run-flat tire that has been driven while flat should be reported honestly to the technician. Concealing the distance can lead to an unsafe repair decision.
Are Liquid Sealants a Real Repair?
Liquid sealants are emergency mobility products, not permanent tire repairs. Sealant can temporarily close a small tread puncture and restore pressure, but it does not inspect or reinforce the inner liner and may complicate later service.
Some aerosol products can affect tire-pressure monitoring system sensors, clog valve components, interfere with balance, or require special cleanup. Product instructions determine the permitted driving distance and replacement deadline; a universal three-day rule does not apply to every sealant.
Never use sealant for a sidewall cut, blowout, separated tread, or bead leak. Those failures require a spare tire or professional recovery.
Can a Tire Have Multiple Repairs?
A tire can sometimes receive more than one compliant repair, but the number and spacing depend on the tire manufacturer, tire category, injury locations, and shop policy. Repairs must not overlap, and a second puncture cannot be used to justify a structurally compromised casing.
The often-repeated limit of two repairs separated by at least 16 inches should not be treated as a universal rule for every passenger tire. That spacing appears in some repair policies and commercial-tire guidance, while other manufacturers publish different limits or require case-by-case inspection.
Two small, widely separated center-tread punctures may be acceptable. Two adjacent holes, a puncture near a previous repair, or damage in a high-load tire may require replacement.
Why Is the Tire Still Losing Pressure?
A repaired tire that loses 2-5 psi per week may have a failed repair, valve leak, bead leak, rim corrosion, or a second puncture. The leak source must be identified before another plug or patch is installed.
Apply soapy water to the repair, valve core, valve stem, bead circumference, and visible tread. Growing bubbles identify the leaking area, although a professional shop should perform the final diagnosis.
| Leak location | Common clue | Likely cause | Corrective action |
|---|---|---|---|
| Repair site | Bubbles at patch or stem | Poor preparation or damaged channel | Remove and reassess repair |
| Valve core | Bubbles at valve tip | Loose or defective core | Tighten or replace core |
| Valve stem | Bubbles at rubber base | Aging or damaged stem | Replace valve assembly |
| Rim bead | Continuous bubbles at wheel edge | Corrosion, dirt, or bent rim | Clean, repair, or replace wheel |
| Tread away from repair | New pressure loss | Second puncture | Locate and inspect separately |
TPMS warnings also need interpretation. A repaired tire may hold air while another tire remains low, and temperature changes can alter pressure without creating a puncture. Check all four tires cold with a gauge.
What Mistakes Make Repairs Unsafe?
The most common unsafe mistake is treating an outside plug as proof that the tire is permanently repaired. The plug may stop the immediate leak while leaving internal damage, water exposure, or an enlarged channel undiscovered.
Other failure patterns include:
- Repairing the sidewall: sidewall flex can break the repair and cause rapid air loss.
- Leaving the tire on the wheel: external inspection cannot reveal inner-liner abrasion from driving flat.
- Ignoring a bulge: a bulge indicates separated or damaged internal structure and requires replacement.
- Using the sidewall pressure number: inflate to the vehicle placard specification, not automatically to the molded maximum.
- Reusing contaminated materials: tire lubricant, moisture, and sealant residue can reduce bonding reliability.
- Skipping balancing after service: imbalance may create vibration even when the repair is airtight.
A counterintuitive rule matters here: a tire that still holds air may be less trustworthy after a low-pressure event than a tire with a visible, untouched nail. Pressure retention does not certify casing integrity.
When Should You Replace One Tire or More?
Replace the damaged tire when the injury is outside the repair zone, the casing has been driven flat, the tread is at or below 2/32 inch, or the tire has age-related cracking. Replacement quantity depends on tread-depth difference, drivetrain configuration, and manufacturer limits.
On two-wheel-drive vehicles, one replacement may be acceptable when the new tire closely matches the remaining tires. Many manufacturers recommend placing the tires with greater tread on the rear axle, subject to the vehicle’s service guidance.
All-wheel-drive and four-wheel-drive systems can be more sensitive to tire circumference differences. A manufacturer may require replacing two tires, four tires, or shaving a replacement tire to match the others. Check the owner’s manual before purchasing only one.
What Is the Bottom Line?
A flat tire can be repaired when a small, clean puncture sits in the central tread and the dismounted tire has no internal, sidewall, bead, age, or tread-depth problems. The safest permanent repair is an internally installed patch-plug performed by a qualified tire technician.
Use an external plug or liquid sealant only as an emergency measure when the product and situation permit it. Do not repair a sidewall, shoulder injury, large cut, bulge, exposed cord, or tire driven flat. When the damage classification is uncertain, a spare tire or tow is safer than guessing.
Frequently Asked Questions
Can a nail in a tire be repaired without removing it?
A nail should usually remain in place until the tire reaches a repair facility because removing it can turn a slow leak into a rapid deflation. The tire still needs to be dismounted for a complete inspection and patch-plug repair, even when the nail puncture looks small and central.
How long does a tire patch last?
A correctly installed patch-plug can remain in service for the tire’s remaining usable life, provided the tire meets manufacturer limits and is not later damaged. Longevity depends on casing condition, inflation maintenance, tread wear, repair quality, and whether the tire experiences another impact.
Can you repair a tire with a screw in the shoulder?
A screw entering the shoulder is generally not safely repairable because the shoulder flexes heavily and transitions into the sidewall. The tire should be inspected for belt damage and replaced if the injury crosses the normal central-tread repair zone.
Should tire pressure be checked after a repair?
Check the repaired tire cold after installation and again within 24 hours or before a long trip. The pressure should match the vehicle door-placard specification, and the tire should be checked for bubbles, vibration, TPMS warnings, or renewed pressure loss.
Can a tire with a slow leak be repaired?
A slow leak can often be repaired when it comes from a qualifying tread puncture. A leak from the valve, bead, corroded rim, wheel crack, or sidewall requires a different service, and repeated inflation without diagnosis can allow structural damage to develop.
Is it safe to drive to a tire shop with a flat?
Driving on a flat tire is unsafe and can destroy the casing within a short distance. Install the spare, inflate the tire only if it remains structurally sound, or call roadside assistance; never drive at normal speed on a visibly deflated tire.


