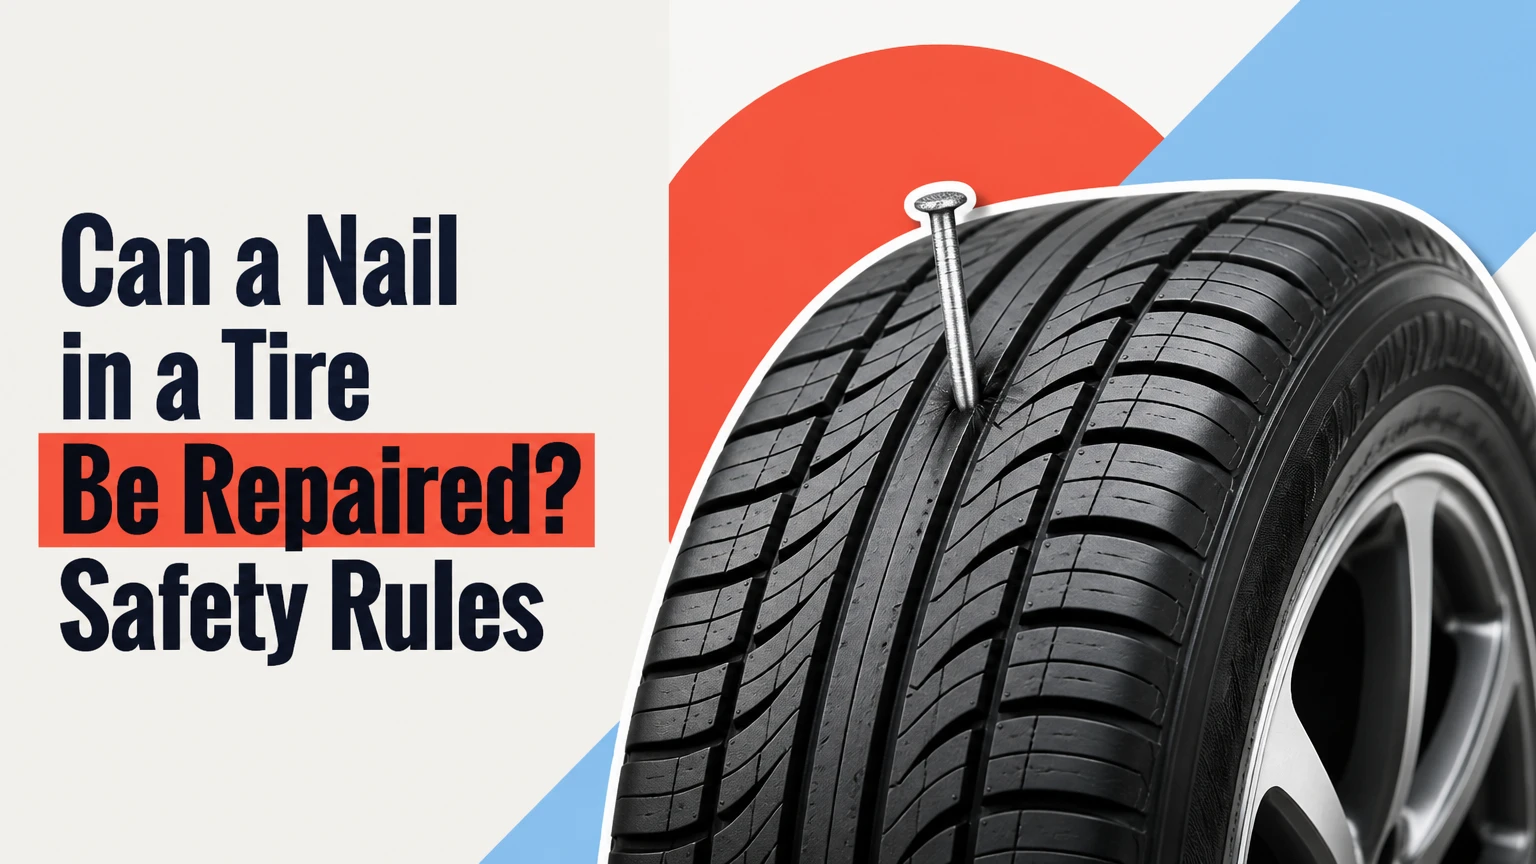
A nail in a tire can be repaired safely when the puncture is small, fully contained in the tread, and the tire has not suffered internal damage from underinflation. A tire professional must remove the tire from the wheel, inspect the inside, and use an approved patch-plug or equivalent repair; a sidewall puncture, oversized hole, or run-flat damage usually requires replacement.
Key Facts at a Glance
- A repairable puncture is normally no larger than 1/4 inch, or 6 mm, in diameter.
- The puncture must remain in the tread and at least 13 mm, or 0.5 inch, from the shoulder or sidewall transition.
- A professional repair requires demounting the tire so the inner liner and cords can be inspected.
- An outside string plug can stop air loss temporarily, but it does not replace an internal inspection.
- Driving on a flat or severely underinflated tire can create hidden liner and belt damage that makes repair unsafe.
- Typical U.S. repair pricing is $25-$45, although tire warranties, road-hazard plans, and retailer policies can reduce the charge.
Can a Nail in a Tire Be Repaired?
Yes, a nail puncture is often repairable, but the nail’s location and the tire’s internal condition determine the answer. A nail in the central tread that creates a clean hole no larger than 6 mm may qualify for a permanent repair, while a nail in the shoulder or sidewall generally cannot be repaired safely.
The first action is to check tire pressure without pulling out a firmly embedded nail. Removing the nail can turn a slow leak into a rapid deflation. Inflate the tire only to the vehicle manufacturer’s specified cold pressure if the tire remains structurally intact, then drive only far enough to reach a tire shop. Do not drive on a visibly flat tire.
The Tire Industry Association training rule is often summarized as, “A tire repair is not a repair unless the tire is removed from the wheel.” That principle matters because external inspection cannot reveal inner-liner abrasion, creasing, exposed cords, or separation caused by low-pressure driving.
Where Is the Nail in the Tire?
A nail in the central tread is the most likely puncture to qualify for repair. A puncture in the shoulder, sidewall, or curved tread-to-sidewall transition is normally a replacement case because those areas flex heavily and carry important structural loads.
| Puncture location | Typical repair decision | Why the location matters | Immediate action |
|---|---|---|---|
| Center tread ribs | Repair may qualify | Stable tread area with lower sidewall flex | Check pressure and visit a shop |
| Outer tread near shoulder | Usually reject | Curvature and flex can distort the repair | Avoid highway driving |
| Shoulder transition | Replace in most cases | Repair material may not seal through flexing rubber | Use a spare or roadside service |
| Sidewall | Replace | Sidewall carries cornering and impact loads | Do not plug or patch |
| Tread edge within 13 mm | Usually reject | Too close to the unsupported shoulder | Request a professional inspection |
The 13 mm boundary is a practical safety threshold used in U.S. tire repair guidance. A shop may reject a puncture that appears to be in the tread if the hole enters the shoulder belt area, even when the visible entry point looks central.
A nail entering at an angle creates another complication. The visible hole may be in the tread, while the internal channel exits closer to the shoulder. Technicians therefore trace the full puncture path rather than judging only the entry point.
What Makes a Tire Puncture Repairable?
A tire puncture is repairable only when size, location, internal condition, and repair history all meet the tire maker’s and repair standard’s requirements. The technician must assess the actual damaged channel, because a thin nail can cut or enlarge rubber and cords beyond the diameter of the visible object.
| Safety criterion | Common threshold | Inspection question | Replacement trigger |
|---|---|---|---|
| Hole diameter | 6 mm maximum | Is the damaged channel within the approved limit? | Hole exceeds 6 mm |
| Distance from shoulder | At least 13 mm | Is every part of the repair inside the tread? | Damage reaches shoulder area |
| Internal condition | No liner abrasion or creasing | Was the tire driven underinflated? | Scuffed liner, exposed cords, blister |
| Repair overlap | No overlapping damage | Does the new repair intersect an old one? | Repairs overlap or weaken the area |
| Repair spacing | Often at least 16 inches | Are existing repairs adequately separated? | Repairs are too close |
| Tread life | Manufacturer minimum remaining tread | Is replacement already due? | Worn, cracked, aged, or damaged tire |
USTMA and TIA guidance supports repair only after internal inspection. However, the claim that every tire has a universal maximum of two repairs is too broad. Tire manufacturers, vehicle manufacturers, retailers, and local regulations can impose different limits, so the tire’s service instructions control. Two repairs may be acceptable on one tire and rejected on another.
A tire with adequate tread can still be unsafe to repair if it has been driven flat. Internal damage often appears as a gray or abraded ring on the inner liner, a crease, melted rubber, exposed cords, or a sidewall bulge. None of those defects can be reliably ruled out from the outside.
How Does a Professional Nail Repair Work?
A professional nail repair seals both the inner liner and the puncture channel. The technician removes the tire, identifies the full path, prepares the rubber, installs a combination patch-plug or approved two-piece repair, and checks the finished assembly for leaks.
The usual process is:
- Remove the tire from the wheel. The technician deflates the assembly, breaks the bead, and exposes the inner liner.
- Inspect the tire internally. The inspection looks for low-pressure damage, belt separation, liner abrasion, exposed steel, and previous repairs.
- Remove the nail and trace the channel. A probe identifies the direction and full length of the puncture.
- Prepare the hole. The technician cleans and reams the channel with approved tools, avoiding unnecessary cutting of sound cords.
- Prepare the inner liner. The repair area is buffed and cleaned so the vulcanizing cement can bond correctly.
- Install the repair unit. A combination patch-plug seals the liner while its stem fills the puncture channel.
- Roll the patch. A stitcher removes trapped air and presses the patch into full contact with the liner.
- Seal and finish. The technician seals the prepared area, trims the external stem, remounts the tire, and inflates it.
- Check the assembly. A leak test, valve inspection, bead inspection, and often wheel balancing complete the service.
A combination repair unit is preferred for a straight, repairable puncture because one assembly blocks the air path and seals the inner liner. A two-piece patch and stem may suit a puncture whose angle prevents a combination unit from lying flat.
Is a Tire Plug or Patch Better?
A professional patch-plug repair is safer and more complete than an outside-only string plug or an internal patch used without a stem. The patch seals the inner liner, while the plug fills the puncture channel and limits air and moisture movement through the tread.
| Repair method | Tire removal | Typical use | Typical status | Main limitation |
|---|---|---|---|---|
| Combination patch-plug | Yes | Standard tread puncture | Permanent professional repair | Requires proper size and location |
| Two-piece patch and stem | Yes | Angled or irregular approved hole | Permanent professional repair | Technician must match unit to damage |
| Outside string plug | No | Roadside emergency | Temporary containment | No internal inspection or liner patch |
| Aerosol sealant | No | Immediate mobility emergency | Temporary | Can affect TPMS and cleanup |
| Internal patch alone | Yes | Not normally sufficient for puncture channel | Incomplete by itself | Moisture and air can follow the hole |
An external plug is valuable when a driver is stranded with no immediate shop access. It is not a reliable substitute for demounting because the technician cannot see whether the tire was damaged while losing pressure. Some manufacturers and tire retailers refuse to warranty a tire that received an outside-only plug.
An internal patch without a stem also leaves the puncture channel open. Water can travel through that channel toward steel belts, and the repair may leak even when the patch surface appears bonded.
How Much Does Nail Repair Cost and How Long Does It Take?
A typical U.S. professional nail repair costs $25-$45 and takes about 30-45 minutes when the tire is repairable and the shop is not busy. A DIY string-plug kit usually costs $5-$15 and takes 10-15 minutes, but that lower price buys emergency mobility rather than a verified permanent repair.
| Service or situation | Typical price | Typical time | Appropriate outcome |
|---|---|---|---|
| Professional patch-plug | $25-$45 | 30-45 minutes | Permanent repair if approved |
| Road-hazard plan claim | $0-$30 | 30-60 minutes | Depends on plan terms |
| Retailer warranty repair | $0 in some programs | 30-60 minutes | Depends on purchase history |
| String-plug kit | $5-$15 | 10-15 minutes | Temporary roadside measure |
| Tire replacement | $100-$400 or more | 45-120 minutes | Required for structural damage |
Replacement pricing varies with tire size, load rating, run-flat construction, brand, installation, disposal fees, taxes, and balancing. A single performance, truck, or electric-vehicle tire can cost substantially more than a standard passenger tire.
Ask the shop whether the quoted repair includes demounting, internal inspection, remounting, balancing, and a leak check. A low advertised price may cover only an external plug.
Can You Drive With a Nail in Your Tire?
You should drive only the minimum distance needed to reach a safe repair facility, and only when the tire retains pressure and shows no signs of structural damage. A nail can act as a temporary stopper, but pressure may fall quickly after the nail moves or comes out.
Use a tire-pressure gauge before moving the vehicle. If pressure is more than 25 percent below the vehicle placard specification, the tire is unsafe to drive on until inflated and inspected. Do not rely on the dashboard TPMS warning alone because many systems warn only after pressure has already fallen significantly.
Stop immediately if the vehicle pulls, vibrates, feels unstable, or produces tire noise. A spare tire, mobile tire service, or tow truck is safer than driving on a deflated tire. Highway speed increases heat and flexing, which can convert a small puncture into internal tire damage.
What Should You Do Immediately?
- Leave the nail in place if it remains embedded.
- Confirm pressure with a gauge.
- Inflate only to the door-jamb placard pressure, never the maximum sidewall pressure.
- Photograph the puncture and record the pressure if a warranty claim may apply.
- Avoid passengers, heavy loads, rainwater, and highway speeds until inspection.
- Use a spare or roadside assistance if the tire is flat or the nail is near the sidewall.
Why Is Driving on a Flat Tire Dangerous?
Driving on a flat or severely underinflated tire can destroy the inner liner and weaken the sidewall even when the original nail hole is small. The deflated sidewall folds against itself, generating heat and abrasion that can damage cords and create a repair-rejecting crease.
A tubeless tire has an airtight inner liner, rubber tread and sidewalls, fabric reinforcement, and steel belts beneath the tread. A puncture causes air loss, while the damaged channel can admit water and contaminants to internal steel components. The risk is not an instant rust event after one wet trip, but progressive corrosion or separation if the channel remains unsealed.
A tire that has lost pressure but was not driven can remain repairable. A tire driven several miles while flat may need replacement even if the nail hole measures only 3 mm. The internal inspection decides.
When Should You Replace the Tire Instead?
Replace the tire when the puncture reaches the sidewall or shoulder, exceeds the approved diameter, overlaps an existing repair, or reveals internal damage. Replacement is also the correct choice when the tire has severe cracking, a bulge, exposed cords, inadequate tread, or age-related deterioration.
A repair is usually rejected in these situations:
- Sidewall puncture or cut.
- Shoulder puncture or tread damage within the manufacturer’s exclusion zone.
- Hole larger than 6 mm.
- Slice, tear, impact break, or irregular rupture rather than a clean puncture.
- Visible inner-liner abrasion from driving underinflated.
- Exposed steel belts, broken cords, bulges, or tread separation.
- Two punctures that overlap or sit too close together.
- Previous repair that is loose, leaking, or improperly installed.
- Run-flat damage that exceeds the manufacturer’s inspection criteria.
- Tire worn to the legal tread indicator or otherwise too old for safe service.
Replacing one tire can create tread-depth differences on an axle. On many all-wheel-drive vehicles, the manufacturer specifies a maximum allowable circumference or tread-depth difference, sometimes requiring two or four tires. Check the owner’s manual before purchasing a single replacement.
Do Run-Flat, EV, and Trailer Tires Follow Different Rules?
Run-flat, electric-vehicle, and trailer tires may be repairable, but their manufacturer instructions and operating loads can change the decision. A run-flat tire that traveled after pressure loss requires special inspection, while an EV tire may have high load ratings, acoustic foam, or sealant that complicates service.
| Tire application | Extra concern | Repair decision | Owner action |
|---|---|---|---|
| Run-flat tire | Distance and speed after pressure loss | Follow brand-specific inspection rule | Report warning history to technician |
| Electric vehicle | High mass and high torque | Use exact load and speed specification | Confirm EV-approved replacement |
| Trailer tire | Long storage and heat exposure | Inspect age, casing, and load condition | Replace aged or cracked tires |
| Performance tire | High heat and cornering load | Road repair may not suit track use | Replace before track driving |
| Winter tire | Flexible compound and seasonal wear | Tread location rules still apply | Match seasonal axle requirements |
A repaired tire may return to ordinary road service without restoring suitability for racing, track days, or other extreme use. Manufacturers can restrict repaired tires from competition or impose speed limitations. The owner’s manual and tire maker’s policy take priority over a generic repair rule.
What If a Repaired Tire Keeps Losing Air?
A repaired tire that continues losing air needs a complete leak diagnosis, not another plug. The leak may come from the repair, valve core, valve stem, bead seat, wheel corrosion, a second puncture, or damage that the first inspection missed.
| Symptom | Likely source | Diagnostic method | Corrective action |
|---|---|---|---|
| Bubbles at repair | Failed patch or channel seal | Soap solution or dunk tank | Remove and reassess repair |
| Slow loss without tread bubbles | Valve or bead leak | Valve and bead leak test | Replace core, stem, or reseal bead |
| Loss after wheel installation | Bead seating problem | Inspect rim flange and bead | Clean corrosion and reseat |
| Repeated loss at different spots | Second puncture | Full submerged-wheel test | Repair or replace after inspection |
| Vibration plus pressure loss | Structural or wheel damage | Internal inspection and balance check | Stop driving and evaluate |
A soap-and-water test can locate an accessible leak, but bubbles at the tread do not prove that the tire is repairable. A technician still needs to inspect the inside, especially if the tire has been driven underinflated.
Liquid sealant can also create diagnostic problems. Some products interfere with tire-pressure monitoring sensors, contaminate the inner liner, or violate tire-maker service instructions. Tell the technician exactly which sealant was used.
Which Repair Choice Fits Your Situation?
Daily commuters should choose a professional internal repair when the puncture meets the criteria. Families and highway drivers have little to gain from accepting the unknown internal condition left by an outside-only plug.
Off-road drivers should carry a T-handle plug kit, pliers, valve tools, and a 12-volt compressor. The plug can restore enough pressure to leave a remote trail, but the tire should receive a professional inspection before normal road speeds.
Performance and track drivers should generally replace a punctured tire before high-load use. A road-approved repair does not guarantee that the casing is appropriate for repeated heat cycles, high cornering forces, or manufacturer-controlled competition requirements.
Fleet operators should document puncture location, measured diameter, tire identification, pressure at discovery, and repair method. Consistent records reduce repeated repairs and help identify road-debris patterns.
Common Mistakes and How to Fix Them
Pulling Out the Nail Before Checking Pressure
Removing an embedded nail can release air rapidly and make roadside handling harder. Check pressure first, keep the nail in place when safe, and move the vehicle only to a nearby service point.
Using a Plug on a Sidewall
A sidewall plug does not restore the sidewall’s structural reinforcement. Do not patch, plug, or use sealant as a permanent solution for sidewall damage.
Judging the Repair From the Outside
A dry tread surface does not prove that the liner is intact. Demounting is the only dependable way to inspect scuffing, creasing, and belt exposure.
Using an Internal Patch Without Filling the Channel
A flat patch can seal the liner surface while leaving the puncture path open. Use an approved combination patch-plug or a manufacturer-approved two-piece system.
Ignoring the Valve and Bead
A persistent leak after repair may come from a valve core or corroded wheel bead. Ask for a full leak check instead of assuming the repair failed.
Driving Until the TPMS Light Appears
TPMS is a warning system, not a puncture detector. Inspect pressure manually when a nail is found, because a slow leak may remain below the system’s warning threshold for some time.
Frequently Asked Questions
How long can a tire last after a nail repair?
A properly inspected and approved repair can remain in service for the tire’s remaining useful life, provided pressure is maintained and no new damage develops. A roadside string plug has no equivalent permanent-life assurance, so have it replaced with a professional internal repair as soon as practical.
Will tire insurance cover a nail puncture?
Road-hazard coverage may pay for repair or replacement, but terms vary by retailer, tire brand, mileage, and puncture location. Ask whether the plan covers labor, balancing, prorated replacement, and damage after driving underinflated. Keep the purchase receipt and inspection record.
Can a nail cause a slow leak without making the tire flat?
Yes. A nail can seal part of its own entry path and allow air to escape slowly over hours or days. Measure pressure on several mornings and compare it with the vehicle placard specification, because a tire can be dangerously underinflated before it looks visibly flat.
Can I use a tire inflator sealant instead of a repair?
Sealant is an emergency mobility product, not a universal replacement for inspection and repair. Sealant may damage TPMS sensors, complicate cleanup, and conflict with the tire manufacturer’s instructions. Use it only when the product and vehicle documentation permit it, then obtain professional service.
Does a repaired tire need balancing?
The tire and wheel should be checked after demounting and remounting, although every repair does not require a new balance correction. If steering vibration begins after service, return to the shop for balance, bead seating, wheel damage, and tire uniformity checks.
Can a tire with two nail holes be repaired?
Two nail holes may be repairable when both are within the tread, each is within the size limit, neither overlaps another repair, and the spacing meets the tire maker’s rules. There is no universal rule that every tire may receive exactly two repairs, so the manufacturer’s limits control.
The Bottom Line
Can a nail in a tire be repaired? Yes, when the puncture is a small, clean hole in the central tread and the tire has no internal damage. The safest permanent solution is a professional patch-plug repair performed after demounting and inspection.
Do not approve a repair based only on the nail’s visible position. Location, channel size, repair spacing, pressure history, tread condition, tire construction, and manufacturer instructions all matter. If the puncture is in the sidewall or shoulder, the tire was driven flat, or the liner shows damage, replacement is the safer decision.


