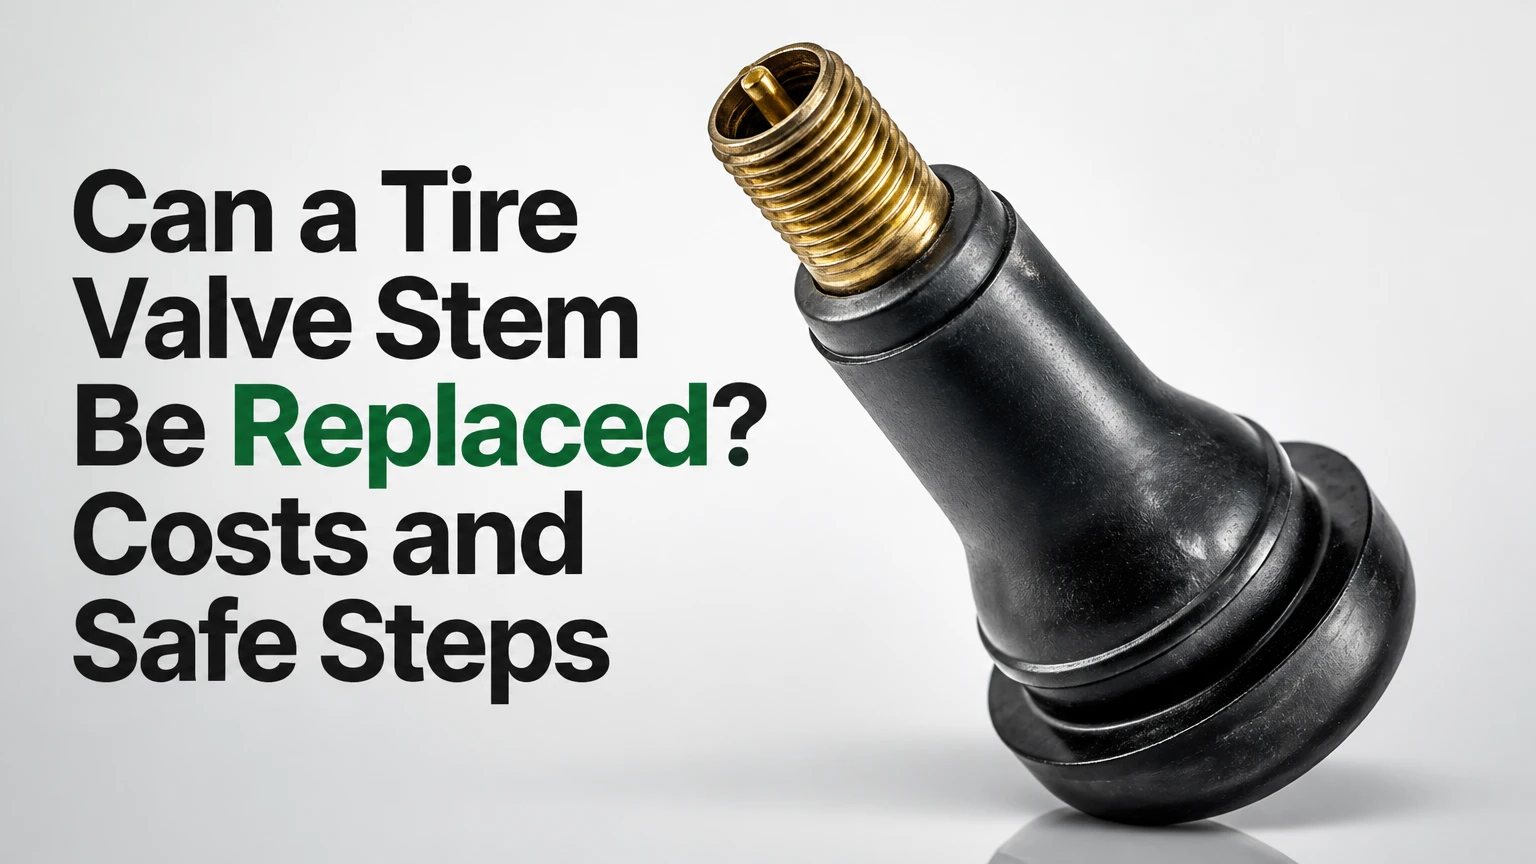
Yes, a tire valve stem can be replaced, usually without replacing the wheel or tire. A conventional rubber stem requires the tire bead to be separated from the rim, while a TPMS or metal stem may need a vehicle-specific service kit, torque setting, and sensor relearn. A valve-core leak may require only a few minutes and a replacement core.
Key Facts at a Glance
A tire valve stem is replaceable independently of the wheel and usually independently of the tire.
A leaking valve core can often be repaired without removing the tire from the rim.
A rubber snap-in stem typically costs $2-$10 for the part and commonly lasts about 3-5 years.
A professional valve-stem replacement typically costs $20-$45 per wheel before unusual TPMS parts or sensor programming.
TPMS valve-stem service kits commonly replace the grommet, washer, nut, core, and cap without replacing the electronic sensor.
The tire must be completely deflated before the bead is separated or a stem is removed.
What Is a Tire Valve Stem?
A tire valve stem is the pressure-control assembly installed through the wheel’s valve hole. The stem body seals against the rim, the spring-loaded valve core controls airflow, and the cap protects the core from contamination; a TPMS version also attaches to or incorporates a pressure sensor.
The valve core is often mistaken for the entire valve stem. A core is the small threaded insert removed with a valve-core tool. The stem is the larger body secured in the rim, either by a rubber snap shoulder or a nut and sealing grommet.
| Component | Physical location | Typical service |
|---|---|---|
| Valve body | Rim hole, inside the tire cavity | Replace the complete stem or service seal |
| Valve core | Threaded center of the stem | Tighten or replace separately |
| Valve cap | Outside end of the stem | Replace when missing or damaged |
| TPMS sensor | Inside wheel, attached to stem on many vehicles | Rebuild stem hardware or replace sensor assembly |
A cap is secondary protection, not the primary air seal. The valve core and stem-to-rim seal retain inflation pressure. Driving with a missing cap can allow grit and water to reach the core, especially where winter road salt is used.
Can the Valve Core Be Replaced Separately?
Yes, a valve core can be replaced separately when the leak comes from the center opening rather than the stem’s base. A technician can remove the core, inspect the threads, install the correct replacement, and test the repair without unmounting the tire.
First, remove the cap and apply soapy water to the valve tip. Bubbles emerging from the center indicate a core leak. Bubbles forming around the rim interface indicate a stem seal or rim-hole problem instead.
Use the correct core type. Standard brass cores are common in many rubber stems, but aluminum TPMS assemblies often require nickel-plated cores to reduce galvanic corrosion. A replacement core should be snug, not forced; overtightening can damage the core or stem threads.
A core replacement will not repair cracked rubber, a bent metal body, a damaged grommet, or corrosion around the rim hole. Those conditions require stem service and usually require bead separation.
Which Valve Stem Type Fits Your Wheel?
The correct valve stem depends on rim-hole diameter, wheel construction, inflation pressure, TPMS design, and the vehicle manufacturer’s fitment specification. The most common passenger-car hole is approximately 0.453 inch, or 11.5 mm; many truck and specialty wheels use approximately 0.625 inch, or 15.9 mm.
| Valve type | Typical material | Common application | Typical pressure rating |
|---|---|---|---|
| TR413 snap-in | EPDM rubber and brass core housing | Passenger cars and light SUVs | Up to about 65 psi |
| TR415 snap-in | EPDM rubber, longer body | Wider or deeper passenger-car rims | Up to about 65 psi |
| Bolt-in metal | Aluminum, brass, or plated steel | TPMS, performance wheels, commercial applications | Often 65-100+ psi |
| High-pressure metal | Steel or reinforced alloy | Heavy-duty, trailer, racing, specialty wheels | Vehicle and manufacturer specific |
Rubber Snap-In Stems
Rubber snap-in stems are inexpensive and suitable for most standard passenger vehicles. The stem is pulled through the rim hole until its molded shoulder seats against the wheel.
Heat, ozone, ultraviolet exposure, tire dressing chemicals, and repeated flexing eventually harden or crack the rubber. A rubber stem may remain visually intact yet leak when the stem is flexed during inflation.
A typical TR413 valve is not automatically correct because it is common. Stem length, hole diameter, wheel thickness, clearance, and TPMS requirements still matter. Never substitute a standard snap-in stem for a sensor-mounted assembly.
Bolt-In Metal Stems
Bolt-in stems use a nut, washer, and rubber or polymer grommet to seal against the rim. Metal construction resists high pressure and physical flexing, but aluminum hardware can corrode where salt, moisture, and dissimilar metals meet.
Metal stems are not universally better. A long metal stem can contact a brake component or wheel cover, and an incorrect nut torque can distort the grommet or crack the sensor housing. Typical torque values are about 35-45 inch-pounds, or 4-5 Nm, but the vehicle or sensor manufacturer’s specification takes precedence.
TPMS Valve Stems
A TPMS valve stem may be a rubber snap-in design connected to a sensor or a bolt-in aluminum assembly that forms part of the sensor. The electronic sensor measures pressure and sometimes temperature, then transmits data to the vehicle.
A TPMS service kit normally includes a new grommet, washer, nut, valve core, and cap. The kit does not necessarily include the electronic sensor. If the sensor is functional and undamaged, replacing the sealing hardware is usually less expensive than replacing the sensor assembly.
The National Highway Traffic Safety Administration required TPMS on new passenger vehicles under the U.S. TREAD Act implementation beginning with the 2007-2008 model period. A valve-stem repair may therefore require a relearn procedure after installation, depending on the vehicle.
How Do You Know the Stem Is Leaking?
A tire valve stem is probably leaking when soapy water creates growing bubbles at the valve tip or where the stem meets the rim. A slow pressure loss with no tread puncture also justifies testing the valve, bead, rim, and tread rather than assuming the tire itself is damaged.
Use this diagnosis sequence:
- Inflate the tire to the vehicle placard pressure.
- Apply concentrated soapy water to the valve tip.
- Press the valve core briefly with a small tool and observe escaping bubbles.
- Coat the stem base and both sides of the rim near the valve.
- Check the tread, sidewall, and bead for separate leaks.
- Mark the leaking location before deflating the tire.
| Symptom | Likely fault | Correct repair |
|---|---|---|
| Bubbles at valve tip | Loose or damaged core | Tighten or replace core |
| Bubbles at stem base | Failed grommet or rubber body | Replace stem or TPMS kit |
| Cracks when rubber bends | Ozone or age deterioration | Replace rubber stem |
| Hissing after impact | Bent metal stem or cracked sensor | Inspect wheel and replace damaged assembly |
| TPMS warning after tire service | Sensor damage, low pressure, or missing relearn | Check pressure, scan, and perform relearn |
| Leak at rim edge | Bead seal, corrosion, or bent wheel | Tire removal and rim repair |
A dashboard TPMS light does not identify the leak location. The warning can indicate low pressure, a failed sensor, an unregistered sensor, or a system fault. Test the physical tire before buying an electronic part.
How Is a Tire Valve Stem Replaced?
A conventional valve stem is replaced by fully deflating the tire, separating one bead from the rim, removing the old stem, cleaning the hole, installing the correct replacement, and leak-testing the finished assembly. A professional normally needs about 10-15 minutes per wheel when the tire and rim are undamaged.
Before You Start
| Requirement | Typical specification |
|---|---|
| Time | 30-45 minutes for a capable DIYer, 10-15 minutes in a shop |
| Parts | 1 correct valve stem or 1 TPMS service kit |
| Tools | Valve-core tool, tire machine or bead breaker, stem puller, torque wrench |
| Materials | Soapy mounting lubricant, approved cleaner, replacement cap |
| Safety condition | Tire fully deflated, wheel removed, stable work surface |
Do not attempt bead separation with improvised clamps, screwdrivers, or a vehicle jack. A tire bead stores substantial mechanical force, and a tool can damage the sidewall, rim, or TPMS sensor.
Step 1: Confirm the Replacement
Match the new component to the vehicle, wheel, and sensor. Verify the hole diameter, stem length, TPMS sensor design, core type, grommet shape, and specified nut torque before removing the tire.
You will know the selection is correct when the part number matches the vehicle or sensor application and the sealing surfaces have the same profile as the original. The common mistake is choosing a TR413 solely because it fits many passenger wheels.
Step 2: Remove the Wheel and Deflate It
Loosen the lug nuts while the vehicle remains on the ground, then raise the vehicle using the manufacturer’s lifting points and support it with jack stands. Remove the wheel, take off the valve cap, and remove the valve core until all air has escaped.
Confirm deflation by pressing the valve and checking that no pressure remains. Never break a bead on a pressurized tire. With TPMS wheels, position the sensor away from the bead breaker’s working area.
Step 3: Separate the Bead
Use a tire machine or suitable bead breaker to push the tire bead down from the rim near the valve. Separating one bead is usually enough; removing the whole tire is unnecessary for many valve-stem repairs.
The success checkpoint is a clear opening around the stem, with no tool contact against the sensor or sidewall. The common mistake is forcing the bead breaker directly over an attached TPMS sensor, which can fracture the sensor or bend the valve assembly.
Step 4: Remove the Old Stem
Cut and push out a rubber snap-in stem from the inside of the rim. For a bolt-in metal stem, remove the retaining nut and discard the old grommet, washer, and core unless the manufacturer specifically permits reuse.
Do not reuse a compressed TPMS grommet. Rubber sealing parts take a set during service and may leak after reinstallation, even when they look undamaged.
Step 5: Clean the Rim Hole
Inspect the rim hole for corrosion, burrs, paint buildup, or dirt. Clean light deposits with an approved wheel-safe method and remove debris without enlarging or gouging the hole.
The success checkpoint is a smooth, clean sealing surface with no sharp edge under the grommet. Heavy corrosion is not a valve-stem problem alone; it may require rim repair or replacement because a new seal cannot reliably bridge deep pitting.
Step 6: Install the New Stem
Lubricate the rubber seating surfaces with an approved tire-mounting lubricant or mild soapy solution. Pull the snap-in stem straight into the hole with a stem installer, or install the bolt-in assembly with its new grommet and tighten the nut to the specified torque.
Do not use petroleum grease, which can attack some rubber compounds. Do not tighten by feel when the specification is available. Excess torque can split a grommet, distort the sensor, or strip aluminum threads.
Step 7: Reseat, Inflate, and Test
Reposition the bead and inflate the tire using safe shop equipment. Keep hands and body parts away from the bead path while the bead seats, then inflate only to the vehicle placard pressure.
Brush soapy water over the valve tip, stem base, and bead. The repair passes when no expanding bubbles appear after several minutes. Reinstall the valve cap, balance the wheel if the tire was disturbed, and reinstall the wheel using the vehicle’s lug torque specification.
Step 8: Complete TPMS Service
A TPMS-equipped vehicle may need a relearn, registration, or drive cycle after a sensor or valve assembly is serviced. Follow the owner’s manual procedure or use a compatible TPMS scan tool.
The TPMS light should turn off after the system recognizes the sensor and all tires have correct pressure. A persistent warning requires sensor diagnosis, not repeated inflation.
Can You Replace a Valve Stem Without Removing the Tire?
A valve stem can sometimes be replaced without separating the bead by using a specialized external pull-through tool, but the method is an emergency repair rather than the preferred service procedure. It generally applies to certain rubber snap-in stems, not most bolt-in TPMS assemblies.
The tool pulls a specially designed replacement stem through the rim hole from outside the wheel. The tire remains mounted, which can be useful for an off-road vehicle, trailer, or roadside recovery where bead-breaking equipment is unavailable.
The limitations are significant:
- The rim hole cannot be inspected properly.
- Corrosion or burrs can cut the new rubber.
- The stem may be pulled at an incorrect angle.
- TPMS sensors can be damaged or left improperly sealed.
- The tire still requires a complete leak test.
- The temporary stem should receive a professional inspection at the earliest opportunity.
A quick-replacement tool is unsuitable when the wheel is corroded, the stem is metal, the sensor is attached internally, or the tire has sidewall damage. A tire shop should perform the permanent repair.
Rubber or Metal: Which Stem Should You Choose?
Rubber stems are the practical choice for ordinary passenger cars, while metal bolt-in stems fit many TPMS, high-pressure, commercial, and performance applications. The vehicle, wheel, and sensor specification determines the correct choice more reliably than appearance or claimed pressure capacity.
| Decision factor | Snap-in rubber | Bolt-in metal | TPMS-specific assembly |
|---|---|---|---|
| Typical part price | $2-$10 | $8-$25 | $5-$30 service kit |
| Typical service life | 3-5 years | 5-10+ years with seal service | Seal service at tire changes |
| Common pressure range | Up to about 65 psi | About 65-100+ psi | Sensor manufacturer specific |
| Main failure mode | Cracking and flexing | Corroded hardware or seal | Damaged sensor or grommet |
| Best application | Daily passenger car | High pressure or specialty wheel | Modern TPMS-equipped vehicle |
| Main limitation | Ozone and heat aging | Torque and corrosion sensitivity | Relearn and fitment requirements |
For a commuter vehicle, replace rubber stems when fitting new tires because the tire is already unmounted and the additional part cost is small. For a metal TPMS stem, replace the service seals unless the sensor body, threads, or valve body show damage.
Metal is not automatically safer at highway speed. A correctly specified rubber stem meets the application requirement; an incorrectly installed metal stem can leak or interfere with the wheel.
How Much Does Replacement Cost?
A professional tire valve stem replacement typically costs $20-$45 per wheel for a standard stem, including labor and often a balance check. TPMS sensor replacement, severe rim corrosion, unusual wheel construction, and mobile or emergency service can raise the total.
| Service | Typical parts cost | Typical labor or total cost | Typical time |
|---|---|---|---|
| Valve-core replacement | $1-$5 | $5-$20 | 5-10 minutes |
| Standard rubber stem | $2-$10 | $20-$45 total | 10-15 minutes |
| TPMS service kit | $5-$15 | $25-$60 total | 15-30 minutes |
| Complete TPMS sensor | $30-$150 | $60-$200 total | 20-45 minutes |
| Bead or rim corrosion repair | $10-$50 materials | $50-$150 total | 30-90 minutes |
These are typical North American ranges, not a universal price schedule. Tire retailers may include new stems with tire installation, while dealerships may charge more for sensor identification, programming, or proprietary parts.
A valve-stem repair does not normally require tire replacement. A tire should be replaced or professionally assessed when the sidewall is damaged, the bead is cut, the tire has been driven severely underinflated, or the tread has an unsafe puncture pattern.
When Should All Valve Stems Be Replaced?
Replace all conventional rubber valve stems when installing a new set of tires, when visible cracking appears, or when the stems are roughly 3-5 years old and have experienced severe heat, ozone, or winter exposure. Replacing one failed rubber stem is acceptable when the others remain flexible and undamaged.
TPMS hardware follows a different rule. Replace the grommet, washer, core, and cap whenever the sensor is unmounted if the manufacturer specifies a service kit. Replace the complete sensor only when the electronics fail, the housing is damaged, the valve threads are unusable, or the application requires an integrated assembly.
Inspect the spare tire too. A spare may use a different stem, remain inflated for years, and develop age-related rubber deterioration without regular visual checks.
Expert Service Rules That Prevent Repeat Leaks
- A new stem cannot seal a damaged rim hole. Corrosion under the grommet is a frequent cause of repeat leaks after apparently correct installation.
- Torque is a sealing requirement, not a clamping contest. Excessive force can make a metal stem leak more quickly by crushing the grommet.
- The cheapest diagnosis comes before the part order. A five-minute soapy-water test can distinguish a $3 core from a $100 TPMS sensor.
- TPMS warnings are system messages, not leak-location messages. Pressure measurement and physical leak testing must be performed separately.
- Balancing is not always mandatory after a stem-only repair, but checking balance is sensible when the tire bead has been disturbed.
What Mistakes Cause Valve-Stem Repairs to Fail?
Most failed repairs result from incorrect parts, reused sealing hardware, poor rim preparation, or unsafe inflation rather than from a defective replacement stem. The repair must address the actual leak location and preserve the wheel, tire, and TPMS sensor.
| Mistake | Result | Recovery |
|---|---|---|
| Reusing a TPMS grommet | Slow leak after tire service | Install the correct new service kit |
| Installing a brass core in an aluminum TPMS stem | Corrosion and seized core | Use the specified nickel-plated core |
| Over-tightening the retaining nut | Crushed seal or damaged sensor | Replace damaged seal and torque correctly |
| Using petroleum lubricant | Rubber deterioration or mounting problems | Clean and reinstall with approved lubricant |
| Ignoring rim corrosion | Persistent base leak | Repair or replace the affected rim |
| Skipping TPMS relearn | Warning light remains illuminated | Perform the vehicle-specific relearn |
Do not keep tightening a leaking metal stem. If bubbles continue after the specified torque is applied, remove the assembly and inspect the grommet, rim hole, and threads.
When Is Professional Service Necessary?
Professional service is the safest choice when the tire cannot be fully deflated, the wheel has TPMS hardware, the rim is corroded, the tire is run-flat, or bead-breaking equipment is unavailable. A tire shop also has a restraint system, inflation cage or safe inflation process, TPMS tools, and equipment for balancing and bead seating.
Stop the DIY attempt if the bead will not separate with appropriate equipment, the tire sidewall is damaged, the wheel is cracked or bent, or the replacement part does not match the original assembly. A valve stem is inexpensive, but an improperly serviced tire can create a rapid pressure loss at road speed.
Roadside quick-stem repairs should be treated as temporary when the wheel cannot be inspected. Inflate to the placard pressure, avoid high-speed driving if the repair is uncertain, and arrange a full inspection.
Frequently Asked Questions
Can a tire valve stem leak even when the tire looks fine?
Yes. A valve core, rubber stem, or TPMS grommet can leak slowly while the tire and wheel appear normal. Soapy water reveals bubbles at the tip or base, and pressure measurements taken several hours apart confirm whether the tire is losing air. Visual inspection alone cannot rule out a valve leak.
How long does a replaced valve stem last?
A conventional rubber stem commonly lasts about 3-5 years, although heat, ozone, ultraviolet exposure, tire chemicals, and repeated flexing can shorten that period. Metal stems may last 5-10 years or longer, but their seals and cores require periodic replacement. Tire installation is the practical time to renew aging rubber stems.
Does replacing a TPMS valve stem reset the warning light?
Replacing a TPMS stem service kit usually does not erase a warning by itself. If the electronic sensor remains installed, the vehicle may need only a relearn or drive cycle. A damaged or unregistered sensor can require scanning, programming, or complete sensor replacement according to the vehicle manufacturer’s procedure.
Can a missing valve cap cause a flat tire?
A missing valve cap usually does not cause immediate air loss because the valve core provides the primary seal. Dirt, water, and salt can contaminate or corrode the core, however, which may create a slow leak later. Replace missing caps with clean caps that contain an appropriate sealing insert.
Should valve stems be replaced with every tire change?
Standard rubber valve stems should generally be replaced with new tires because the tire is already removed and the parts are inexpensive. TPMS-equipped wheels typically need a fresh service kit rather than an automatic complete sensor replacement. The sensor itself should be tested and replaced only when defective or damaged.
Can a tire shop replace only the leaking stem?
Yes. A tire shop can usually replace one stem when diagnosis confirms that only one assembly is damaged. Replacing all rubber stems is sensible when they are the same age and visibly deteriorated, but a single-stem repair is reasonable when the remaining stems are flexible, intact, and relatively new.
The Bottom Line
A tire valve stem can be replaced, and the repair is usually routine when the correct stem, seal, core, and torque specification are used. Diagnose the leak first, distinguish the valve core from the stem body, and treat TPMS hardware as a sensor service operation rather than a generic rubber-part replacement. For a conventional car, a professional repair commonly costs $20-$45 per wheel; DIY replacement requires complete deflation and safe bead separation. Replacing the correct component is safer and cheaper than repeatedly adding air.


