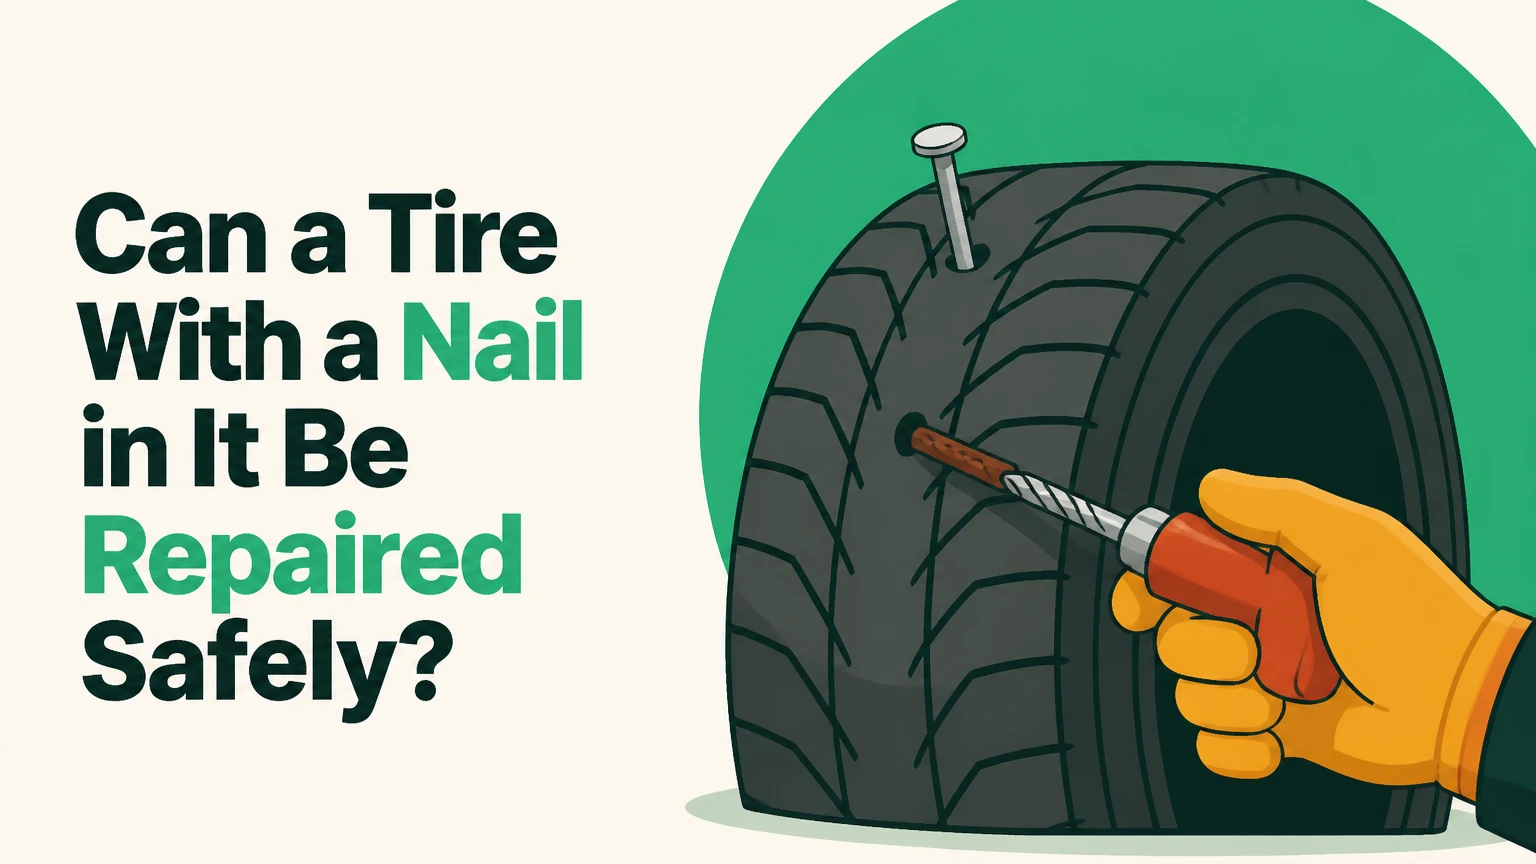
A tire with a nail in it can be repaired safely when the puncture is small, located in the repairable central tread area, and the tire has no internal damage from being driven underinflated. A qualified technician should remove the tire from the wheel and install a manufacturer-approved permanent repair, usually a combination patch-plug. Do not repair a sidewall or shoulder puncture.
Key Facts at a Glance
- A puncture up to 1/4 inch, or 6 mm, may be repairable in the central tread, subject to the tire manufacturer’s instructions.
- A nail in the sidewall, shoulder, bead, or transition area requires tire replacement rather than a conventional puncture repair.
- A string plug inserted from outside is a temporary roadside measure, not the preferred permanent repair for a passenger tire.
- Internal inspection is necessary because a tire driven while flat can suffer hidden liner, belt, or carcass damage.
- The U.S. Tire Manufacturers Association recommends repairing a puncture from the inside and using a repair unit that seals both the injury channel and inner liner.
- Typical U.S. puncture repair costs range from $20-$45 for a standard tire, while replacement can cost $100-$400 or more per tire.
Can a Tire With a Nail in It Be Repaired?
Yes, a tire with a nail in it can often be repaired, but the nail’s location and the tire’s condition determine the answer. A nail through the thick central tread is usually a repair candidate when the hole is no larger than 1/4 inch, the tire was not driven flat, and no previous repair conflicts with the new injury.
A nail can also remain lodged in the tread without causing an immediate flat. In that situation, pulling it out may release air quickly, so preserve the tire’s current condition until an appropriate repair method or spare tire is ready.
The U.S. Tire Manufacturers Association, or USTMA, states, “Never repair a tire that has been driven on while flat.” That rule matters because external inspection cannot reveal every type of heat and flex damage inside the casing. A tire shop must evaluate the complete assembly, not only the visible puncture.
What determines whether the puncture is repairable?
Four conditions control the initial decision:
- Location: The injury must be in the central tread or crown, away from the shoulder and sidewall.
- Size: The puncture channel should not exceed 1/4 inch, or 6 mm, for typical passenger and light-truck applications.
- Internal condition: The liner must show no abrasion, wrinkling, exposed cords, or loose rubber from underinflated driving.
- Tire condition: Adequate tread, acceptable age, no bulges or separations, and compliance with the tire maker’s repair policy are required.
The 2/32-inch tread figure is commonly used as a U.S. minimum legal or replacement benchmark, but it is not a universal approval threshold for every repair. Tire manufacturers and local regulations can impose stricter limits, and a worn tire may be poor value to repair even when the puncture itself is small.
Where on a Tire Can a Nail Be Repaired?
A nail can generally be repaired only within the central tread crown, where the tread is thick and the underlying structure remains comparatively stable. The shoulder and sidewall flex more extensively, so a rubber repair there cannot reliably restore the tire’s load-bearing structure.
The repairable area is often described as the center portion of the tread, but technicians should follow the tire manufacturer’s actual repair diagram rather than estimate by eye. The boundary between tread and shoulder is not always visually obvious, especially on wide, low-profile, or off-road tires.
Location-based repair decisions
| Nail location | Typical repair decision | Main reason | Safe next action |
|---|---|---|---|
| Center tread block | Often repairable | Thick crown with limited flex | Maintain pressure and visit a tire shop |
| Inner or outer tread near shoulder | Usually reject | High flex and belt curvature | Use spare or request mobile service |
| Shoulder transition | Replace tire | Repair zone is difficult to define | Do not drive at highway speed |
| Sidewall lettering area | Replace tire | Sidewall carries load through flexing | Tow or install spare |
| Bead or rim-seat area | Replace or specialist inspection | Air seal and casing may be compromised | Stop driving if pressure falls |
A puncture that begins in the tread but angles toward the shoulder requires careful inspection. The entry point alone does not prove that the damage remains within the crown.
Why are sidewall and shoulder punctures different?
Sidewall and shoulder damage is unsafe to repair because those areas flex repeatedly as the wheel rolls and carries vehicle weight. A patch may adhere temporarily, but it cannot reliably reconstruct damaged sidewall cords or restore the original heat and load performance.
Cosmetic rubber cement does not repair a structural sidewall injury. Neither does an external rope plug. A sidewall plug can leak, pull out, or conceal casing damage while the vehicle is moving at speed.
How Does a Professional Tire Puncture Repair Work?
A permanent puncture repair seals two separate paths: the hole through the tread and the opening in the tire’s inner liner. A combination repair uses a rubber stem to fill the injury channel and an internal patch to seal the liner, while vulcanizing cement promotes adhesion between compatible rubber surfaces.
The professional process normally takes 30-45 minutes for a standard passenger tire. Run-flat, low-profile, large-diameter, and heavily corroded wheel assemblies can take longer because demounting and reseating require additional care.
The professional repair sequence
- Locate and measure the injury.
The technician records puncture location, measures the channel, checks pressure, and identifies the tire’s construction and speed rating. - Remove the tire from the wheel.
The tire is fully deflated and demounted with a tire machine. This step exposes the inner liner and prevents an external plug from being treated as a complete inspection. - Inspect for internal damage.
The technician looks for abrasion, heat wrinkles, liner separation, exposed cords, and loose rubber debris. These signs indicate that the tire may have been driven while severely underinflated. - Prepare the injury channel.
The puncture is cleaned and prepared according to the repair unit and tire manufacturer’s procedure. The channel must be free of debris and suitably shaped for the stem. - Prepare the inner liner.
The liner around the injury is cleaned, lightly buffed, and treated with the specified vulcanizing cement. Excessive grinding can remove too much rubber and weaken the liner. - Install a combination repair unit.
A patch-plug or mushroom-style unit is inserted from the inside so its stem fills the puncture and its patch covers the inner liner. - Roll and seal the patch.
A roller presses the patch from the center outward, removing trapped air. The technician follows the repair product’s instructions for edge sealing and curing. - Remount, inflate, and test.
The assembly is inflated to the vehicle placard pressure, checked for leaks, balanced if needed, and returned to the vehicle. The excess stem is trimmed flush with the tread.
A successful repair has no escaping air at the repair unit, a fully bonded patch, and no vibration caused by remounting. A tire technician should also reset or verify TPMS operation when the system requires relearning.
Which Tire Repair Method Is Safest?
A combination patch-plug installed from inside the tire is the preferred permanent method for an eligible puncture. An outside-in string plug can preserve the wheel and allow a driver to reach a repair facility, but it does not provide the same internal inspection or dual sealing.
| Repair method | Typical U.S. cost | Typical time | Appropriate use | Main limitation |
|---|---|---|---|---|
| Internal combination patch-plug | $20-$45 | 30-45 minutes | Permanent repair of eligible tread punctures | Requires demounting |
| Outside-in string plug | $5-$15 for a kit | 5-10 minutes | Emergency travel to a tire facility | No internal inspection |
| Internal patch without stem | $15-$30 | 20-30 minutes | Limited applications under specific procedures | Does not fill the puncture channel |
| Tire replacement | $100-$400+ per tire | 45-90 minutes | Sidewall, shoulder, large, or internally damaged tire | Higher cost and possible matching issue |
A flat patch alone is not automatically wrong in every tire and application, but many modern steel-belted passenger tires require a repair that seals both the tread channel and inner liner. The repair product, tire maker, and industry procedure determine the acceptable method.
Why is a plug alone not the ideal permanent repair?
An external plug fills the visible hole but cannot confirm whether the tire’s inner liner or belts were damaged. It also leaves the repair dependent on material bonding and compression at the tread surface, rather than combining a channel seal with an internal liner seal.
The USTMA consumer guidance favors a repair that uses a rubber stem or suitable insert to fill the puncture and a patch to seal the inner liner. A shop may refuse to warranty a tire repaired only with an outside plug, particularly when the tire manufacturer prohibits that method.
How Much Does Nail-in-Tire Repair Cost?
Typical U.S. nail-in-tire repair costs are $20-$45 for an ordinary passenger tire, although some retailers repair tires purchased from their stores at no charge. Low-profile tires, run-flats, large wheels, corrosion, and difficult TPMS service can raise the total to approximately $40-$75.
Replacement costs vary more widely because tire size, brand, vehicle system, and installation affect the price. A single replacement may create a tread-depth mismatch on an AWD vehicle, so the shop may recommend replacing two tires or shaving the new tire to match.
| Situation | Typical price range | Typical service time | Possible extra issue |
|---|---|---|---|
| Standard 16-inch passenger tire repair | $20-$45 | 30-45 minutes | Free under some store policies |
| 19-inch low-profile tire repair | $40-$75 | 45-60 minutes | Bead and rim damage risk |
| Run-flat inspection and repair attempt | $40-$75 | 45-75 minutes | Manufacturer may prohibit repair |
| Standard tire replacement | $100-$250 installed | 45-90 minutes | Mounting, balancing, disposal |
| Premium EV or performance tire replacement | $200-$400+ installed | 60-120 minutes | Load, speed, and tread matching |
Prices are typical consumer ranges, not universal fees. Confirm whether the quoted amount includes demounting, balancing, valve service, TPMS relearn, and disposal.
Can You Drive With a Nail in the Tire?
You can sometimes drive a short distance to a tire facility when the nail is in the central tread, the tire holds near-normal pressure, and the route avoids high speed. Do not drive on a visibly deflated tire, a sidewall injury, or a tire that has lost pressure rapidly.
Check the pressure with a gauge rather than relying only on appearance. A tire can look normal while being several pounds per square inch below the vehicle placard specification.
| Tire condition | Drive-to-shop guidance | Speed and distance approach | Safer alternative |
|---|---|---|---|
| Nail remains in center tread, stable pressure | Usually reasonable if inspected promptly | Local roads, short distance, moderate speed | Mobile tire service |
| TPMS warning with slow leak | Avoid unnecessary trips | Inflate only to placard pressure if permitted | Nearby shop or roadside service |
| Tire visibly low or flat | Do not drive | Zero miles on the damaged tire | Spare or tow |
| Nail in shoulder or sidewall | Do not drive normally | Zero highway miles | Spare or mobile replacement |
| Tire was driven flat | Do not continue | Zero miles until inspected | Tow or professional roadside service |
If no spare or plug kit is available, leave the nail in place until help arrives. The nail may be restricting the leak, and removing it can convert a slow leak into an immediate flat.
Expert rule of thumb: pressure loss matters more than the nail’s size during the roadside decision. A small puncture that loses 10 psi in an hour is more urgent than a larger-looking nail that has remained sealed, although both still require professional inspection.
When Should the Tire Be Replaced Instead?
Replace the tire when the puncture reaches the shoulder or sidewall, exceeds the permitted size, causes internal damage, overlaps an existing repair, or occurs in a tire with serious wear, aging, bulges, separation, or exposed cords. Replacement is also required when the tire manufacturer’s service information rejects repair for that model or application.
A tire should not be repaired simply because it still holds air. Structural damage may exist without an obvious external symptom.
Replacement indicators
- The puncture diameter exceeds 1/4 inch, or the injury is irregular or torn.
- The injury is in the shoulder, sidewall, bead, or tread-to-sidewall transition.
- The tire was driven while flat or substantially underinflated.
- The inside shows scuffing, wrinkling, melted rubber, powder, or exposed reinforcement.
- The tread is at or near the replacement limit, or wear is uneven across the casing.
- A bulge, cut, belt separation, bead defect, or sidewall cracking is present.
- The tire already has a repair that conflicts with the new puncture.
- The tire’s warranty or manufacturer instructions prohibit the proposed repair.
Does tire age affect the repair decision?
Yes. Tire age and storage history affect rubber condition even when tread remains. The Department of Transportation Tire Identification Number identifies the manufacturing week and year, but U.S. manufacturers do not use one universal replacement age for every tire.
Michelin advises drivers to have tires professionally inspected annually after five years of service and recommends replacement at 10 years from manufacture as a precaution, regardless of tread. Other manufacturers publish different service-life guidance, so the tire maker’s instructions control.
What About Run-Flat, EV, and AWD Tires?
Run-flat, electric-vehicle, and high-performance tires need model-specific inspection because their load, heat, sidewall, and speed requirements differ. An eligible tread puncture may be repairable in some run-flat or EV tires, but driving after pressure loss can invalidate repair eligibility or trigger replacement.
| Tire application | Additional inspection concern | Repair decision | Replacement consideration |
|---|---|---|---|
| Run-flat tire | Distance driven without pressure | Follow exact manufacturer policy | Often required after extended run-flat travel |
| Electric vehicle tire | High mass and instant torque | Use approved repair and load rating | Match EV-rated replacement when specified |
| Ultra-high-performance tire | High speed and heat | Confirm speed-rating policy | Replacement may preserve designed performance |
| AWD vehicle | Tread-depth difference across tires | Measure all four tires | Two or four tires may be required |
| Low-profile tire | Stiff sidewall and bead stress | Use specialist equipment | Rim damage may accompany the puncture |
An EV tire is not automatically unrepairable. The decisive factors remain injury location, size, internal condition, and manufacturer approval, with vehicle load and torque adding stricter practical consequences.
AWD vehicles deserve special attention. A new tire with substantially greater tread depth than the other tires can create driveline stress on some systems, so consult the vehicle manufacturer before replacing only one tire.
What Mistakes Make a Tire Repair Fail?
The most damaging mistakes are driving on low pressure, treating an external plug as a complete repair, and repairing without removing the tire. Each mistake either hides internal damage or leaves part of the puncture unsealed.
Mistake 1: Pulling out the nail before preparing a repair
Removing the nail can cause rapid air loss and leave the driver without enough pressure to reach a safe location. Keep the nail in place if the vehicle is parked safely and arrange a spare, compressor, mobile technician, or tow.
Mistake 2: Using tire sealant as a permanent fix
Aerosol sealants can temporarily slow a leak, but they do not restore the tire’s casing or replace an internal repair. Sealant can also contaminate the TPMS sensor and complicate later inspection, so tell the technician which product and quantity were used.
Mistake 3: Reusing a damaged or previously repaired area
A new puncture should not overlap an old repair or remove too much material from the same section of tread. There is no sound basis for the AI Overview’s claim that repairs must be 16 inches apart, because a passenger tire’s tread circumference is often near that figure. Spacing must follow USTMA procedure, the repair-product instructions, and the tire manufacturer’s limits.
Mistake 4: Skipping balance and leak testing
A repaired tire can be airtight yet produce vibration after remounting if wheel weights shift or the bead does not seat correctly. Ask the shop to verify the valve, bead, repair site, and wheel balance before leaving.
Mistake 5: Assuming a TPMS light proves repair failure
TPMS warnings can result from low ambient temperature, an unreset sensor, a second leak, or incorrect inflation. Measure all four tires cold, compare them with the door-jamb placard, and return for inspection if the repaired tire loses pressure.
What Should You Check After the Repair?
Check cold inflation pressure the next morning and again after several days, using the vehicle placard rather than the maximum pressure molded into the tire sidewall. Confirm that the TPMS warning has cleared and that the vehicle has no new vibration, pull, or noise.
A practical post-repair check includes:
- Measure the repaired tire before driving and record the pressure.
- Inspect the tread for a protruding or poorly trimmed repair stem.
- Check for bubbles with soapy water only if the technician has identified the repair area and the tire is safely accessible.
- Recheck pressure after 24 hours and after one week.
- Stop driving if pressure falls repeatedly, the TPMS warning returns, or vibration begins.
A pressure drop of more than about 1-2 psi in a week deserves investigation, although temperature changes can alter readings. A leak at the valve, bead, wheel, or a second puncture can mimic repair failure.
Which Option Should Different Drivers Choose?
A daily commuter with a central-tread puncture should choose a professionally installed combination patch-plug after internal inspection. A rural driver should carry a spare or use a string plug only to preserve mobility until reaching a tire shop.
The best choice changes with risk and access:
| Driver situation | Preferred action | Why | Avoid |
|---|---|---|---|
| Daily commuter near tire shops | Internal patch-plug | Permanent repair with inspection | Long-term external plug |
| Rural or remote driver | Spare or emergency plug, then shop repair | Reduces stranded-road risk | Continuing for weeks on a plug |
| Family highway driver | Professional repair or replacement | Minimizes high-speed uncertainty | Driving on a low tire |
| Performance-car owner | Manufacturer-approved repair or replacement | Protects speed and handling characteristics | Ignoring speed-rating policy |
| EV owner | EV-compatible professional inspection | Accounts for vehicle mass and torque | Generic repair without load check |
The honest limitation is that no article can approve a specific tire without seeing the injury and knowing its pressure history. A nail location that appears central from outside may angle toward the shoulder, and only demounting reveals that geometry.
Frequently Asked Questions
Can I repair a tire without removing it from the rim?
An outside-in plug can be installed without removing the tire, but that method is best treated as temporary roadside assistance. A permanent repair requires internal inspection and normally requires demounting, because the technician must check for run-flat damage, liner abrasion, belt exposure, and previous repairs.
Is a tire patch better than a plug?
A combination patch-plug is generally better than a plug-only repair for an eligible passenger-tire puncture because the stem fills the injury channel and the patch seals the inner liner. A patch without a stem may not meet the repair procedure specified by the tire or repair-product manufacturer.
Can I repair a tire with two nails in it?
Two nails do not automatically require replacement, but each injury must be measured, located, and evaluated separately. Repairs must not overlap or compromise one another, and multiple injuries in a small area can weaken the tread enough that replacement is safer.
How long does a repaired tire last?
A correctly performed permanent repair can last for the remaining useful life of the tire when the puncture meets size and location requirements and the casing was not damaged. The repair does not reset the tire’s age, tread-wear, load, speed, or replacement limits.
Can Fix-a-Flat repair a nail puncture permanently?
Fix-a-Flat and similar sealants are temporary mobility products, not structural tire repairs. Sealant may slow air loss long enough to reach help, but it does not replace an internal patch-plug and can interfere with TPMS inspection and later service.
The Bottom Line
A tire with a nail in it can be repaired when the puncture is small, lies in the central tread, and the tire has not suffered internal damage from low-pressure driving. The safest permanent solution is an inside-installed combination patch-plug performed according to USTMA guidance and the tire manufacturer’s instructions.
Do not pull the nail before arranging assistance, do not drive a visibly flat tire, and do not repair shoulder or sidewall damage. When the location, pressure history, or internal condition is uncertain, replacement or towing is safer than guessing.


