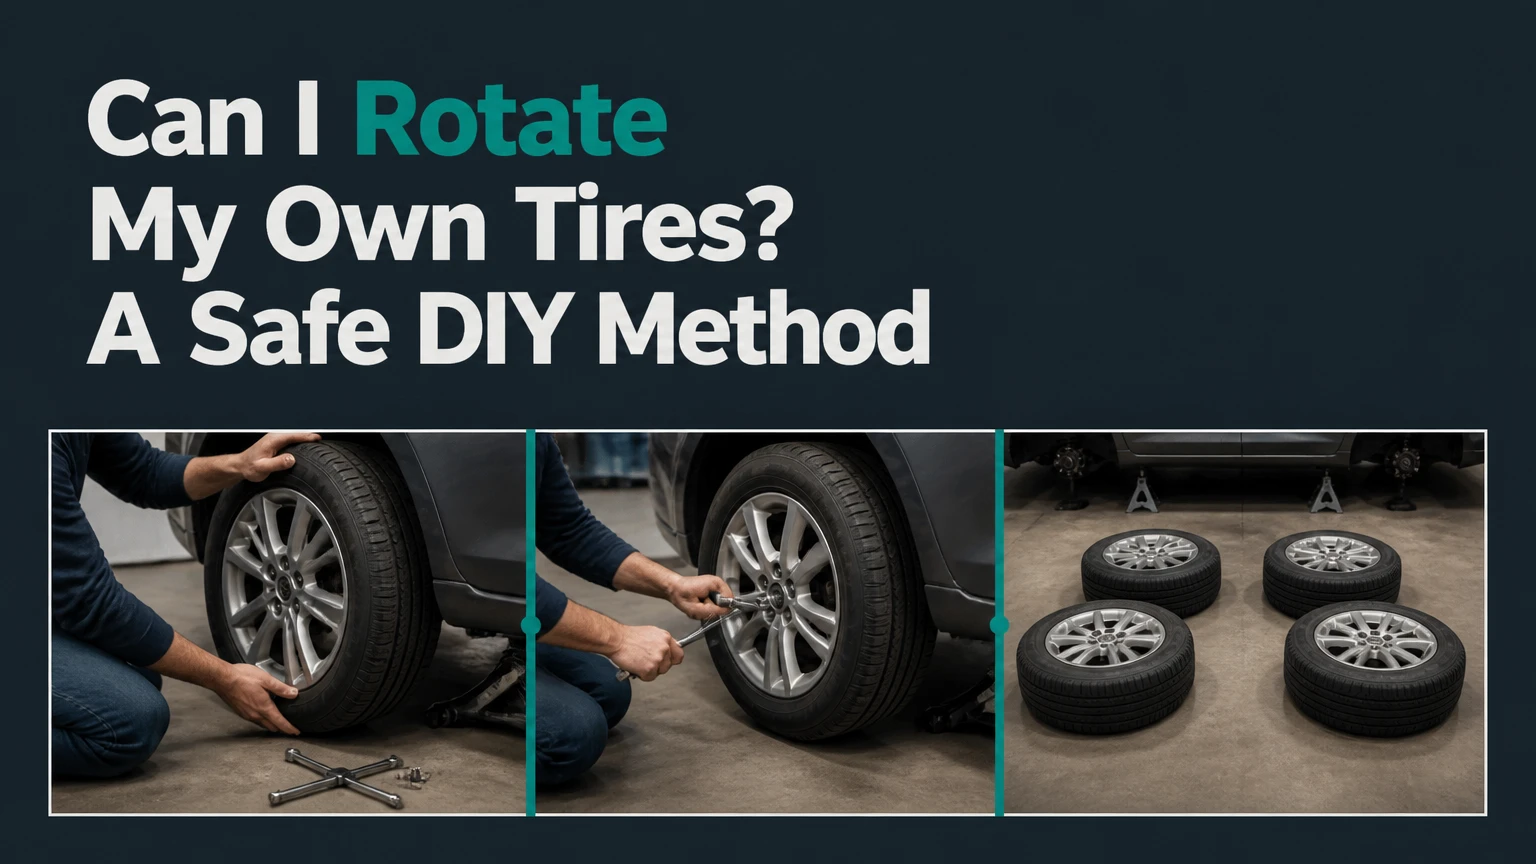
Yes, you can rotate your own tires if you have a level, stable work surface, a properly rated floor jack, jack stands, wheel chocks, and a calibrated torque wrench. The decisive safety rule is simple: never support a vehicle with the hydraulic jack alone, and never use a rotation pattern that conflicts with the tire’s direction, wheel size, or vehicle manual.
Key Facts at a Glance
Most vehicles need tire rotation about every 5,000-7,500 miles, unless the owner’s manual specifies another interval.
A complete home rotation usually takes 30-60 minutes for a beginner and 20-30 minutes with practice.
Jack stands, not a floor jack, must support the vehicle while wheels are removed.
Lug nuts must be tightened to the vehicle manufacturer’s torque specification, commonly 80-150 lb-ft.
Directional tires generally move front-to-back on the same side.
Tire rotation cannot correct a bent wheel, failed suspension part, bad alignment, or an unbalanced tire.
What Tire Rotation Does
Tire rotation moves each wheel and tire to another approved position so front, rear, left, and right tires accumulate wear more evenly. Front tires commonly wear faster because they steer, handle much of the braking load, and, on front-wheel-drive vehicles, deliver engine power to the road.
Even wear can extend the useful life of a matched tire set, preserve predictable handling, and make tread-depth differences smaller across the axles. Rotation does not create new tread, repair damage, improve an incorrect alignment, or replace balancing.
The actual benefit varies with vehicle weight, suspension geometry, driving style, tire compound, road surface, and inflation pressure. A driver who brakes hard, corners aggressively, or carries heavy loads may see a different wear pattern from a driver who travels mostly on highways.
How often should tires be rotated?
Most passenger vehicles should be rotated every 5,000-7,500 miles, or approximately every six months, but the vehicle owner’s manual takes priority. Tire manufacturers and retailers may specify a different interval for a warranty or mileage guarantee, so record the service date and odometer reading.
| Driving or vehicle condition | Typical interval | What to inspect |
|---|---|---|
| Normal commuting | 5,000-7,500 miles | Tread depth and inflation |
| Highway-heavy driving | 6,000-8,000 miles | Shoulder wear and cupping |
| Frequent towing or heavy loads | 3,000-5,000 miles | Heat, tread wear, and pressure |
| Performance driving | 3,000-5,000 miles | Edge wear and tread temperatures |
| Visible uneven wear | Immediately | Alignment, suspension, and tire damage |
Rotate sooner when one tire has noticeably less tread than the others, when a tire develops shoulder wear, or when the vehicle manufacturer specifies a shorter schedule. Rotation cannot undo wear that has already become severe.
Can I Rotate My Own Tires Safely?
You can perform a DIY tire rotation safely only when the vehicle can be lifted and supported on stable, level ground and you can identify the correct wheel positions. A flat concrete garage floor is preferred; gravel, sloped pavement, soft asphalt, and roadside locations create unacceptable support and rolling risks.
A factory scissor jack is an emergency-changing tool, not a practical support system for a four-wheel rotation. A scissor jack may lift one corner, but it must never remain the only support beneath a vehicle while you remove a wheel.
Before You Start
| Requirement | Typical specification | Quantity or condition |
|---|---|---|
| Floor jack | 2-3 ton rating for most cars | 1, with adequate lift height |
| Jack stands | Matching 2-3 ton rated pair or set | 2 minimum, 4 preferred |
| Wheel chocks | Rubber or heavy-duty plastic | 2 |
| Torque wrench | Vehicle-specific range, often 30-150 lb-ft | 1 calibrated tool |
| Socket and breaker bar | Common sockets: 17, 19, or 21 mm | Correct fit for lug nuts |
| Work time | Beginner: 30-60 minutes | Add time for corrosion or confusion |
Check the owner’s manual for jacking points, stand locations, lug-nut torque, rotation interval, and any AWD restrictions. Gather a tire-pressure gauge, wire brush, gloves, marker or chalk, and a small container for lug nuts.
Do not start if the vehicle has a damaged jack point, missing lug nut, cracked wheel, bulging sidewall, exposed cord, tire pressure that cannot be maintained, or severe tread separation. A rotation is the wrong time to improvise a repair.
Which Rotation Pattern Applies?
The correct tire rotation pattern depends on drivetrain, tire direction, tire construction, wheel dimensions, and the instructions printed in the vehicle or tire documentation. Drivetrain alone does not determine the pattern, because directional and staggered fitments can override the usual FWD or RWD arrangement.
| Vehicle or tire setup | Typical approved pattern | Wheel movement |
|---|---|---|
| FWD, four matching non-directional tires | Forward cross | Rear left to front right; rear right to front left; fronts straight back |
| RWD, 4WD, or many AWD vehicles | Rearward cross | Front left to rear right; front right to rear left; rears straight forward |
| Directional tires, same-size wheels | Front-to-back | Front and rear exchange on the same side |
| Staggered, non-directional setup | Side-to-side on same axle | Left front to right front; left rear to right rear |
| Full-size spare included | Five-tire pattern | Follow the vehicle manual, not a generic four-tire pattern |
How do I identify directional or staggered tires?
A directional tire has a rotation arrow or wording such as “ROTATION” on the sidewall. The arrow must point forward when the vehicle moves ahead. An asymmetric tire may say “OUTSIDE” and “INSIDE”; the marked outside side must remain outward, but the tire can often move side-to-side if wheel dimensions permit.
A staggered setup uses different wheel or tire sizes between the front and rear axles. Read the complete tire size, such as 225/45R18, from each sidewall and compare the wheel labels or manual. A tire that fits physically may still be wrong for the axle because of width, offset, load rating, brake clearance, or rolling circumference.
When the tires are directional and the vehicle is staggered, a normal rotation may be impossible without demounting and remounting tires. That job belongs with a shop equipped to handle tire mounting and balancing.
What changes for AWD and 4WD vehicles?
AWD and 4WD vehicles require closer attention to tire circumference and tread-depth differences because the driveline may connect all four wheels through differentials, couplings, or transfer cases. Some manufacturers permit only a specific pattern, while others require measuring tread depth or replacing tires as a set.
Do not assume that a rearward-cross pattern is safe for every AWD vehicle. Consult the manual, tire manufacturer, or dealer when tire sizes differ, one tire has been replaced, or tread depth varies substantially. A mismatched rolling circumference can increase driveline stress in systems with limited tolerance.
How Do You Rotate Tires at Home?
A safe home tire rotation uses a planned wheel map, stable support, controlled removal, correct installation, and a final torque check. The most important preparation is writing down the original positions and confirming the destination of every wheel before lifting the first corner.
Step 1: Confirm the pattern and mark the tires
Park on level concrete, select Park or first gear, switch off the engine, apply the parking brake, and place chocks at the wheels that remain on the ground. Mark each tire’s original position with chalk, such as FL, FR, RL, or RR.
Inspect tread depth, sidewalls, arrows, outside markings, and tire sizes before removal. You will know this step worked when every tire has a legal destination and every directional arrow will still point forward.
Common mistake: Starting with a generic internet pattern before checking the owner’s manual. The correction is to stop and verify the vehicle’s exact fitment.
Step 2: Loosen the lug nuts on the ground
Use the correct socket and breaker bar to loosen each lug nut approximately one-half turn while the tire remains on the ground. Do not remove the nuts, and do not use body weight in a position that could cause a fall.
The wheel’s contact with the ground provides resistance while you break the nut loose. You will know the nuts are ready when each turns without excessive force but remains threaded.
Common mistake: Removing all lug nuts before lifting. A wheel can shift or fall unexpectedly, damaging studs or your hands.
Step 3: Lift and support the vehicle
Use the specified jacking point from the manual, lift only as high as necessary, and place jack stands at approved structural support points. For a four-wheel rotation, four stands provide the best access and stability; two stands can work only with a carefully planned sequence that never leaves the vehicle unsupported.
Never place a stand under a thin floor pan, suspension arm that is not an approved support point, plastic trim, or exhaust component. You will know the support is sound when the vehicle rests fully on the stands and a gentle push produces no rocking.
Common mistake: Keeping the floor jack lightly loaded as the only backup. A jack can lose pressure or move, so the stands must carry the vehicle.
Step 4: Remove the wheels and clean the hubs
Remove the lug nuts, keeping them with the vehicle if they are specialized, and pull each wheel straight from the hub. If corrosion holds a wheel in place, leave two lug nuts loosely engaged, lower the vehicle slightly if necessary, and use controlled impacts to the tire’s sidewall or tread area, never a hammer on the wheel rim.
Brush rust and debris from the hub and wheel mating surfaces. Do not apply grease between the wheel and hub unless the manufacturer specifically permits it, because excess lubricant can alter clamping force.
You will know the wheel is ready when the mating surfaces are clean, the studs or bolts are undamaged, and no debris prevents flat contact.
Common mistake: Striking an aluminum rim. Use a rubber mallet on the tire or seek professional help if the wheel will not release safely.
Step 5: Move each wheel to its approved position
Follow the written wheel map. For a standard FWD forward cross, move both rear tires diagonally to the front and move both front tires straight to the rear. For a standard RWD rearward cross, move both front tires diagonally rearward and move both rear tires straight forward.
Keep directional tires on the same side unless a tire shop remounts them. Confirm that every arrow points forward and that every “OUTSIDE” marking faces outward.
You will know the pattern is correct when each destination matches the manual and no tire direction, size, load rating, or axle restriction has been violated.
Common mistake: Treating a staggered wheel set like four identical wheels. Compare tire and wheel sizes before installation.
Step 6: Hand-start and snug the lug nuts
Install each wheel fully against the hub, then thread every lug nut by hand for several turns before using a socket. Hand-starting prevents cross-threading, which can ruin wheel studs and make the wheel impossible to clamp correctly.
Snug the nuts in a star or criss-cross sequence while the tire is not yet fully loaded. You will know the wheel is secure enough for lowering when every nut is seated and no wheel rocks against the hub.
Common mistake: Using an impact wrench to run nuts down aggressively. If an impact tool is used at all, use its lowest setting only for preliminary snugging, then torque manually.
Step 7: Lower the vehicle and torque the lug nuts
Raise the vehicle slightly, remove the stands, and lower it until the tires touch the ground but do not carry the full vehicle weight if the manual specifies another method. Set the torque wrench to the exact factory value and tighten in a star pattern.
Typical passenger-car torque falls between 80 and 150 lb-ft, but the range is not a substitute for the manufacturer’s number. A torque wrench set 10 lb-ft too high or low can matter on vehicles with small studs, aluminum wheels, or unusual fasteners.
You will know the installation is complete when every lug nut clicks once at the specified setting and the wheel sits evenly against the hub.
Common mistake: Repeatedly clicking the torque wrench after the first click. That can apply excess torque.
Step 8: Check pressure, TPMS, and torque again
Set cold inflation pressure using the driver-door placard, not the maximum pressure molded into the tire sidewall. Inspect for leaks, replace valve caps, and check whether the vehicle requires a TPMS relearn procedure.
After driving approximately 25-50 miles, recheck lug-nut torque with the vehicle safely parked. A recheck is especially sensible after corrosion cleaning, wheel replacement, or any service involving wheel studs.
You will know the job is complete when pressure is correct, warning lights are absent or reset according to the manual, and the vehicle drives without vibration or pulling.
Common mistake: Using a tire-pressure number from memory. Front and rear pressures can differ, especially on SUVs, trucks, and staggered sports cars.
DIY Rotation Versus a Tire Shop
DIY rotation is usually the better choice for an owner who already has safe lifting equipment and can identify the fitment. A shop is the better choice when rotation is free with a tire purchase, the vehicle has staggered or unusual wheels, or inspection reveals a problem beyond simple wheel movement.
| Option | Typical direct cost | Typical time | Best fit |
|---|---|---|---|
| DIY with existing tools | $0-$10 | 30-60 minutes | Experienced home mechanic |
| DIY with new basic equipment | $150-$350 | 1-2 hours initially | Long-term DIY owner |
| Independent tire shop | $20-$50 | 20-45 minutes | Standard four-tire vehicle |
| Tire retailer rotation plan | Often $0 | 30-90 minutes including queue | Customers with eligible purchases |
| Rotation plus balance or inspection | $60-$150 | 45-120 minutes | Vibration or uneven wear |
The one-time tool investment can pay for itself after several services, but the financial calculation excludes storage, maintenance, physical effort, and injury risk. Professional service also makes sense when a shop can inspect brakes, suspension, alignment, tire balance, and tread condition during the appointment.
Is tire rotation the same as balancing or alignment?
Tire rotation changes wheel positions; balancing corrects unequal mass distribution; alignment adjusts wheel angles such as camber, caster, and toe. These services address different symptoms and cannot reliably substitute for one another.
| Service | What changes | Typical symptom or purpose | Typical cost |
|---|---|---|---|
| Rotation | Wheel position | Uneven axle wear prevention | $0-$50 |
| Wheel balancing | Wheel-and-tire mass distribution | Speed-related vibration | $40-$100 per vehicle |
| Alignment | Suspension wheel angles | Pulling, steering offset, edge wear | $100-$250 |
| Suspension repair | Damaged mechanical component | Clunks, looseness, abnormal wear | $150-$1,000+ |
| Tire replacement | Tire itself | Low tread, damage, age, or mismatch | $100-$400+ per tire |
A steering wheel that vibrates at a particular speed usually needs balance or runout diagnosis, not another rotation. A car that pulls to one side may need alignment, tire inspection, or brake diagnosis.
Common Problems and How to Fix Them
What should I do if a wheel is stuck?
A wheel stuck to the hub usually has corrosion at the mating surface. Keep two lug nuts loosely threaded, use approved support, and apply controlled force to the tire’s rubber sidewall or tread with a rubber mallet; never crawl under an inadequately supported vehicle or strike the rim with a steel hammer.
After removal, clean the hub face and inspect for distortion. A thin manufacturer-approved anti-seize application may be appropriate on the hub pilot in some vehicles, but it must not reach wheel studs, lug seats, brake rotors, or friction surfaces.
Why does the steering wheel vibrate after rotation?
Post-rotation vibration can result from a wheel that is not seated flat, incorrect lug torque, a missing balance weight, tire belt damage, bent wheel, or existing suspension wear. Recheck wheel seating and torque first, then have the affected wheel inspected and spin-balanced if vibration remains.
A vibration that appears only at a narrow road-speed range points more strongly toward balance or wheel and tire runout. A vibration during braking suggests a brake or suspension issue rather than ordinary rotation.
What if the vehicle pulls after rotation?
A pull after rotation may come from unequal tire pressure, conicity, uneven wear, a dragging brake, or alignment variation. Confirm pressures at cold temperature, return to the original positions if the pull began immediately after rotation, and arrange an inspection if the problem persists.
Do not use rotation to conceal severe feathering, cords, bulges, or a tire with substantially different tread depth. Those conditions require diagnosis or replacement.
When Should You Skip DIY Rotation?
Skip home rotation when the work surface is sloped or soft, the vehicle exceeds the jack or stand rating, the lifting points are rusted, or you cannot verify the correct torque value. Skip the service entirely until a professional inspects any tire with a sidewall bulge, exposed cord, puncture outside the repairable area, separated tread, or damaged bead.
Performance cars with staggered wheels often have no conventional rotation option. Some vehicles also use directional tires, different front and rear load ratings, or manufacturer-specific AWD requirements that make a generic pattern unsafe.
Which owners should choose professional service?
- Casual driver: Use a tire retailer or independent shop when the service costs $20-$50 or is included with the tire purchase.
- DIY enthusiast: Buy a quality floor jack, four stands, chocks, and a calibrated torque wrench if you expect to perform repeated wheel service.
- AWD owner: Follow the owner’s manual and request tread-depth and circumference checks when tire wear differs.
- Luxury or performance owner: Use a specialist when wheels are staggered, tires are directional, or TPMS programming requires dedicated equipment.
- Owner with uneven wear: Request alignment and suspension inspection rather than paying for rotation alone.
FAQ
Can I rotate tires with only one jack?
A single floor jack can lift one corner, but rotating all four tires safely with only one jack and no stands is unacceptable. Jack stands must support the vehicle whenever a wheel is removed. A two-stand method can be workable for limited sequences, but four stands provide safer access and reduce repeated lifting.
Should the better tires be on the front or rear?
For most vehicles, tires with greater tread depth should be installed on the rear axle, regardless of whether the vehicle is front-wheel drive, rear-wheel drive, or AWD. The rear tires help resist oversteer on wet roads. Follow the tire manufacturer and vehicle manufacturer if their instructions differ.
Do I need to reset TPMS after rotating tires?
Some vehicles automatically identify sensor positions after driving, while others require a manual relearn procedure or scan tool. The TPMS warning light may not indicate whether positions are mapped correctly, so consult the owner’s manual after moving wheels and verify pressures with a gauge.
Can I rotate tires if one tire is newer?
A newer tire can sometimes be placed on the rear axle, but mixing substantially different tread depths can be unsuitable for AWD systems and may affect handling. Measure all four tires, check the manufacturer’s limits, and replace tires as a matched axle pair when required.
How do I know whether tires are too worn to rotate?
Use the tread-wear indicators, which are molded bars across the main grooves, and measure tread depth with a gauge. Replace a tire at the legal limit in your jurisdiction or sooner when damage, age-related cracking, irregular wear, or poor wet-weather performance makes continued use unsafe.
The Bottom Line
Can I rotate my own tires? Yes, provided you have stable support equipment, the correct pattern, the factory lug torque, and enough time to inspect every wheel. DIY rotation is a reasonable 30-60-minute maintenance task for a prepared owner, but a shop is the safer and often cheaper option when service is free, fitment is complex, or wear indicates an alignment, balance, suspension, or tire-replacement problem.


