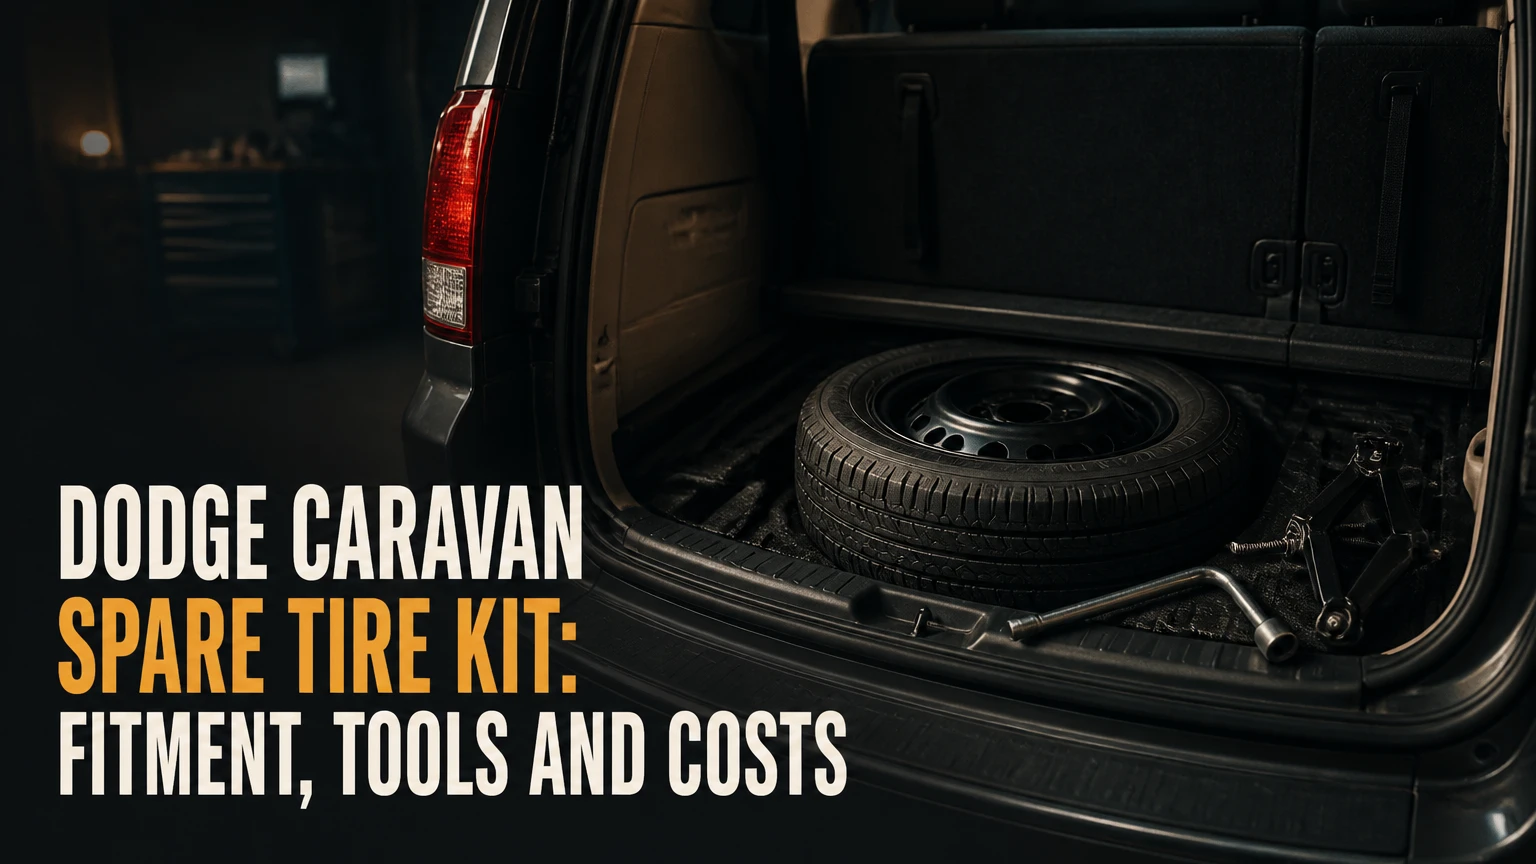
A Dodge Caravan spare tire kit is a matched emergency wheel, tire, jack, lug wrench, hoist hardware, and storage equipment used to retrieve and replace a flat tire. Compatibility depends on model year, trim, wheel size, brake clearance, and whether the vehicle has the factory underbody carrier, so a universal kit is rarely a safe assumption.
Key Facts at a Glance
- A 2008-2020 Dodge Grand Caravan commonly uses a 5×127 mm wheel bolt pattern, but bolt pattern alone does not prove kit compatibility.
- The factory spare, when equipped, stores horizontally under the vehicle and lowers through a cable-operated hoist.
- A compact spare usually requires a 50 mph maximum and temporary use only; the exact limits appear on the spare sidewall and vehicle documentation.
- A tire inflator and sealant cannot repair a sidewall tear, bent wheel, separated belt, or large tread gash.
- Many compact spares require approximately 60 PSI, but the molded sidewall and owner’s manual control over a generic pressure assumption.
- The complete kit must include the correct wheel, tire, retainer, hoist interface, jack, lug wrench, and any vehicle-specific extension pieces.
What Is Included in a Dodge Caravan Spare Tire Kit?
A complete Dodge Caravan spare tire kit combines the replacement wheel and tire with the equipment needed to lower, install, and secure it. A wheel-and-tire listing without a jack or hoist is a partial kit, while a tool-only package cannot help a Caravan that lacks a carrier assembly.
The exact contents vary by supplier and model year. Factory equipment may be divided between a tire, jack, wrench, extension rods, foam tool organizer, and underbody winch. Aftermarket sellers often package only the jack and tools, or only a wheel and temporary tire.
Complete component checklist
| Component | Function | What to verify before purchase |
|---|---|---|
| Compact spare wheel and tire | Replaces a damaged road wheel temporarily | Tire size, load rating, date code, bolt pattern |
| Scissor jack | Lifts one corner of the minivan | Saddle shape, lifting range, rated capacity |
| Lug wrench | Removes and installs lug nuts | Correct nut size, typically 19 mm or 3/4 inch by application |
| Extension rods | Reach the underbody hoist and wheel nuts | Correct ends and length for the model year |
| Cable hoist and retainer | Holds the spare beneath the floor | Existing carrier, cable condition, retainer diameter |
| Foam insert or storage bag | Prevents tools from moving in the cabin | Cargo-floor and Stow ’n Go compartment dimensions |
A kit can appear complete and still fail at the roadside. The most common omission is the cable retainer, which passes through the wheel’s center opening and supports the tire under the vehicle. The second common omission is a hoist crank that fits the cabin access nut but cannot connect to the supplied lug wrench.
How Does the Caravan Spare-Tire Hoist Work?
The Caravan underbody carrier uses a cable winch to suspend the spare horizontally beneath the center section of the vehicle. A cabin access nut turns the winch, lowering the cable until the tire reaches the pavement; the metal retainer is then tilted and passed through the wheel center.
On many 2008-2020 Grand Caravan configurations, the access point is inside the cabin near the front-seat or center-floor area, beneath a small cover or flap. Older Dodge Caravan designs can use different access locations and carrier hardware. The owner’s manual and the physical vehicle should take priority over an online diagram.
The hoist is a mechanical convenience, not a lifting point. The jack must contact the specified steel reinforcement or pinch-weld location, and the cable must not support the vehicle after the tire has been removed. Road salt can corrode the cable, retainer, and winch housing even when the spare itself looks usable.
What should you inspect before an emergency?
Lower the spare once every six to twelve months and inspect the cable, retainer, winch, and tire pressure. A practical inspection takes about 10 minutes and can reveal a seized mechanism before a nighttime roadside failure.
Check these items:
- Confirm that the access nut turns smoothly in both directions.
- Lower the tire until the cable is slack.
- Inspect the cable for broken strands, flattening, heavy rust, or kinks.
- Check that the retainer tilts and passes through the wheel opening.
- Read the spare’s pressure and inflate it to the sidewall or manual specification.
- Raise the tire until it sits firmly against the underbody without forcing the winch.
Stop if the cable has damaged strands or the winch slips. A replacement carrier is safer than trusting a cable that may release a tire under the vehicle.
Which Dodge Caravan Spare Tire Kit Should You Buy?
The best kit for most owners is a vehicle-specific compact spare package that includes the correct tire, jack, wrench, retainer, and hoist compatibility. A full-size conversion makes more sense for long-distance travel, while an inflator kit is suitable only when the owner accepts that certain tire failures will require towing.
| Kit type | Typical purchase price | Driving limitation | Best use |
|---|---|---|---|
| Vehicle-specific compact kit | $250-$400 new | Usually 50 mph and short-distance use | Daily commuting and ordinary punctures |
| Used OEM wheel and tire kit | $80-$250 depending on condition | Sidewall age and tire condition govern | Budget replacement after careful inspection |
| Full-size wheel and tire conversion | $250-$600 typical total | Normal tire limits after installation | Rural travel and long road trips |
| Hoist and tool-only package | $120-$220 | No benefit without a compatible tire | Vehicles with a usable spare already available |
| Inflator and sealant kit | $40-$80 | No repair for structural damage | Small tread punctures near a service location |
Prices are typical North American retail ranges, not guaranteed quotations. Dealer parts, shipping, tire mounting, and installation can add $50-$200. A salvage-yard wheel can reduce cost, but the tire’s age, load rating, corrosion, and storage history must be checked.
Compact versus full-size spare
| Decision factor | Compact spare | Full-size spare |
|---|---|---|
| Typical tire size | T145/80D16 or T145/90D16 by application | Matches the vehicle’s approved road-tire size |
| Approximate weight | 35-45 lb with wheel | 50-70 lb with wheel |
| Underbody clearance | Usually close to factory design | May reduce clearance if width differs |
| Temporary-use limit | Commonly 50 mph and limited distance | Normal tire-use limits if correctly matched |
| Cargo impact | Remains under the vehicle | May need cargo or underbody storage space |
| Installation effort | Lowest when factory-compatible | Higher because wheel and carrier clearance must be checked |
Compact-spare dimensions are not universal across every Caravan. T145/80D16 and T145/90D16 examples exist in the broader Chrysler and Dodge parts market, but the correct size must match the tire placard, owner’s manual, brake clearance, and wheel specification for the particular vehicle.
A full-size spare is not automatically a plug-and-play upgrade. A wider wheel can contact suspension parts, fail to fit the hoist retainer, or hang too low under a loaded minivan. Confirm wheel diameter, width, offset, center bore, load rating, and brake clearance before ordering.
Does a Caravan Have a Spare Tire?
Some Dodge Caravan and Grand Caravan vehicles have a factory spare and underbody hoist, while others were supplied with a tire inflator, sealant, or no complete spare assembly. Stow ’n Go seating, trim level, production year, fleet specification, and regional equipment can change the original configuration.
The absence of a visible spare in the cargo area does not prove that the vehicle lacks one. The tire may be mounted beneath the center of the minivan. Conversely, a round access cover or crank point does not guarantee that the wheel, retainer, and jack are still present.
Use this verification sequence before buying:
| Verification point | How to check | Purchase consequence |
|---|---|---|
| Model year | Read the registration and driver-door label | Separates 2001-2007 from 2008-2020 carrier designs |
| VIN and trim | Ask a Dodge or Mopar parts counter to decode the VIN | Confirms original equipment where catalog data conflicts |
| Underbody carrier | Look for a cable winch and wheel retainer | Determines whether a tire-only purchase is possible |
| Cabin access point | Find the crank nut and cover | Confirms the correct extension and wrench interface |
| Existing road wheels | Read tire and wheel markings | Establishes compact size and full-size replacement options |
| Wheel clearance | Compare diameter, offset, and brake clearance | Prevents an apparently matching wheel from contacting hardware |
The 2008-2020 Grand Caravan commonly uses a 5×127 mm, also called 5×5-inch, bolt pattern. That measurement identifies five lug locations on a 127 mm circle; it does not identify the correct wheel width, offset, center bore, load rating, or temporary-tire dimensions.
What Are the Correct Spare-Tire Specifications?
The vehicle placard, spare-tire sidewall, and owner’s manual provide the controlling specifications. A commonly quoted 100 lb-ft wheel-nut torque and 60 PSI compact-spare pressure are useful reference points for many five-lug Caravan applications, but owners should verify the exact values for their vehicle.
| Specification | Common Caravan reference | Verification source |
|---|---|---|
| Bolt pattern on many 2008-2020 models | 5×127 mm | Wheel marking, parts catalog, VIN |
| Wheel-nut torque on many applications | 100 lb-ft, 135 N·m | Owner’s manual or service information |
| Compact-spare pressure on many applications | About 60 PSI, 4.1 bar | Spare sidewall and vehicle label |
| Temporary-spare speed limit | Commonly 50 mph | Spare sidewall and manual |
| Temporary-spare distance | Often intended only to reach service | Manual, tire manufacturer, road conditions |
| Normal road-tire pressure | Vehicle-specific front and rear values | Driver-door tire placard |
The 50-mile figure is often repeated online, but not every temporary spare has the same distance instruction. Treat the sidewall and manual as higher authority than a generic marketplace listing.
A temporary spare also changes handling. Reduced tread width, altered rolling diameter, and different traction can affect braking, steering, and electronic systems. Drive slowly, avoid abrupt lane changes, and repair or replace the original tire promptly.
How Do You Retrieve and Install the Spare?
Retrieving and installing a Caravan spare typically takes 15-30 minutes on level ground when the hoist and jack are serviceable. The success factor is correct preparation: secure the vehicle before reaching under it, loosen lug nuts before lifting, and use only the designated steel jack point.
Before you start
| Requirement | Typical value |
|---|---|
| Time | 15-30 minutes |
| Roadside difficulty | Moderate, higher in rain, traffic, or soft ground |
| Required equipment | Spare tire, jack, lug wrench, extensions, gloves |
| Helpful safety equipment | Warning triangles, flashlight, reflective vest |
| Vehicle condition | Level, firm surface with parking brake applied |
| Replacement target | Nearest safe tire service, not continued normal travel |
Call roadside assistance instead of changing the tire if the vehicle is on a freeway shoulder, the ground is unstable, traffic cannot be separated from the work area, or the wheel is trapped by severe corrosion.
Step 1: Secure the Caravan
Park on the firmest level surface available, switch on hazard lights, engage the parking brake, and place the transmission in Park. Remove passengers from the traffic side and place warning devices according to local road-safety rules.
You will know the vehicle is ready when it cannot roll from a gentle push and approaching drivers have a visible warning. Do not crawl under a vehicle supported only by the scissor jack.
Step 2: Lower the spare
Open the cabin cover at the hoist access point and assemble the extension rods with the lug wrench. Turn the access nut counterclockwise until the tire rests fully on the ground and the cable becomes slack.
Reach under the vehicle from a safe side position, tilt the retainer, and slide it through the wheel’s center opening. Pull the tire clear of the vehicle before positioning the jack.
A common mistake is stopping while the cable remains tight. A loaded retainer can be difficult to remove and may spring toward the wheel opening when released.
Step 3: Loosen the flat tire’s lug nuts
Remove the wheel cover if fitted, then loosen each lug nut approximately one-half turn while the tire remains on the ground. Turn counterclockwise with the lug wrench and use controlled pressure rather than a sudden body-weight movement.
The checkpoint is visible movement at every nut without removing any nut. If a locking lug nut is fitted, retrieve the matching key before lifting the vehicle.
Step 4: Position and raise the jack
Place the jack beneath the designated steel pinch-weld or reinforced sill point near the flat tire. Avoid plastic rocker trim, floor pans, suspension arms, fuel lines, and unsupported body panels.
Turn the jack clockwise until the replacement tire will clear the pavement by roughly 2 inches. The saddle must remain centered under the approved lifting point while the vehicle rises.
The vehicle is unsafe if the jack tilts, the base sinks, or the body begins to deform. Lower it immediately if any of those conditions occurs.
Step 5: Mount the spare wheel
Remove the loosened lug nuts and pull the flat wheel straight off. Mount the spare onto the hub, hand-thread every nut, and tighten them lightly in a star or alternating pattern.
The checkpoint is a flush wheel against the hub with no trapped dirt on the mounting face. Never use the lug nuts to draw a wheel into place across rust, debris, or an incompatible center bore.
Step 6: Lower and tighten the wheel
Lower the Caravan until the spare contacts the ground enough to resist turning, then tighten the lug nuts in an alternating pattern. Lower the vehicle completely, remove the jack, and torque the nuts to the vehicle-specific specification, commonly 100 lb-ft on many Caravan applications.
Recheck the pattern after the first torque pass. A torque wrench is preferable to estimating tightness with the supplied wrench.
Step 7: Stow the damaged tire and tools
Place the flat tire, jack, extensions, retainer, and wrench where they cannot roll into pedals or obstruct passengers. If the damaged tire cannot fit in its normal location, secure it inside the cargo area and reduce speed.
Raise the spare into the underbody carrier only after confirming that the retainer is centered through the wheel. Stop turning when the tire is firmly seated. Forcing the access nut after the tire is tight can damage the winch gears or cable.
How Much Does Installation and Replacement Cost?
A do-it-yourself installation usually costs nothing beyond the kit, while a shop or roadside provider commonly charges $50-$150 for wheel installation. A complete new kit typically costs $250-$400, and a full-size conversion can reach $600 after tire mounting and carrier work.
| Purchase or service | Typical price | Typical timeframe |
|---|---|---|
| Compact spare tire only | $100-$220 | Same day to one week |
| Steel wheel only | $60-$150 | Same day to one week |
| Jack and tool set | $50-$140 | Two days to two weeks |
| Hoist or carrier assembly | $100-$250 | Same day to two weeks |
| Tire mounting and balancing | $25-$60 | 30-60 minutes |
| Roadside spare installation | $50-$150 | 30-90 minutes |
| Full-size conversion | $250-$600 | One day to two weeks |
Used parts from a salvage yard can lower the purchase price, but tire age matters. The National Highway Traffic Safety Administration recommends checking tire condition and following manufacturer guidance regarding aging; a visibly unused spare can still have degraded rubber after years beneath a vehicle.
Can an Inflator Kit Replace a Spare Tire?
An inflator and sealant kit can address a small puncture in the tread, but it cannot replace a spare tire for sidewall damage, rim damage, bead separation, or a tire that has been driven flat. The sealant also contaminates the tire and may require disclosure to the tire shop.
| Failure type | Inflator and sealant | Compact spare | Roadside assistance |
|---|---|---|---|
| Small tread puncture | Often suitable | Suitable | Suitable |
| Sidewall cut | Not suitable | Suitable if wheel fits | Suitable |
| Bent or cracked wheel | Not suitable | Suitable if hub fit is correct | Suitable |
| Tire separated from bead | Usually not suitable | Suitable | Suitable |
| Two damaged tires | Not suitable | Only if one tire is repaired or replaced | Usually required |
| Unsafe freeway shoulder | Unsafe to operate roadside | Unsafe to operate roadside | Preferred |
A compressor-only kit without sealant cannot seal a puncture. A sealant bottle with an expired date can fail to flow, and some tire-pressure monitoring sensors require cleaning or replacement after certain sealants are used.
What Problems Occur With the Hoist?
The most common hoist failures are corrosion, a stripped winch gear, a damaged cable, and a retainer wedged into the wheel. The correct response is controlled inspection, not forcing the cabin access nut with a long breaker bar.
Cable will not move
Apply penetrating lubricant to the exposed winch and allow approximately 15 minutes for it to work. Try small clockwise and counterclockwise movements without exceeding the force available from the standard tool.
Do not heat the assembly near the fuel system, and do not place your body beneath a tire that may fall. Replace a frayed cable or seized winch rather than treating lubricant as a permanent repair.
Tire will not come down
A spare can remain pressed against underbody dirt, rust, or rubber supports after the cable becomes slack. Tap the tire sidewall with a rubber mallet or apply gentle foot pressure from the side while another person operates the wrench.
Never strike the wheel center, crawl underneath without redundant support, or pull forcefully on the cable. If the retainer is trapped, a technician can lower the carrier with the vehicle safely secured on a lift.
Lug nuts will not loosen
A cross-threaded or over-tightened nut may exceed the supplied wrench’s practical leverage. Use a correct six-point socket and breaker bar only when the vehicle is firmly on the ground; do not hammer an unstable jack or use an extension pipe beside traffic.
A locking lug-nut key is a required part of the emergency kit. Store it in the glovebox or tool compartment, not in a removable cargo bag that may be inaccessible under luggage.
Where Should You Buy the Kit?
A VIN-matched Dodge or Mopar parts source provides the strongest fitment trail, while reputable tire retailers can match the wheel and temporary tire by specification. Salvage yards offer the lowest cost, but the buyer must personally verify every component and reject old or corroded tires.
Use the VIN when catalog descriptions conflict. Marketplace phrases such as “fits Caravan” may combine multiple generations, and a 5×127 mm wheel can still have the wrong offset or center bore.
Before paying, confirm:
- Model year range and Grand Caravan or Caravan designation.
- Wheel diameter, width, offset, center bore, and load rating.
- Tire size, pressure, speed marking, and manufacture date.
- Jack lifting range and saddle shape.
- Hoist retainer design and extension-rod connection.
- Return policy if the wheel fails brake-clearance or underbody testing.
An unopened tire is not necessarily a new tire. Read the DOT date code on the sidewall, inspect for cracking, and measure pressure before storing the assembly.
Which Option Fits Your Driving Situation?
Choose a compact OEM-style kit for commuting, a full-size spare for remote travel, and a compressor only when you accept towing risk. The right choice depends less on the lowest price than on where the Caravan operates and whether the owner can safely change a wheel.
Daily urban commuter
A compact kit is usually the most efficient choice because it stays under the vehicle, weighs less, and reaches a tire shop after a routine puncture. Pair it with a pressure gauge, gloves, flashlight, and reflective warning equipment.
Family road-trip driver
A full-size spare offers better traction and removes the temporary-spare speed restriction when the wheel and tire are correctly matched. Verify underbody clearance before carrying it beneath a loaded minivan, because extra width can reduce ground clearance.
Rural or winter driver
A compact spare remains better than no wheel, but it is a temporary mobility device rather than a replacement for a full winter tire. In snow, ice, or long distances between towns, roadside assistance and a properly sized full-size spare provide more resilience.
Budget-focused owner
A used OEM wheel and a new correctly sized tire can cost less than a bundled dealer kit. Do not reuse a tire with sidewall cracking, an unknown date, low tread, or damage from prolonged underinflation.
Expert Rules That Prevent Roadside Failures
A bolt pattern is only the beginning of fitment. The 5×127 mm measurement cannot reveal brake clearance or whether the wheel’s center bore seats correctly. Test-fitting the wheel before storing it prevents discovering an incompatibility beside traffic.
The spare’s pressure matters more than its tread appearance. A temporary tire can look perfect while losing enough pressure to destabilize the minivan. Check it at least twice yearly and before long trips.
The hoist should be exercised, not merely inspected visually. Cable systems seize internally, especially in salted climates. Lowering and raising the carrier under controlled conditions is a more meaningful test than looking at the access cover.
The temporary spare belongs on the least demanding axle position prescribed by the manual. Front-wheel-drive vehicles can have steering, braking, and drivetrain restrictions when tire diameters differ. Follow the owner’s instructions rather than assuming every axle position is equivalent.
Frequently Asked Questions
Can I use a Chrysler Town & Country spare on a Dodge Grand Caravan?
A Chrysler Town & Country spare may fit some mechanically related Grand Caravan applications, especially within the 2008-2020 generation, but compatibility is not guaranteed. Confirm the wheel dimensions, tire size, offset, brake clearance, carrier retainer, and jack equipment by VIN before relying on a cross-make replacement.
Does Stow ’n Go seating prevent carrying a spare?
Stow ’n Go seating does not automatically prevent a spare tire, because some configurations use an underbody carrier rather than an interior compartment. Other vehicles may omit the wheel and provide an inflator. Inspect the underbody and verify original equipment from the VIN or owner’s manual.
Can I drive normally on a compact spare?
No. A compact spare is intended for temporary travel to a repair facility, not normal driving. Follow the sidewall speed limit, commonly 50 mph, avoid abrupt maneuvers, and replace or repair the full-size tire as soon as practical.
What pressure should a Dodge Caravan donut spare have?
Many Caravan compact spares use approximately 60 PSI, but the correct value is printed on the spare sidewall and may differ by tire. Do not use the normal door-label pressure for the full-size road tires unless the spare documentation specifies the same value.
Can I leave the flat tire under the Caravan?
A damaged tire may be carried in the original underbody location only if the hoist and retainer are designed for that wheel and the tire clears the vehicle. If the flat tire is wider or cannot latch securely, place it inside the cargo area and restrain it.
How long can a spare tire remain stored?
Tire manufacturers commonly advise replacing tires based on age and condition, often around six to ten years from manufacture, even when tread remains. Inspect the DOT date code, cracking, bulges, pressure loss, and deformation before treating a stored spare as roadworthy.
Conclusion
A Dodge Caravan spare tire kit is worthwhile when the package matches the vehicle’s year, wheel dimensions, hoist, jack point, and tire-pressure requirements. For most drivers, a complete vehicle-specific compact kit offers the simplest emergency solution; full-size equipment suits remote travel, while an inflator remains inadequate for structural tire damage. Verify the VIN, inspect the carrier, maintain the spare, and practice lowering it before the next flat occurs.


