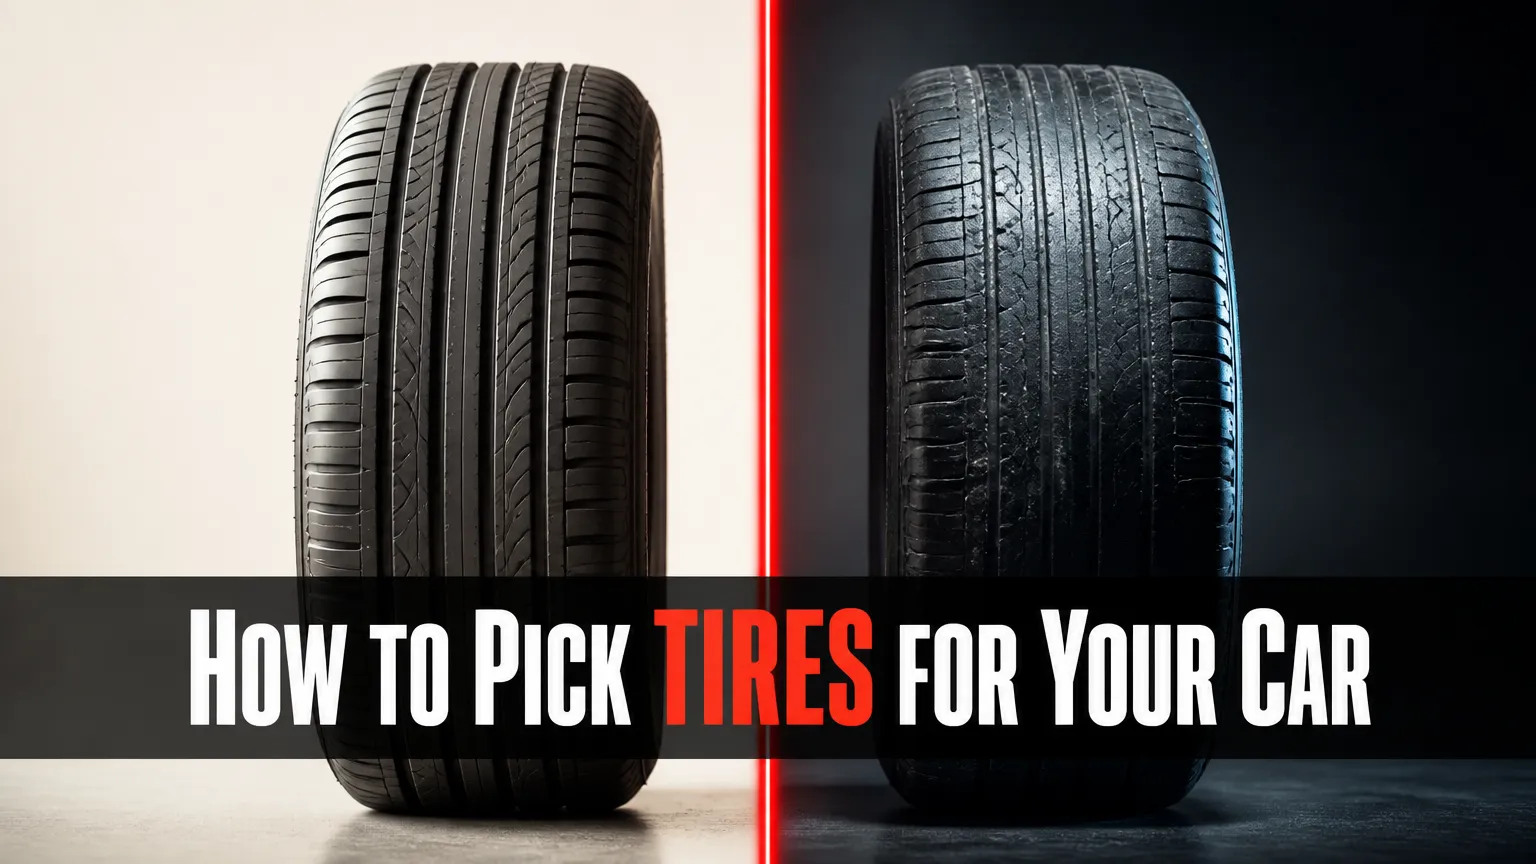
Choosing the right replacement rubber involves decoding your vehicle manufacturer specifications, aligning tread designs with your local climate, and verifying precise load and speed parameters. This comprehensive guide walks you through the five essential steps to select, verify, and purchase the safest, best-performing tires for your vehicle in under 30 minutes. The single factor that most determines success is matching your vehicle door placard requirements rather than copying what is currently installed on your wheels.
Before You Start
- Time Required: 30 minutes total
- Difficulty Level: Beginner
- Cost: 400 to 1200 dollars per set of four (depending on vehicle class and tire tier)
- Tools & Materials Checklist:
- Owner’s manual or driver-side door placard
- Flashlight for inspecting sidewalls and dark wheel wells
- Digital or dial tire pressure gauge
- Tire tread depth gauge (or a standard U.S. penny)
- Smartphone camera for taking reference photos of tire placards and sidewalls
- Prerequisite Conditions: Vehicle parked safely on a flat, level surface with the parking brake fully engaged.
Step 1: Locate and Record Factory Tire Specifications
Step 1: Locate Your Vehicle Tire Placard
- Action: Open the driver-side door and locate the white and yellow federal certification placard affixed to the door pillar or door jamb.
- Execution: Shine your flashlight directly onto the placard. Locate the section labeled Tire and Loading Information. Write down or photograph the exact original equipment tire size (for example, P205/55R16 91V), the recommended front and rear cold tire pressures measured in PSI, and the maximum vehicle load capacity. If this placard is faded or missing, open your physical owner’s manual and navigate to the specifications chapter to find the factory tire size chart.
- Success Check: You will know this step worked when you have an exact, legible record of the manufacturer-approved tire size and cold inflation pressure that does not rely on guessing or reading worn numbers off old tires.
- Common Mistake: Relying solely on the tire size currently mounted on the car. Previous owners or dealerships frequently install incorrect tire sizes that fit the rim but alter speedometer calibration or rub against suspension components.
Step 2: Decode the Tire Size Code and Ratings
Step 2: Decode the Alphanumeric Tire Size String
- Action: Break down every element of the alphanumeric sizing code found on your reference placard and current tire sidewalls.
- Execution: Examine a standard tire code such as $P205/55R16\ 91V$.
- The leading letter P designates a Passenger vehicle application (or LT for Light Truck).
- The first number (205) represents the section width of the tire measured in millimeters from sidewall to sidewall.
- The number after the slash (55) is the aspect ratio, meaning the sidewall height is 55 percent of the tire width.
- The letter R stands for Radial internal carcass construction.
- The number 16 indicates the wheel rim diameter in inches.
- The trailing number (91) is the load index code.
- The final letter (V) is the speed rating code.
- Success Check: You will know this step worked when you can explain what each letter and number means in your specific vehicle tire code without guessing.
- Common Mistake: Changing the aspect ratio or wheel diameter without recalculating overall tire diameter, which throws off speedometer accuracy and can trigger anti-lock braking system errors.
Step 3: Match Tire Category to Climate and Driving Style
Step 3: Select the Correct Tire Category for Your Climate
- Action: Choose the appropriate tire category based on your geographic climate, seasonal weather patterns, and daily commuting habits.
- Execution: Evaluate your primary operating environment:
- All-Season Tires: Ideal for moderate climates with mild winters and warm summers. They offer balanced tread life and quiet road manners.
- All-Weather Tires: Distinct from standard all-seasons, these carry the Three-Peak Mountain Snowflake (3PMSF) symbol, meaning they are safety-certified for severe winter snow while remaining suitable for year-round driving.
- Summer and Performance Tires: Best for warm weather above 7°C, featuring specialized tread compounds for maximum dry and wet cornering grip at high speeds.
- Winter and Snow Tires: Essential for regions where temperatures regularly drop below 7°C with heavy snow and ice. They feature dense sipes and soft rubber compounds that remain flexible in freezing weather.
- All-Terrain Tires: Built for light trucks and SUVs that divide driving time between paved highways and unpaved dirt, gravel, or mud trails.
- Success Check: You will know this step worked when your chosen tire category matches both your local winter low temperatures and your typical annual precipitation levels.
- Common Mistake: Buying dedicated summer performance tires for a vehicle driven in a region with freezing winter temperatures, which causes the rubber to harden and drastically reduces braking traction.
Step 4: Evaluate UTQG Ratings and Manufacture Age
Step 4: Inspect UTQG Ratings and Age Code on the Sidewall
- Action: Examine the Uniform Tire Quality Grading (UTQG) metrics and the Department of Transportation (DOT) manufacturing date code stamped on the tire sidewall.
- Execution: Locate the UTQG grading parameters:
- Treadwear: A comparative numerical rating where a tire graded 600 lasts twice as long under controlled testing as a tire graded 300.
- Traction: Graded as AA, A, B, or C, with AA providing the highest straight-line wet braking grip.
- Temperature: Graded as A, B, or C, where A indicates the highest resistance to heat generation at high sustained highway speeds.Next, locate the letters DOT followed by a series of characters ending in a 4-digit code (for example, DOT XXXX XXXX 2425). The final four digits indicate the manufacture date: the first two digits (24) represent the manufacturing week, and the last two digits (25) represent the manufacturing year (the 24th week of 2025). Reject any tire older than 6 years from this date stamp.
- Success Check: You will know this step worked when you have confirmed that the tire’s treadwear rating fits your mileage goals, its traction grade is high, and its manufacture date is less than 6 years old.
- Common Mistake: Buying heavily discounted clearance tires that were manufactured five years ago, leaving you with only one year of safe rubber lifespan before oxidation cracking sets in.
Step 5: Verify Load Index and Speed Rating Compliance
Step 5: Verify Load Index and Speed Rating Minimums
- Action: Confirm that your replacement tire options meet or exceed the exact load index and speed rating numbers specified by your vehicle manufacturer.
- Execution: Cross-reference the load index number (such as 91, which supports 615 kilograms per tire) against a standard tire load capacity table. Never install a replacement tire with a lower load index than what is printed on your door placard. Next, check the speed rating letter: S is rated up to 180 km/h, T up to 190 km/h, H up to 210 km/h, V up to 240 km/h, and W up to 270 km/h. Ensure your replacement tire speed rating matches or exceeds your vehicle’s original equipment specification.
- Success Check: You will know this step worked when your selected replacement tires have an equal or higher load index and speed rating compared to the factory placard requirements.
- Common Mistake: Installing passenger car tires with a lower load index on a heavy crossover or SUV, which causes excessive tire flexing, internal heat buildup, and potential tire blowout at highway speeds.
Common Mistakes and How to Fix Them
- Mixing Tread Patterns on the Same Axle: Installing an asymmetric tread pattern on the left side and a directional pattern on the right side of the same axle disrupts handling stability and braking balance. Fix: Always purchase and install identical tire makes, models, sizes, and tread depths across the entire axle.
- Inflating to Sidewall Maximum PSI: Pumping tires to the maximum pressure printed on the tire sidewall rather than the vehicle door-jamb PSI creates a rigid, harsh ride and rapid center tread wear. Fix: Lower your tire pressure using a pressure gauge until it matches the exact cold PSI numbers listed on your driver-side door placard.
- Ignoring Wheel Alignment Issues Prior to Installation: Installing brand-new premium tires on a vehicle with worn-out suspension geometry or misaligned steering components will destroy the new tread within a few thousand miles. Fix: Inspect your old tires for uneven wear patterns, replace worn suspension parts, and get a professional four-wheel alignment check done alongside your new tire installation.
- Replacing Only Two Tires on an All-Wheel-Drive Vehicle: Putting brand-new tires on only the front or rear axle of an all-wheel-drive vehicle creates a rolling diameter mismatch that can permanently damage the center differential or transfer case. Fix: Replace all four tires simultaneously on AWD or 4WD vehicles, or ensure rolling circumference variance is within manufacturer tolerance limits.
Variations: Adapting the Process for Special Vehicles
Electric Vehicles and Heavy SUVs
Electric vehicles and heavy battery-powered SUVs generate instant high torque and carry heavier gross vehicle weight ratings than traditional internal combustion vehicles. When picking tires for an electric vehicle, select tires specifically engineered with reinforced sidewalls, designated as EV-tuned or acoustic-foam lined. Standard tires wear out 30 to 40 percent faster on electric vehicles due to instant torque application and heavy vehicle mass.
Off-Road and Light Truck Variations
When picking tires for lifted trucks or off-road vehicles encountering deep mud, sand, or rocky terrain, step up from standard all-season options to Light Truck (LT-rated) tires with reinforced 3-ply sidewalls. Ensure you verify the maximum wheel rim width range listed on the tire data sheet to prevent the tire bead from unseating when aired down for off-road traction.
How Long Does It Take and What Does It Cost?
- Research and Selection Time: Expect to spend 20 to 30 minutes researching placard specs, decoding tire sizes, and comparing ratings online or at a local tire shop.
- Installation and Balancing Time: Professional mounting, valve stem replacement, high-speed computer balancing, and wheel alignment take approximately 45 to 90 minutes in a shop environment.
- Financial Cost Breakdown:
- Budget passenger car tires cost between 80 and 120 dollars per tire (320 to 480 dollars per set).
- Mid-tier all-season and all-weather tires cost between 130 and 200 dollars per tire (520 to 800 dollars per set).
- High-performance, heavy truck, or specialty electric vehicle tires cost between 220 and 400+ dollars per tire (880 to 1600+ dollars per set).
- Professional mounting, balancing, and disposal fees typically add 80 to 150 dollars total per set.
Frequently Asked Questions
Can I install wider tires on my stock factory wheels?
You can install slightly wider tires on factory wheels provided the new tire section width falls within the rim width range approved by the tire manufacturer. Check the rim width specifications on the tire manufacturer data sheet. Exceeding the rim width limits causes poor bead seating, unstable cornering, and rapid center tread wear.
How do I check my current tire tread depth before buying replacements?
Insert a standard U.S. penny into the deepest tread groove with President Lincoln’s head pointing downward into the tire. If the top of Lincoln’s head is visible above the rubber, your tread depth is below 2/32 of an inch, meaning your tires are legally worn out and must be replaced immediately. Alternatively, use a digital tread depth gauge to measure in millimeters or 32nds of an inch.
What is the difference between speed ratings like H and V?
Speed ratings designate the maximum safe operating speed a tire can sustain for extended periods under properly inflated load conditions. An H-rated tire is certified for speeds up to 210 km/h, while a V-rated tire is certified up to 240 km/h. Higher speed ratings typically feature stiffer sidewall construction, which enhances cornering response and high-speed steering stability.
Do I really need to replace all four tires at once?
On front-wheel-drive or rear-wheel-drive vehicles, you can replace tires in pairs per axle, provided the remaining tires have safe tread depth above 4/32 of an inch and match the tire category. However, on all-wheel-drive and four-wheel-drive vehicles, you must replace all four tires simultaneously to prevent mechanical damage to the drivetrain caused by uneven rolling circumferences.
Why does my tire lose pressure during sudden seasonal temperature drops?
Air is a gas that contracts when cooled and expands when heated. For every 5°C drop in ambient outdoor temperature, your tire pressure drops by approximately 1 to 2 PSI. You must check and adjust your cold tire pressure monthly during autumn and winter transitions to prevent under-inflation and sidewall flex damage.


