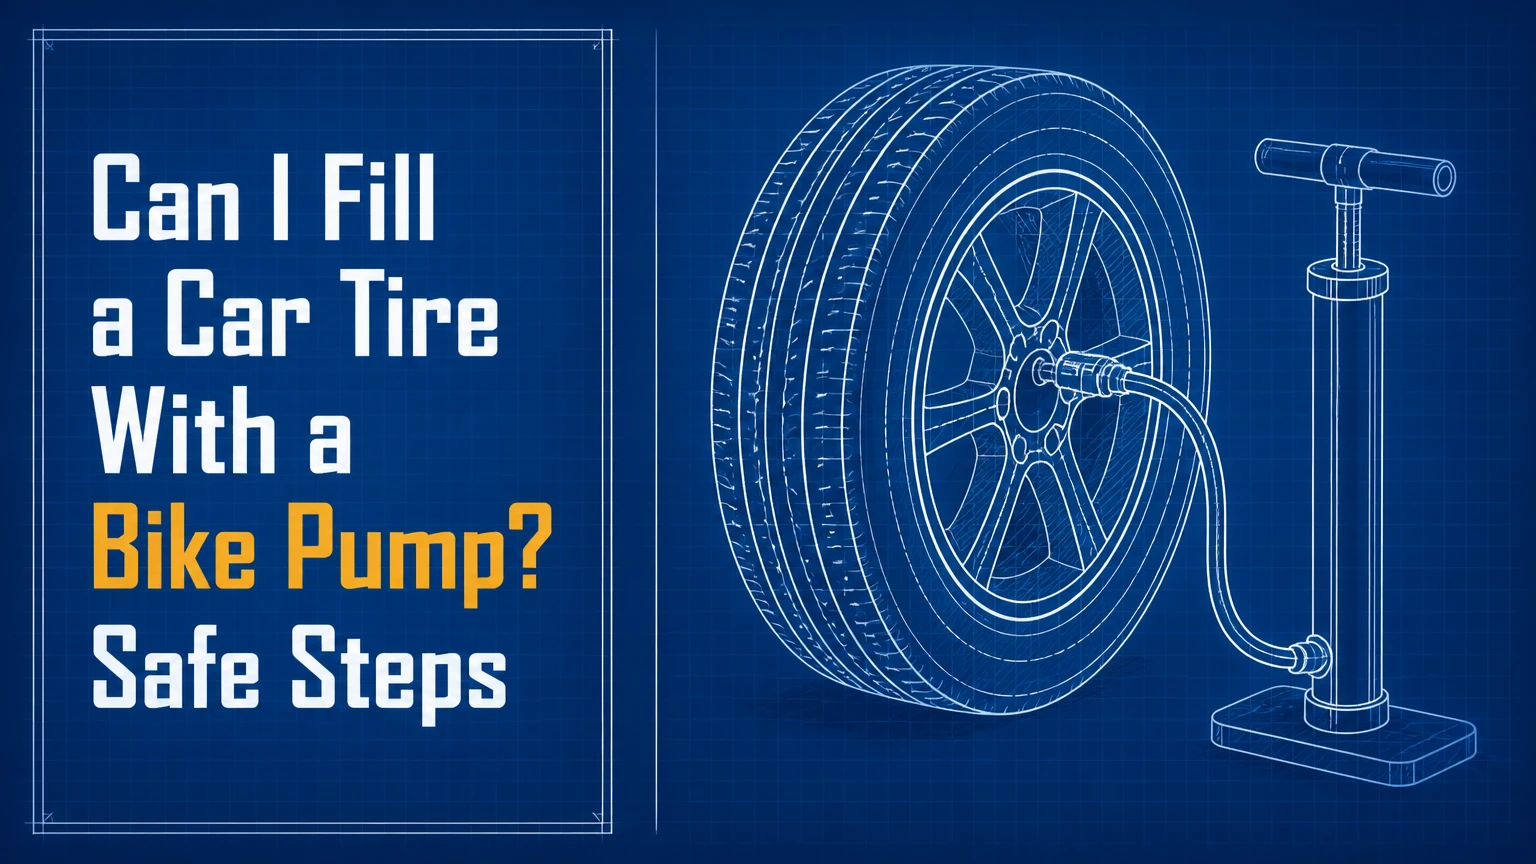
Yes, you can fill a car tire with a bicycle pump if the pump connects to the tire’s Schrader valve and can reach the vehicle’s recommended pressure. A floor pump works best for a small top-off or emergency inflation, but a completely flat tire may require hundreds of strokes and should be inspected for punctures or bead damage before driving.
Key Facts at a Glance
- Most passenger-car tires use a Schrader valve, the wider valve used by many mountain-bike pumps.
- A bicycle pump can reach 30-35 PSI, but its small air chamber makes car-tire inflation slow.
- A floor pump is substantially more practical than a compact mini pump for a vehicle tire.
- The correct pressure appears on the driver-side door-jamb placard or owner’s manual, not usually on the tire sidewall.
- A bicycle pump adds air, but it cannot repair a puncture, reseat every tire bead, or make an unsafe tire suitable for driving.
- A 12-volt compressor is the better regular vehicle tool; a manual pump is a useful no-power backup.
Can I Fill a Car Tire With a Bike Pump?
A bicycle pump can inflate a car tire because both the pump and automotive tire can use a Schrader connection. The main limitation is volume, not pressure: a car tire holds far more air than a bicycle tire, so a manual pump needs many more strokes to raise the pressure.
A typical passenger car may require approximately 30-35 PSI, although the correct target depends on the vehicle, axle, load, and tire size. A bicycle floor pump rated for 60-120 PSI can overcome that pressure. The rating does not mean the pump transfers air quickly; it only indicates the pressure range the pump can develop.
For a tire that is 3-5 PSI low, a sturdy floor pump is practical. For a tire that has lost all pressure, inflation can take 15-30 minutes with a floor pump and much longer with a mini pump. Stop if the tire has visible damage, the rim is contacting the ground, or air escapes faster than the pump can add it.
Which Valve Does a Car Tire Use?
A car tire normally uses a Schrader valve, identified by its wider metal stem and spring-loaded center pin. A bicycle pump with a Schrader head can attach directly, while a Presta-only pump requires an adapter that converts the narrow bicycle connection to the automotive valve.
| Valve or pump connection | Physical feature | Car-tire compatibility | Required action |
|---|---|---|---|
| Schrader valve | Wide stem, central spring-loaded pin | Direct | Select the pump’s larger opening |
| Presta valve | Narrow threaded stem with locknut | No direct fit | Install a Presta-to-Schrader adapter |
| Dual-head pump | Separate Presta and Schrader ports | Yes | Use the Schrader port |
| Reversible pump head | Insert or gasket changes orientation | Usually yes | Configure the head for Schrader |
| Clip-on chuck | Locking lever clamps to stem | Yes | Push fully down, then lock lever |
A brief hiss when attaching the pump is normal because the chuck depresses the valve core. Continuous hissing after the lever is locked indicates a poor seal, a damaged valve core, or a misconfigured pump head.
Do not remove the small valve core unless you are repairing the valve. The plastic cap protects the threads and helps keep dirt away, but the valve core provides the air seal.
Why Can a Bike Pump Reach Car-Tire Pressure?
A bicycle pump reaches car-tire pressure by reducing air volume inside its barrel and forcing that air through a one-way check valve. Each stroke transfers a small amount of air into the tire, and the pressure rises as the tire’s internal air mass increases.
Car tires have greater air volume than bicycle tires. A road-bike tire may hold high pressure but relatively little air, whereas a passenger-car tire has a larger cavity and casing. The bike pump therefore has enough pressure capability but poor volume efficiency for automotive use.
The check valve prevents pressurized tire air from flowing backward after each stroke. A damaged check valve can make the handle rise by itself or cause air to escape through the pump barrel. That failure is a pump problem, not evidence that a bicycle pump is incompatible with the tire.
Pressure also changes with temperature. The U.S. National Highway Traffic Safety Administration warns that “under-inflation is the leading cause of tire failure.” Check pressure when tires are cold, because heat from driving temporarily raises the gauge reading.
Which Bike Pump Works Best?
A bicycle floor pump with a large barrel and integrated Schrader chuck is the best manual option for a car tire. A foot pump can work, but a small frame pump is better treated as a last-resort device for adding a few PSI rather than filling a tire from flat.
| Pump type | Typical car-tire use | Typical time to add 5 PSI | Typical flat-to-target time | Main limitation |
|---|---|---|---|---|
| Floor pump, large barrel | Emergency inflation and top-offs | 2-5 minutes | 15-30 minutes | Physical fatigue |
| Foot pump, single cylinder | Top-offs and moderate inflation | 3-6 minutes | 20-35 minutes | Slow return and leg fatigue |
| Mini hand pump | Small emergency top-off | 10-20 minutes | 60 minutes or longer | Low air volume and heat |
| High-volume dual-action pump | Emergency inflation | 2-4 minutes | 12-25 minutes | May lack a precise gauge |
| Electric bicycle pump | Limited top-off use | 5-15 minutes | Often unsuitable | Thermal shutdown or battery drain |
Time figures are typical working ranges, not guaranteed specifications. Tire width, initial pressure, pump barrel size, tire temperature, valve-seal quality, and the accuracy of the pressure gauge all change the result.
A floor pump also lets you use body weight and a full piston stroke. A mini pump forces repeated short movements that heat the cylinder and seals. If the pump becomes hot enough to hurt your hand, pause for several minutes.
How Do You Choose the Correct PSI?
Use the cold-inflation pressure printed on the vehicle’s driver-side door-jamb placard or specified in the owner’s manual. The number on the tire sidewall is normally the tire’s maximum permitted pressure under stated conditions, not the vehicle’s recommended operating pressure.
| Location or number | What it identifies | Use for normal inflation? | Example interpretation |
|---|---|---|---|
| Door-jamb placard | Vehicle manufacturer’s cold PSI | Yes | 35 PSI front, 33 PSI rear |
| Owner’s manual | Vehicle-specific pressure and load guidance | Yes | Pressure changes for heavy loads |
| Tire sidewall | Tire maximum pressure or load data | No | 44 PSI may be a maximum, not target |
| TPMS warning light | Pressure below monitoring threshold | No | Confirms a problem, not the target PSI |
| Hand-pump gauge | Current pressure estimate | Only with verification | Read at a stable, cold tire |
Check all four tires when possible. Front and rear pressures may differ, and a temporary spare commonly uses a much higher pressure than a normal tire.
A bicycle-pump gauge may be difficult to read accurately at automotive pressures, especially when its scale extends to 120 PSI. A separate digital or pencil tire gauge rated for car tires gives a more reliable final measurement.
How Do You Inflate a Car Tire With a Bicycle Pump?
Inflate the tire in eight controlled steps: identify the correct cold PSI, configure the pump for Schrader, attach the chuck securely, pump with full strokes, measure periodically, and stop at the vehicle’s specified pressure. A small top-off usually takes 2-5 minutes, while a flat tire can take 15-30 minutes with a floor pump.
Before You Start
| Requirement | Typical value |
|---|---|
| Time for a 3-5 PSI top-off | 5-10 minutes |
| Time for a flat floor-pump inflation | 15-30 minutes |
| Tools | Schrader-compatible pump, tire gauge, valve-cap |
| Work position | Level ground, vehicle stationary |
| Pressure reference | Door-jamb placard or owner’s manual |
| Inspection | Tread, sidewall, rim, and valve stem |
Step 1: Park and Inspect the Tire
Park on firm, level ground away from moving traffic, engage the parking brake, and switch off the vehicle. Inspect the tread and sidewall for nails, cuts, bulges, exposed cords, or a tire that has slipped off the wheel.
You will know the tire is suitable for inflation when no structural damage is visible and the valve stem remains upright and intact. Do not inflate a tire with a sidewall bulge or deep cut.
Step 2: Find the Recommended Cold Pressure
Read the driver-side door placard and note the specified front and rear PSI. If the tire is hot from driving, use the manufacturer’s procedure rather than removing pressure to match a cold reading.
The success checkpoint is a written target, such as 35 PSI, before pumping begins. The common mistake is using the sidewall maximum as the everyday target.
Step 3: Configure the Pump for Schrader
Select the wider Schrader opening on a dual-head pump. If the pump is Presta-only, screw a Presta-to-Schrader adapter onto the car valve before attaching the pump.
The pump head should expose a central pin or sealing mechanism designed to depress the Schrader valve core. If the chuck will not seat without force, stop and reconfigure it rather than bending the valve stem.
Step 4: Remove the Valve Cap and Attach the Chuck
Unscrew the valve cap and place it somewhere clean. Push the pump chuck straight onto the valve stem until the seal is fully seated, then flip the locking lever or tighten the screw-on collar.
A short hiss is normal during attachment. You will know the connection works when the pressure gauge responds and hissing stops after the lever locks. A crooked chuck is the most common cause of wasted effort.
Step 5: Pump With Full, Controlled Strokes
Stabilize a floor pump on solid ground, place both feet on its base, and move the handle through its complete range. Use a steady rhythm instead of rapid partial strokes, because full displacement transfers more air per cycle and reduces unnecessary heat.
The pump should become progressively more resistant as tire pressure rises. Do not stand on the tire or place a jack under the vehicle solely to make pumping easier.
Step 6: Check Pressure Every 30-50 Strokes
Pause after roughly 30-50 strokes, allow the gauge reading to settle, and compare it with the vehicle placard. If the pump gauge is hard to read, use a separate tire gauge after briefly removing the chuck.
The checkpoint is a stable, repeatable pressure reading. The common mistake is pumping continuously until the tire feels firm, because hand pressure cannot reliably distinguish 30 PSI from 36 PSI.
Step 7: Stop at the Recommended Pressure
Stop when the cold-pressure target has been reached. Do not intentionally exceed the placard value to compensate for a guessed amount of air loss during disconnection.
A tire that reaches pressure but loses several PSI immediately has a leak or a poor valve seal. Recheck the valve and inspect the tread before driving.
Step 8: Remove the Chuck and Replace the Cap
Unlock the lever, pull the chuck straight off, and reinstall the valve cap. A fast, clean removal minimizes the small amount of air released from the hose and valve interface.
You will know the job is complete when the cap is secure and the final reading matches the target. If the valve stem moves excessively during removal, have the valve inspected.
How Long Does a Bike Pump Take?
A bicycle floor pump typically needs 2-5 minutes to add 5 PSI to a passenger-car tire and 15-30 minutes to raise a seriously low tire to approximately 30-35 PSI. A small mini pump may require an hour or more, making it impractical for routine automotive inflation.
| Starting condition | Pressure added | Floor pump, typical | Mini pump, typical | Practical assessment |
|---|---|---|---|---|
| Mild seasonal loss | 2 PSI | 1-3 minutes | 5-10 minutes | Reasonable with either pump |
| TPMS top-off | 5 PSI | 2-5 minutes | 10-20 minutes | Floor pump preferred |
| Very low tire | 15 PSI | 8-15 minutes | 30-60 minutes | Inspect for leak |
| Nearly flat tire | 25-30 PSI | 15-30 minutes | 60+ minutes | Compressor or service preferred |
| Bead unseated | Any | Not predictable | Not suitable | Use trained tire service |
These are practitioner estimates based on common passenger-car tire volumes and manual pump sizes. A wide SUV tire may take longer than a compact-car tire, while a high-volume pump may reduce the stroke count.
Take a two-minute cooling break every 5-10 minutes if the barrel, hose, or chuck becomes hot. Heat can soften seals and reduce pump life.
Can You Inflate a Completely Flat Tire?
A bicycle floor pump can sometimes inflate a completely flat car tire, but the tire must still be seated on the rim and structurally sound. If the bead has unseated, the sidewall is damaged, or the wheel is carrying the vehicle’s weight on bare rubber, a manual pump is not a reliable or safe solution.
A flat tire can result from a puncture, leaking valve, damaged wheel, bead leak, or ordinary pressure loss. Adding air without finding the cause may leave the tire dangerously low again after a short drive.
Do not drive on a visibly deflated tire to reach an air station. Driving can destroy the sidewall and turn a repairable puncture into a tire replacement. If the car is on a narrow shoulder, in traffic, or on a highway, call roadside assistance instead of concentrating on manual inflation.
If the tire accepts air but drops rapidly, inflate only if you can move the vehicle a minimal distance to a safe location without exceeding the tire manufacturer’s limits. A tire shop should diagnose the leak.
Is a Compressor Better Than a Bike Pump?
A 12-volt tire inflator is better for repeated vehicle use because it transfers air without physical pumping and usually includes an automotive chuck and digital gauge. A bicycle floor pump remains useful when the battery is unavailable, the compressor overheats, or a driver needs a simple backup.
| Inflation method | Typical setup cost | Typical flat-to-pressure time | Power source | Best use |
|---|---|---|---|---|
| Bicycle floor pump | $25-$70 | 15-30 minutes | Human effort | Home backup and small top-offs |
| 12-volt compressor | $30-$100 | 5-15 minutes | Vehicle accessory socket | Trunk emergency equipment |
| Battery compressor | $50-$150 | 5-15 minutes | Rechargeable battery | Vehicles without convenient sockets |
| Gas-station inflator | Free-$2 typical | 2-5 minutes | Mains or station power | Routine pressure correction |
| Roadside service | $0-$150 depending on coverage | Variable | Service vehicle | Unsafe location or damaged tire |
A compressor’s stated flow rate can be misleading because many manufacturers measure it at zero backpressure. Real inflation time depends on tire size, pressure, hose diameter, duty cycle, and thermal protection.
Check the compressor’s fuse rating before using a vehicle accessory socket. Cheap units may overheat during a full inflation, so follow the manufacturer’s duty-cycle instructions and allow cooling pauses.
What Problems Can Happen?
The main risks are a leaking connection, inaccurate pressure measurement, pump overheating, valve-stem damage, and driving on an unrepaired tire. Correctly using a bicycle pump does not normally damage a car tire, but forcing an incompatible chuck or exceeding the vehicle’s pressure specification can create avoidable problems.
Air Escapes Around the Chuck
Remove the chuck, confirm that the pump is set to Schrader, push it straight onto the stem, and lock the lever fully. A worn rubber gasket or bent valve stem may still leak after correct attachment.
The Handle Pushes Back
A handle that rises after each stroke suggests a failed check valve or internal seal. Stop using that pump for the car tire, because reverse leakage wastes effort and can overheat the mechanism.
The Pump Becomes Very Hot
Pause for several minutes when the cylinder or hose becomes hot. Small hand pumps generate more friction because their pistons complete many cycles, so a floor pump is safer for a high-volume inflation workload.
The Gauge Shows an Unclear Reading
Verify pressure with a separate tire gauge. Analog bicycle gauges can have wide graduations, and a 2-3 PSI difference may be difficult to read accurately near the low end of a high-pressure scale.
The Tire Will Not Hold Air
Spray soapy water around the valve stem, tread puncture, and bead area if conditions permit. Bubbles identify a likely leak, but tire removal and internal inspection belong to a tire professional.
The Tire Has a Bulge or Cut
Do not inflate or drive on a tire with a sidewall bulge, exposed cords, or a deep cut. Sidewall structural damage cannot be corrected by adding air.
What Should You Keep in the Vehicle?
A compact 12-volt compressor, a separate digital tire gauge, a valve-cap set, and a roadside-assistance plan provide a more complete emergency setup than a bicycle pump alone. Drivers who avoid electrical equipment should carry a sturdy Schrader-compatible floor pump in the garage and treat it as a backup.
A useful trunk kit includes:
- A compressor rated for the vehicle’s tire size and pressure.
- A digital gauge with a range of at least 0-60 PSI.
- A flashlight, reflective vest, and gloves for roadside visibility.
- A tire-plug kit only if the user understands that a plug is temporary and puncture location matters.
- A tire-pressure placard photo or vehicle manual.
- A phone charger and roadside-service contact details.
A bicycle pump is most useful at home, in a driveway, or during a low-pressure warning where the car can remain stationary. It is not a substitute for a jack, spare tire, puncture repair, or roadside protection.
Which Situation Are You Handling?
A Tire Is 2-4 PSI Low
Use a floor pump or compressor, bring the tire to the door-placard specification, and recheck it when cold the next morning. A pressure drop after cold weather may affect all tires similarly, while one tire that repeatedly loses pressure likely has a leak.
The TPMS Light Is On
Inflate every tire to its specified cold pressure, then drive according to the vehicle manual so the tire-pressure monitoring system can reset. Adding air until the warning disappears is not a reliable pressure procedure.
A Tire Is Completely Flat at Home
Inspect the tire before pumping. If the tire has no visible structural damage and remains seated on the rim, a floor pump may restore enough pressure for a short trip to a tire shop, but a compressor is faster and less exhausting.
A Tire Is Flat on a Highway Shoulder
Do not rely on a bicycle pump beside fast traffic. Move away from the traffic lane if possible, activate hazard lights, and contact roadside assistance or emergency services.
You Need to Drive After Inflation
Drive only after the tire reaches its specified pressure and shows no visible damage or rapid leak. Use the shortest safe route to a tire professional, avoid high speed, and stop if the TPMS warning returns or handling changes.
FAQ
Can I use a ball pump on a car tire?
A ball pump is generally unsuitable because its needle attachment does not seal or depress a car tire’s Schrader valve correctly. A ball pump may also have a very small barrel, requiring excessive strokes and generating heat. Use a Schrader-compatible bicycle pump, a compressor, or a dedicated automotive inflator instead.
Can a bike pump overinflate a car tire?
A bicycle pump can overinflate a car tire if the operator ignores the recommended PSI and continues pumping. The pump itself does not automatically limit pressure. Use the door-jamb specification, check with a reliable gauge, and never use the tire sidewall maximum as the normal target.
Do I need a Presta adapter for every bike pump?
You need a Presta-to-Schrader adapter only when the pump cannot directly accept a Schrader valve. Most modern floor pumps have dual compatibility or a reversible head. Check the pump head before buying an adapter, because forcing a narrow Presta opening onto a Schrader stem can damage the seal.
Why does my tire lose pressure after I remove the pump?
A small pressure change can occur when air in the chuck or hose escapes during removal. A substantial loss indicates a leaking valve core, poor chuck seal, or puncture. Replace the cap, measure the tire again, and use soapy water to locate bubbles around the valve and tread.
Can I drive on a tire after filling it with a bike pump?
You can drive only when the tire reaches the vehicle’s specified pressure, has no visible damage, and holds that pressure after inflation. Filling the tire does not repair a puncture. If pressure falls rapidly, the tire has a bulge, or the wheel is damaged, use roadside assistance.
Is a bicycle pump safe for an SUV tire?
A bicycle floor pump is mechanically safe for an SUV tire when it has a Schrader-compatible head and a pressure rating above the SUV’s recommended PSI. SUV tires hold more air than compact-car tires, so inflation takes longer. A 12-volt compressor is more practical for large tires.
The Bottom Line
Can I fill a car tire with a bike pump? Yes, provided the pump uses a Schrader connection, the tire is structurally sound, and you measure pressure against the vehicle’s door-jamb specification. A floor pump can handle a 2-5 PSI top-off efficiently and can serve as an emergency backup, but a compressor is faster for a flat tire. Never confuse inflation with repair, and never drive on a visibly damaged or rapidly leaking tire.


