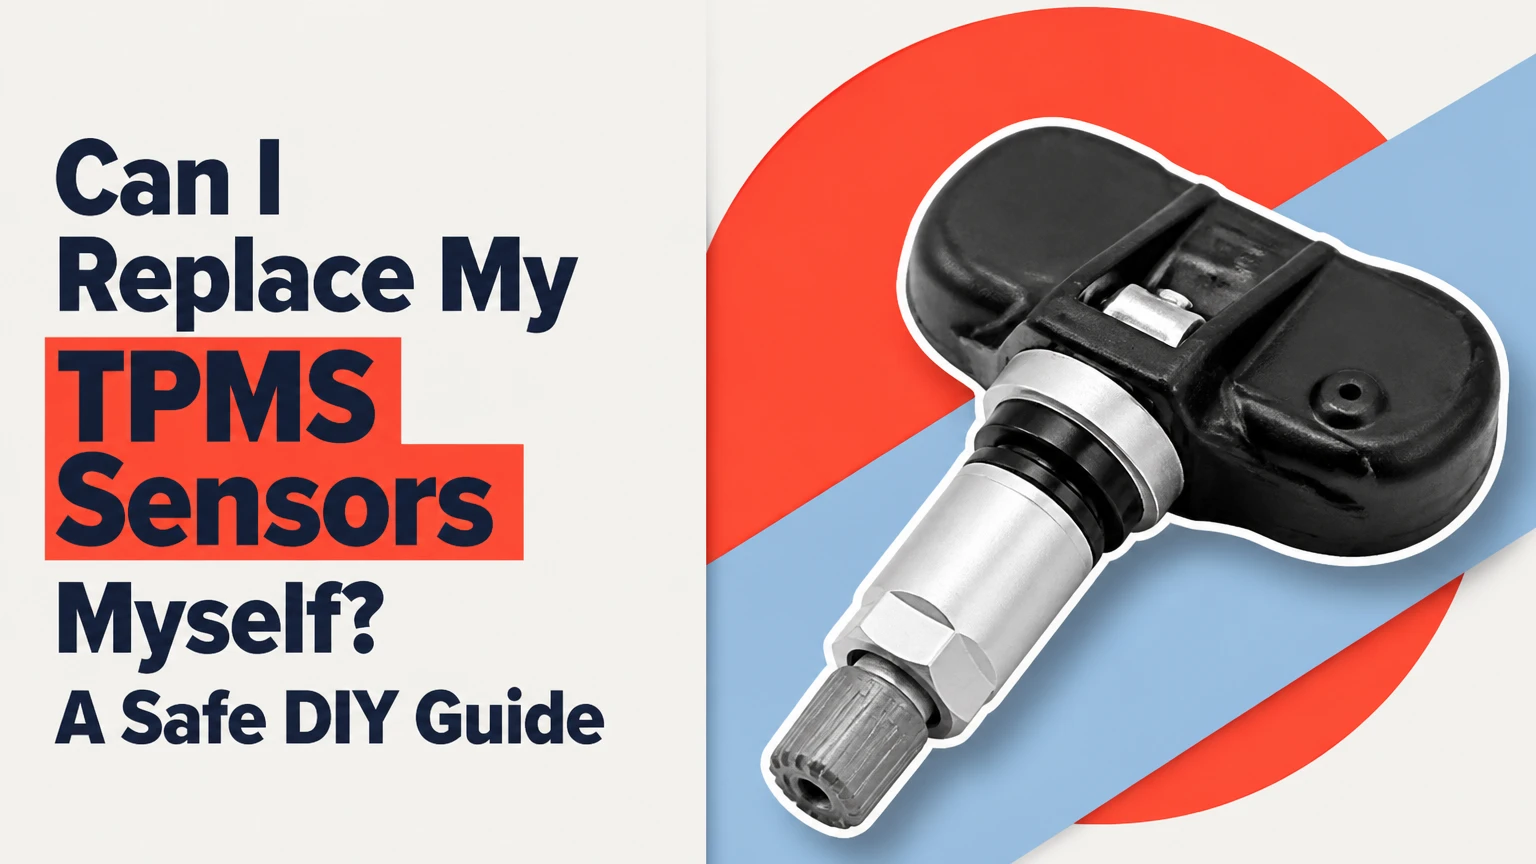
Yes, you can replace your TPMS sensors yourself if your vehicle uses direct TPMS and you have safe wheel-lifting equipment, tire-service capability, and a compatible programming or relearn solution. The difficult part is not removing the valve stem; it is breaking and reseating the tire bead without damaging the sensor, wheel, or tire, then registering the new sensor with the vehicle.
Key facts at a glance
Direct TPMS sensors measure tire pressure inside each wheel; indirect TPMS uses ABS wheel-speed data and has no sensor inside the tire.
A typical direct-TPMS sensor battery lasts about 5-10 years, although climate, mileage, and transmission frequency affect service life.
Universal sensors usually require programming before installation, while vehicle-specific pre-programmed sensors can eliminate that tool requirement.
Typical DIY parts cost is $100-$240 for four direct sensors, excluding a tire machine, air compressor, or programming tool.
A TPMS warning light that flashes for approximately 60 seconds before remaining illuminated usually indicates a system or communication fault, not simply low pressure.
Sensor replacement does not replace tire balancing, valve-core inspection, correct inflation, or a post-installation leak check.
Is DIY TPMS sensor replacement realistic?
DIY TPMS sensor replacement is realistic for an experienced home mechanic, but it is a poor first tire-service project. The job combines vehicle lifting, complete tire deflation, bead separation, fragile valve-stem hardware, compressed-air hazards, sensor configuration, and vehicle relearning.
A person who already owns jack stands, a torque wrench, an air compressor, and a safe bead-breaking or tire-changing setup can often complete four sensors in about 2-4 hours. A beginner using improvised bead-breaking equipment may spend more money and accept more risk than a tire shop charges for installation.
The safest decision depends on the wheel rather than the electronics. Alloy wheels can scratch when a tool slips, low-profile tires resist bead separation, run-flat tires require specialized equipment, and some sensors sit close enough to the bead that careless tool placement crushes them. Stop the DIY job if the bead will not separate with controlled force, the tire sidewall is damaged, or the bead will not seat at normal shop-equipment pressure.
What tools and parts are required?
A complete replacement requires four sensor assemblies or the number diagnosed as failed, four service kits when applicable, wheel-removal equipment, tire-service equipment, an accurate air source, and a compatible scan or relearn method.
| Item | Typical quantity | Typical specification or cost | Purpose |
|---|---|---|---|
| Direct-fit or universal TPMS sensor | 1-4 | $25-$60 each | Measures pressure and transmits the sensor ID |
| TPMS service kit | 1 per replaced stem | $5-$15 each | Replaces seal, grommet, nut, core, and cap |
| Floor jack and jack stands | 1 each | $100-$250 combined | Supports the vehicle safely |
| Torque wrench | 1 | 10-150 lb-ft automotive range | Tightens wheel lugs and stem hardware accurately |
| Valve-core tool and tire gauge | 1 each | $5-$30 combined | Deflates the tire and verifies inflation |
| Bead breaker or tire changer | 1 | $50-$1,500 typical | Separates the bead from the wheel |
| TPMS programming tool | 0-1 | $50-$500 typical | Configures universal sensors and may perform relearn |
| Air compressor with inflation hose | 1 | 2-6 gallon home-shop range | Re-inflates and seats the tire bead |
Use the vehicle service information for the sensor retaining-nut torque. A common range is approximately 35-50 inch-pounds, or 4-6 Nm, but that range is not universal. Wheel-lug torque is a separate specification, often around 75-100 lb-ft on passenger vehicles, and must come from the owner’s manual or manufacturer service data.
Which TPMS system does the vehicle use?
The vehicle uses direct TPMS if each wheel contains a battery-powered pressure sensor that transmits pressure data to a receiver. The vehicle uses indirect TPMS if its ABS wheel-speed sensors infer pressure loss from changes in tire rolling circumference.
Model year alone cannot identify the system reliably. A trim level, market, wheel package, or replacement wheel may change the equipment. Check the owner’s manual, inspect the dashboard’s pressure display, search the manufacturer parts catalog by VIN, or ask a tire shop to scan the wheels before buying parts.
| Feature | Direct TPMS | Indirect TPMS | DIY consequence |
|---|---|---|---|
| Pressure measurement | Electronic sensor inside wheel | ABS wheel-speed comparison | Only direct TPMS has replaceable in-wheel sensors |
| Dashboard information | Often displays individual pressure values | Usually displays a warning without numbers | A pressure-number display suggests direct TPMS |
| Battery | Lithium battery, typically 5-10 years | No in-wheel sensor battery | Indirect TPMS avoids sensor replacement |
| Reset method | Sensor ID relearn may be required | Calibration after inflation or rotation | Follow the vehicle-specific procedure |
| Common failure | Dead battery, damaged stem, lost ID | ABS fault, calibration error, tire mismatch | Diagnosis differs substantially |
The TPMS warning threshold is commonly near 25% below the placard pressure because the United States TREAD Act required qualifying vehicles to warn drivers of significantly underinflated tires. The threshold is not a substitute for checking pressure with a gauge, and the warning may appear after temperature changes even when a leak is absent.
Can you replace an indirect TPMS sensor?
You cannot replace an indirect TPMS sensor because indirect TPMS has no pressure sensor inside the wheel. Inflate every tire to the door-jamb placard specification, correct unequal tire sizes or severe tread differences, and perform the vehicle’s TPMS calibration procedure.
Replacing ABS wheel-speed sensors is a different repair. An ABS fault can prevent indirect pressure monitoring, but a TPMS calibration reset will not repair a damaged wheel-speed sensor, wiring fault, or wheel-bearing signal problem.
Which replacement sensor should you buy?
Buy a vehicle-specific direct-fit sensor when you want the simplest installation and can verify the exact make, model, year, trim, market, and frequency. Buy a universal programmable sensor when you already own a compatible tool or plan to service several vehicles.
The sensor must match the vehicle’s communication protocol, frequency, valve configuration, and application data. Frequency alone is insufficient because a 315 MHz sensor with the wrong protocol or incorrect vehicle application may still fail to communicate.
| Sensor choice | Typical price | Programming requirement | Best use | Main risk |
|---|---|---|---|---|
| OEM sensor | $50-$100 each | Usually vehicle-ready, then relearn | Warranty-sensitive vehicles | Highest parts cost |
| Quality direct-fit aftermarket | $30-$60 each | Often pre-configured | One-car DIY repair | Catalog error or poor compatibility |
| Universal programmable | $25-$45 each | Required before installation | Multiple vehicles or shop use | Tool cannot support protocol |
| Used sensor | $5-$30 each | May require cloning or relearn | Temporary budget repair | Unknown battery life and history |
| External valve-cap monitor | $40-$150 per set | App or receiver pairing | Vehicles without factory TPMS | Different system, theft and leak exposure |
The most reliable purchase process is to record the original sensor part number, obtain the VIN application, confirm the sensor frequency and protocol, and verify the seller’s return policy. Do not assume that four identical sensors fit every wheel position or that a sensor removed from the same model will have usable battery life.
What is the difference between programming and relearning?
Programming writes the vehicle’s communication protocol and application data to a blank universal sensor. Relearning teaches the vehicle the installed sensor IDs, so programming and relearning are separate operations that some replacement sensors require.
A clone copies an original sensor ID to a new sensor, when the tool and vehicle support cloning. Cloning can avoid an ID change, but a dead original sensor cannot always provide a readable ID, and some vehicles still require a formal relearn after installation.
How do you replace direct TPMS sensors?
Replace direct TPMS sensors in eight controlled stages: identify the part, prepare the wheel, deflate the tire, separate the bead, remove the old stem, install the new service kit, reseat and test the tire, then perform the vehicle relearn.
Step 1: Confirm compatibility and program the sensor
Match the sensor to the VIN, wheel type, frequency, protocol, and intended wheel position. Program a universal sensor before installation if the manufacturer’s instructions require that sequence, and record each new sensor ID.
Checkpoint: The TPMS tool identifies the correct vehicle application and reports a successful programming result.
Common mistake: Installing a blank universal sensor and expecting the car to recognize it automatically.
Step 2: Remove and secure the wheel
Park on level, hard ground, engage the parking brake, loosen the lug nuts slightly, lift the vehicle at the approved jack point, and support it with jack stands. Remove the wheel and place it flat with the valve stem accessible.
Checkpoint: The vehicle rests securely on stands, and the wheel cannot shift during bead work.
Common mistake: Working under a vehicle supported only by a floor jack.
Step 3: Fully deflate the tire
Remove the valve cap and use a valve-core tool to remove the core. Confirm that all air has escaped before pressing on the sidewall; trapped pressure can release the bead violently.
Checkpoint: A pressure gauge reads zero, and no air exits when the sidewall is compressed.
Common mistake: Removing the stem nut while the tire remains inflated.
Step 4: Break the bead away from the sensor
Separate only the outer bead if the tire-service method permits it, and position the bead breaker several inches away from the valve stem. The tool must never press directly over the sensor body, which is mounted inside the rim near the stem.
Checkpoint: The bead drops into the wheel’s center well without bending the rim or contacting the sensor.
Common mistake: Using a C-clamp or jack arrangement that applies uncontrolled force to the sidewall, rim, or sensor. Professional tire equipment is safer for stiff, low-profile, run-flat, and heavy truck tires.
Step 5: Remove the old sensor and service the valve
Remove the external retaining nut, washer, and rubber seal as applicable, then withdraw the sensor through the bead opening. Inspect the wheel hole for corrosion, burrs, cracks, or previous sealant, and install the complete service kit rather than reusing an old grommet.
Checkpoint: The wheel hole is clean, the new seal sits correctly, and the sensor body does not contact the rim in an unintended position.
Common mistake: Reusing the old seal because the electronic sensor still appears functional.
Step 6: Tighten the retaining hardware to specification
Install the new sensor from inside the wheel and tighten the valve-stem nut with an inch-pound torque wrench. Use the exact specification for that sensor and wheel, because aluminum stems can crack or shear when a mechanic relies on feel.
Checkpoint: The stem is centered, the sensor is secure, and the nut reaches the specified torque without deformation.
Common mistake: Applying a typical 4-6 Nm value when the manufacturer specifies something different.
Step 7: Reseat, inflate, and leak-test the tire
Lubricate the bead with approved tire lubricant, inflate the tire using safe equipment, and keep hands and body parts away from the bead path. Do not exceed the tire or wheel manufacturer’s bead-seating limit, and never use explosive starting fluid or a flammable substance to seat a bead.
Set cold inflation pressure from the driver-door placard, not the maximum pressure molded into the sidewall. Spray soapy water around the valve stem and both bead seats.
Checkpoint: The bead is evenly seated, the pressure remains stable, and no bubbles form for several minutes.
Common mistake: Tightening a leaking valve nut repeatedly instead of deflating the tire and correcting a pinched or damaged seal.
Step 8: Reinstall, balance, and relearn
Install the wheel, tighten the lug nuts in a star pattern, and torque them to the vehicle specification. Have the wheel assembly balanced if the tire was removed from the bead or if weights were disturbed, then complete the required TPMS registration procedure.
Checkpoint: The warning light turns off after the specified drive cycle or the scan tool confirms all sensor IDs and pressure readings.
Common mistake: Treating a successful sensor trigger as proof that the vehicle has accepted the sensor ID.
How do you register the new sensors?
The vehicle may register new TPMS sensors through an automatic drive relearn, a dashboard-based stationary relearn, or an OBD-assisted procedure. The owner’s manual and a vehicle-specific TPMS database provide the authoritative method because the sequence varies by make, model, year, and market.
| Relearn type | Typical procedure | Typical duration | Tool requirement |
|---|---|---|---|
| Automatic drive relearn | Drive above a specified speed after fitting sensors | 10-30 minutes | Sometimes none |
| Manual stationary relearn | Use ignition, buttons, and sensor-trigger sequence | 10-20 minutes | TPMS trigger tool often required |
| OBD-assisted relearn | Trigger each sensor, then write IDs through diagnostic port | 5-15 minutes | TPMS or diagnostic tablet |
| Clone-based replacement | Install sensor with copied original ID | 5-20 minutes | Programming tool required |
| Indirect calibration | Inflate tires and select calibration menu | 2-10 minutes plus drive | Usually none |
A TPMS tool can trigger a sensor, read pressure and temperature, display battery status, and identify a sensor ID, but those functions do not guarantee vehicle registration. Test every wheel after installation and confirm the vehicle displays plausible pressure values rather than merely extinguishing the warning lamp.
How much does DIY replacement cost?
A typical four-wheel DIY replacement costs $100-$240 for sensors and service kits, plus $50-$500 for programming equipment when universal sensors are used. Professional installation commonly totals about $300-$600 for four wheels, depending on tire size, sensor brand, balancing, local labor, and whether the shop supplies the parts.
| Approach | Parts cost | Labor or tool cost | Typical total | Typical time |
|---|---|---|---|---|
| Four direct-fit sensors at home | $120-$260 | Existing equipment | $120-$260 | 2-4 hours |
| Four universal sensors at home | $100-$220 | $50-$500 tool | $150-$720 | 2-5 hours |
| Customer-supplied sensors at tire shop | $100-$240 | $80-$200 | $180-$440 | 45-90 minutes |
| Full professional replacement | $160-$400 | $140-$300 | $300-$600 | 30-75 minutes |
| One-sensor professional repair | $40-$100 | $60-$150 | $100-$250 | 20-45 minutes |
The apparent DIY saving shrinks when a shop must reseat a bead, balance the wheel, or diagnose an incompatible sensor. For one vehicle and one repair, pre-programmed direct-fit sensors plus shop installation may cost less than buying a programming tablet and bead equipment.
Should one sensor or all four be replaced?
Replace one sensor when diagnosis identifies one failed unit and the other sensors have substantially newer batteries. Replace all four when the sensors are the same age, especially after approximately 5-10 years, because battery failures often cluster within the same production period.
A sensor battery is generally sealed inside the assembly, so a low-battery sensor is replaced rather than recharged. Ask the scan tool to report each sensor’s battery condition and transmission status before authorizing four replacements.
Can the tire stay on the wheel during replacement?
A tire can sometimes remain mounted on the wheel if a technician breaks one bead and accesses the valve stem, but the process still requires controlled tire-service equipment. Complete wheel removal from the vehicle is mandatory, and some tire designs require full demounting because the sensor position prevents safe access.
The one-bead method can save demounting time on conventional passenger tires. It is unsuitable for many run-flat tires, stiff low-profile tires, oversized truck tires, corroded wheels, and wheels with difficult sensor geometry. A tire changer also reduces the chance of bead damage and provides controlled inflation for reseating.
Do not use a vehicle jack, driving force, a sharp pry bar, or a flammable substance as a substitute for proper tire equipment. The compressed-air and bead forces involved can cause severe injury even when the wheel appears small.
What mistakes cause a new TPMS sensor to fail?
Most replacement failures come from an application mismatch, an installation error, or a missing registration step rather than a defective electronic module.
- Wrong application or frequency: Confirm the exact protocol and part number. A 315 MHz sensor cannot communicate with a system designed for 433 MHz, and matching frequency alone does not establish compatibility.
- No service kit replacement: A reused grommet may leak slowly after installation. Replace the seal, washer, nut, valve core, and cap when the sensor manufacturer specifies a kit.
- Over-tightened valve nut: Excess torque can distort the seal or break the stem. Use an inch-pound torque wrench and the published specification.
- Bead-breaker contact: Keep the breaker away from the valve stem and sensor body. A crushed sensor may transmit intermittently before failing completely.
- Incorrect valve core: Use the core specified for the stem, commonly a nickel-plated core in aluminum TPMS hardware. Brass and aluminum can corrode through galvanic interaction.
- Unbalanced wheel: Sensor replacement does not preserve wheel balance if the tire bead was disturbed. Rebalance when weights or tire position change.
A practical diagnostic rule is to test the old sensor before disassembly. A TPMS scan tool can reveal whether the issue is a dead battery, absent transmission, incorrect pressure reading, or a vehicle-side fault.
Why is the TPMS light still on?
A solid TPMS light usually indicates low tire pressure, while a light that flashes for roughly 60 seconds and then remains solid usually indicates a system fault, missing sensor, incompatible ID, or failed relearn. Verify actual pressure with a calibrated gauge before diagnosing electronics.
| Light behavior | Likely cause | First action | Escalation |
|---|---|---|---|
| Solid immediately | One or more tires below placard pressure | Check and inflate all tires cold | Inspect for puncture |
| Solid after sensor work | ID not registered or pressure still low | Perform the exact relearn | Scan all sensor IDs |
| Flashes, then stays on | Communication or system fault | Trigger each sensor | Check protocol, receiver, wiring |
| Intermittent warning | Weak battery, damaged stem, temperature change | Scan sensor battery and signal | Replace failing sensor or inspect harness |
| No pressure display | Wrong sensor type or vehicle fault | Confirm direct versus indirect system | Diagnostic scan required |
Do not reset the warning repeatedly without measuring tire pressure. TPMS is a warning system, not a substitute for a monthly pressure inspection, and a reset can hide an unresolved leak until the next pressure threshold is reached.
Which situations change the DIY decision?
Winter wheel sets, spare tires, tire replacement, and electric vehicles can change the required parts and relearn process. The same vehicle may need a second set of sensors, an additional set of IDs, or a manual storage procedure for seasonal wheels.
- Winter wheels: Install compatible sensors in the second wheel set or accept a warning when that set is fitted. Some vehicles store multiple sensor IDs; others require relearning every seasonal change.
- Temporary spare: The spare may contain no sensor, a sensor that is not monitored until fitted, or a sensor that requires registration. Check the manual before relying on the spare.
- Tire replacement: Replace a sensor only if diagnosis identifies sensor failure. A new tire does not automatically require a new sensor, but the service kit should be renewed when the stem is disturbed.
- Used sensors: The purchase price is low, but battery age is unknown. A scan-tool battery test cannot always predict remaining life.
- Electric vehicles: EVs use the same direct and indirect TPMS principles, but wheel weight, tire construction, lifting points, and low-profile fitments can make tire-machine service more demanding.
- Aftermarket wheels: Confirm sensor clearance, valve-hole shape, and compatibility before mounting. A sensor that fits the electronics may physically contact the wheel or brake hardware.
The best budget strategy is usually four quality, pre-programmed direct-fit sensors when the vehicle application is verified and a shop is available for bead work and balancing. The best equipment strategy is a programmable tool only when it will service several vehicles or repeated seasonal wheel changes.
Frequently Asked Questions
Can I replace TPMS sensors without replacing the tires?
Yes, tire replacement is unnecessary, but the tire bead must be separated from the wheel enough to access the valve-mounted sensor. A tire shop can often break one bead, replace the sensor, reseat the tire, leak-test the stem, and balance the assembly without installing a new tire.
Can I drive with a failed TPMS sensor?
You can usually drive temporarily after verifying tire pressure manually, but the vehicle may not warn you about a subsequent leak. Check cold pressure at least weekly during the repair period, and repair the sensor promptly because the warning system will not provide normal protection.
Do new TPMS sensors come pre-programmed?
Some direct-fit sensors arrive configured for a specific vehicle, while universal sensors are typically blank and require programming. Pre-programming does not necessarily mean the vehicle has learned the sensor ID, so a separate drive, stationary, or OBD relearn may still be necessary.
Can a tire shop install sensors I bought online?
Many tire shops will install customer-supplied sensors, but policies differ and labor warranties may exclude outside parts. Confirm the VIN application, sensor protocol, valve configuration, installation fee, balancing charge, and return responsibility before purchasing.
How often should TPMS sensors be replaced?
Replace a sensor when its battery is depleted, its pressure reading is inaccurate, its valve stem leaks or is damaged, or the vehicle cannot detect it after correct diagnosis. A typical original sensor life is approximately 5-10 years, not a fixed replacement interval.
Is a TPMS warning light a safety inspection failure?
Inspection rules vary by jurisdiction and vehicle age. In the United States, TPMS requirements and enforcement are state-specific, so check the applicable motor-vehicle inspection authority rather than assuming a warning lamp is either always legal or always disqualifying.
The Bottom Line
Can I replace my TPMS sensors myself? Yes, if the vehicle has direct TPMS, the sensor application is verified, and the wheel can be serviced safely with proper equipment. Pre-programmed direct-fit sensors reduce electronic complexity, while universal sensors reduce parts cost only when a compatible programming tool is already available.
A tire shop is the better choice for run-flat or low-profile tires, corroded wheels, missing balancing equipment, uncertain sensor compatibility, or no safe bead-seating setup. Whether the work happens at home or professionally, finish with the correct torque, a leak test, wheel balance, verified inflation, and the vehicle-specific TPMS relearn.


