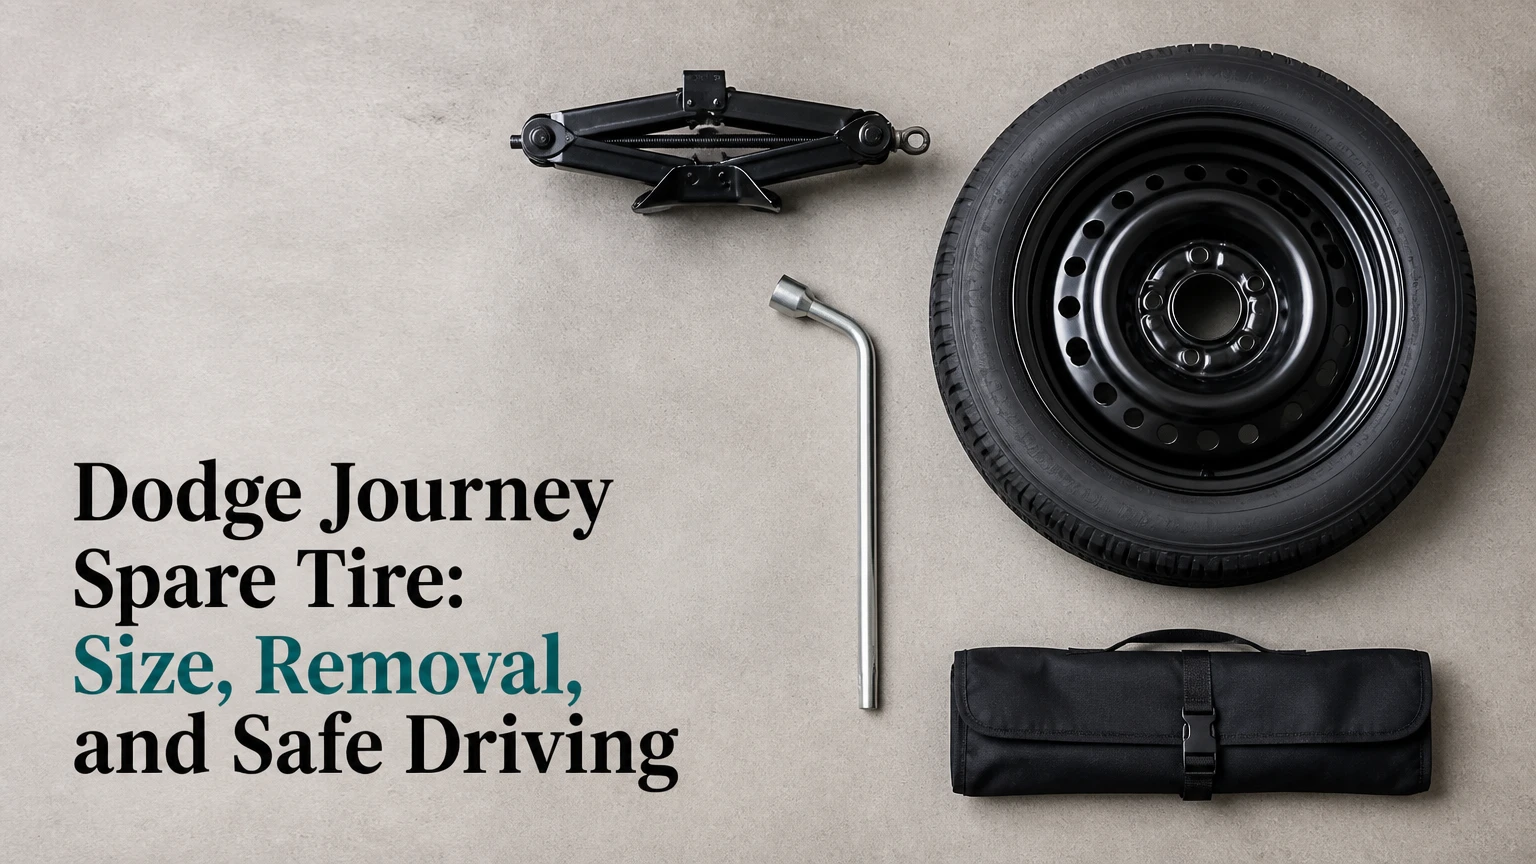
The Dodge Journey uses a temporary compact spare tire stored underneath the rear of most vehicles, where a winch and steel cable hold the wheel behind the rear bumper. Common applications use a T145/70R17 or T155/90R17 spare inflated to 60 PSI, but the exact size depends on model year and equipment, so verify the tire sidewall and owner’s manual before driving.
Key Facts at a Glance
- The Dodge Journey spare is normally mounted externally under the rear cargo area, not inside the trunk.
- The factory carrier uses a crank-operated winch, steel cable, and center-hole retainer.
- Common spare markings include T145/70R17 and T155/90R17, but these are not universal across every Journey.
- The temporary spare normally requires 60 PSI cold inflation, printed on its sidewall or the vehicle information label.
- A compact spare is for temporary use, generally limited to 50 mph and the shortest practical distance to a tire shop.
- A full-size tire usually does not fit safely in the factory underbody hoist because clearance varies around the exhaust and suspension.
What Is the Dodge Journey Spare Tire?
The Dodge Journey spare tire is a temporary-use compact tire, commonly called a donut, mounted on a narrow steel wheel. Its smaller tread width reduces weight and storage space, while its rolling diameter is selected to remain close enough to the normal tire diameter for short, controlled driving.
The underbody location keeps the cargo floor available for passengers and luggage. It also exposes the carrier, cable, retainer, and winch opening to water, road salt, mud, and impact debris. That exposure explains why a Journey can have a usable spare but an unusable hoist.
A compact spare is not a second set of tires. The tire has a different construction, tread width, speed rating, and handling response from the road tires. Steering feel changes immediately, and braking traction can decrease on wet, icy, or loose surfaces.
Which Spare Size Fits a Dodge Journey?
The commonly listed Journey temporary-spare sizes are T145/70R17 and T155/90R17. The correct choice depends on the vehicle’s model year, drivetrain, wheel package, brake clearance, and original equipment specification, so a generic online listing is not enough evidence of fit.
| Marking | Typical meaning | Approximate overall diameter | Verification needed |
|---|---|---|---|
| T145/70R17 | Temporary tire, 145 mm width, 70-series profile, 17-inch wheel | 26.9 inches | Sidewall, VIN catalog, owner’s manual |
| T155/90R17 | Temporary tire, 155 mm width, 90-series profile, 17-inch wheel | 28.9 inches | Sidewall, VIN catalog, owner’s manual |
| 225/65R17 | Common full-size Journey road-tire example | 28.5 inches | Door placard and existing tire |
| 225/55R19 | Common 19-inch road-tire example | 28.7 inches | Door placard and existing tire |
The two compact sizes are not interchangeable assumptions. A T145/70R17 is substantially smaller in diameter than a T155/90R17, even though both use a 17-inch wheel. Confirm the complete marking, wheel bolt pattern, center bore, offset, and brake clearance before purchasing.
Does a 17-Inch Donut Fit a Journey With 19-Inch Wheels?
A 17-inch temporary wheel can fit a Journey equipped with 19-inch road wheels when Dodge specified that spare for the vehicle configuration and the wheel clears the brake assembly. The spare’s outside diameter, not its rim diameter alone, determines how closely it matches the road tires.
Do not substitute a random 17-inch wheel. A wheel can share a tire diameter while failing because of bolt pattern, center bore, offset, stud engagement, or front-brake clearance. Test-fitting the wheel before an emergency is safer than discovering a clearance problem beside a highway.
Where Is the Spare Tire and How Does the Winch Work?
The Journey spare normally sits beneath the rear of the vehicle, behind the rear bumper and below the cargo floor. A removable access cap in the rear storage area exposes the winch drive, allowing the jack handle or supplied extension to lower and raise the wheel.
The carrier has four working parts:
- Winch drive: The internal gear mechanism receives the crank tool.
- Steel cable: The cable carries the wheel between the raised and lowered positions.
- Retainer plate: The plate passes through the wheel’s center opening.
- Underbody cradle area: The tire rests against the vehicle’s underside when fully raised.
The winch is the most failure-prone component because corrosion can seize its gears or weaken the cable. A spare that has never been lowered may be impossible to retrieve after years of salt exposure.
What Tools Are Needed?
Use the factory jack handle, extension rods, lug wrench, wheel chock, gloves, flashlight, and a torque wrench if available. A penetrating lubricant can help with surface corrosion, but it will not repair a broken cable or a seized internal gear.
| Tool or material | Typical quantity | Purpose | Important limitation |
|---|---|---|---|
| Factory jack handle and extensions | 1 set | Turns the hoist drive | Do not use a long breaker bar |
| Lug wrench | 1 | Removes lug nuts | Confirm the socket fits before travel |
| Wheel chock | 1 or 2 | Prevents vehicle movement | A transmission in Park is not a substitute |
| Work gloves and flashlight | 1 set each | Protect hands and inspect cable | Avoid loose clothing near moving parts |
| Penetrating lubricant | 1 aerosol can | Treats accessible corrosion | Several hours of soaking may be required |
| Torque wrench | 1 | Verifies final lug torque | Use the vehicle specification, not guesswork |
How Do You Remove the Underbody Spare?
Lowering and removing a Dodge Journey spare normally takes 15-30 minutes when the winch operates freely. Park on level, firm ground, secure the vehicle before reaching underneath it, and keep every body part away from the space below a suspended or partly supported wheel.
Step 1: Secure the Journey
Switch on the hazard lights, move the transmission to Park, apply the parking brake, and place chocks on the opposite side from the damaged tire. If traffic, darkness, soft ground, or a steep shoulder makes the work unsafe, call roadside assistance instead.
Success checkpoint: The vehicle cannot roll when you push lightly against it.
Common mistake: Starting the lift before controlling traffic and vehicle movement.
Step 2: Open the Rear Storage Area
Open the liftgate and remove cargo that blocks the rear floor panel. Lift the floor cover and locate the small plastic cap or access opening in the storage-bin floor.
Success checkpoint: The winch drive opening is visible and aligned with the supplied crank tool.
Common mistake: Searching beside the rear bumper for an exposed crank nut instead of checking inside the cargo floor.
Step 3: Assemble the Crank Handle
Join the jack-handle extensions according to the factory tool layout. Fit the socket end fully over the winch drive before applying force.
Success checkpoint: The tool turns the winch without slipping or leaning against the plastic trim.
Common mistake: Using pliers or an oversized socket that rounds the drive or damages the access opening.
Step 4: Lower the Wheel
Turn the winch counterclockwise while watching the cable and wheel from a safe position. Continue until the tire reaches the ground and the cable has enough slack for the retainer to pass through the wheel center.
Success checkpoint: The cable is slack, and the wheel can be pulled from beneath the rear bumper.
Common mistake: Stopping when the tire first touches the ground, which leaves the retainer trapped under tension.
Step 5: Release the Retainer
Pull the wheel outward as far as the cable allows. Tilt the metal retainer so its narrow dimension can pass through the wheel’s center hole, then separate the wheel from the cable assembly.
Success checkpoint: The retainer is fully outside the wheel and the cable is not kinked or frayed.
Common mistake: Pulling hard on the cable or dragging the retainer across the wheel opening.
Step 6: Install the Replacement Wheel
Follow the jack instructions for the specific Journey year. Lift only at the approved jacking point, keep the jack on firm ground, and install the temporary wheel with the lug nuts hand-tight before lowering the vehicle.
Tighten the lug nuts in a star pattern after the tire contacts the ground. Use the torque specification in the owner’s manual or service information, because torque varies by wheel and year.
Success checkpoint: The wheel sits flush, all lug nuts engage correctly, and the vehicle is stable after lowering.
Common mistake: Placing any part of the body under a vehicle supported only by the emergency jack.
What Pressure, Speed, and Distance Are Safe?
A Dodge Journey compact spare typically requires 60 PSI cold, with the exact value printed on the spare sidewall. The usual temporary-spare limit is 50 mph, or 80 km/h, and the practical distance should be only what is needed to reach a safe repair location.
| Operating factor | Typical compact-spare limit | Why it matters | Driver action |
|---|---|---|---|
| Cold inflation pressure | 60 PSI | Underinflation overheats the small tire | Check with a calibrated gauge |
| Maximum speed | 50 mph | Heat and handling worsen above the rating | Drive slower in rain or traffic |
| Recommended distance | Shortest route to repair | Temporary tires have limited durability | Treat 50 miles as an upper emergency limit |
| Inspection interval | Every 6 months | Small tires lose pressure during storage | Check before long trips |
| Tire age | Avoid older than 6-10 years | Rubber degrades without tread wear | Read the DOT date code |
The 50-mile figure is not a guarantee of tire life. A freshly inflated spare traveling 20 miles on a dry road is a different risk from an underinflated, sun-aged tire traveling 50 miles through rain.
Avoid hard cornering, abrupt braking, heavy cargo, standing water, and prolonged high-speed driving. The temporary wheel can also change the behavior of the anti-lock braking system and traction-control system.
Should the Compact Spare Go on the Front or Rear?
A Journey with a front flat should usually receive the temporary spare on the rear when road conditions are slippery or the spare differs substantially in diameter. Move a matching full-size rear tire to the front, then install the compact spare at the rear, if the vehicle’s instructions and tire fitment permit that arrangement.
The front axle controls steering, much of the braking response, and power delivery on a front-wheel-drive Journey. A narrow temporary tire on the front can reduce steering grip and acceleration traction. On an all-wheel-drive model, a diameter mismatch can also create drivetrain stress, so consult the owner’s manual before relocating tires.
Can You Use a Full-Size Spare or an Inflator Kit?
A full-size Journey tire is usually a cargo-area solution rather than an underbody-hoist replacement. The factory carrier was designed around a compact wheel, and a larger tire may contact the exhaust, suspension, heat shields, or road surface.
An inflator and sealant kit is useful only for a repairable tread puncture. It cannot repair a sidewall cut, bent wheel, separated tread, blowout, or tire that has come off the bead.
| Option | Typical size or capability | Storage position | Best use | Main limitation |
|---|---|---|---|---|
| OEM compact spare | T145/70R17 or T155/90R17 | Underbody hoist | Short trip to repair shop | 50 mph temporary use |
| Full-size road tire | Often 225/65R17 or 225/55R19 | Cargo area | Normal-distance replacement | Uses luggage space |
| Inflator and sealant | 12-volt compressor, puncture sealant | Cargo compartment | Small tread puncture | No blowout or sidewall repair |
| Roadside assistance | Professional recovery vehicle | No onboard tire required | Unsafe shoulder or failed hoist | Waiting time and service cost |
A full-size spare can be more convenient for rural driving, but carrying it inside the Journey reduces cargo capacity and may require securing a heavy wheel against movement. Never place an unrestrained tire where it can strike occupants during a collision.
Why Will the Spare Tire Not Come Down?
A Journey spare that will not lower usually has a corroded winch, a damaged cable, a trapped retainer, or rubber bonded to the underbody support. The correct remedy depends on whether the crank turns, whether the cable moves, and whether the wheel separates from the vehicle.
The Winch Nut Will Not Turn
Spray penetrating lubricant into the accessible drive opening and allow several hours for it to work. Apply moderate hand force with the factory handle, alternating slightly in each direction, but do not attach a long pipe or impact tool that can break the drive or twist the cable.
If the gear remains frozen, a repair facility should access the hoist from below. A seized mechanism often costs less to replace than a roadside extraction performed with improvised cutting tools.
The Winch Turns but the Wheel Stays Up
A turning crank with no visible wheel movement can indicate a stripped gear, disconnected cable, cable wind-up, or tire rubber stuck to the body. Have one person operate the crank while another watches from the side, never directly underneath the tire.
A controlled downward pressure from a wooden lever may release bonded rubber, but keep hands and head outside the drop zone. Do not pry against brake lines, exhaust components, fuel lines, plastic shields, or the cable itself.
The Cable Is Frayed or Broken
A frayed cable is a replacement condition, not a lubrication condition. Do not drive with the wheel hanging loosely or supported by a damaged carrier, because vibration can release the wheel into traffic.
A professional may need to support the tire, cut the cable with suitable equipment, remove the failed hoist, and install a new carrier. The vehicle must remain safely supported throughout that work.
The Retainer Will Not Pass Through the Wheel
Lower the wheel until the cable is completely slack, then rotate the retainer through the center opening. Dirt, a bent retainer, an aftermarket wheel, or a mismatched spare can prevent removal.
Never cut a tight cable while the tire is suspended. A released wheel can fall with enough force to injure a person or damage the bumper and exhaust.
How Much Does Replacement Cost?
Typical replacement cost for a Journey compact spare is $100-$200 for a new tire and wheel assembly, while a salvage-yard assembly may cost $50-$100 if its age, pressure, and fitment are verified. A replacement hoist commonly costs $60-$120 for the part, with roughly $100-$200 in labor.
| Repair or purchase | Typical parts cost | Typical labor or added cost | Time range |
|---|---|---|---|
| New compact spare assembly | $100-$200 | Mounting may add $20-$40 | 30-60 minutes |
| Used salvage-yard spare | $50-$100 | Mounting and inspection may add $20-$40 | 30-60 minutes |
| Replacement hoist assembly | $60-$120 | $100-$200 labor | 1-1.5 hours |
| New temporary tire only | $70-$150 | $20-$40 mounting | 30-45 minutes |
| Professional seized-carrier extraction | $100-$300 typical | More for cutting or towing | 1-3 hours |
Prices vary by region, supplier, model year, and whether the carrier has rusted mounting hardware. A cheap used donut is poor value if the DOT date indicates severe aging or the wheel has bent from an earlier impact.
What Should You Check Before Buying a Replacement?
Match the complete tire marking, wheel bolt pattern, center bore, offset, load rating, and brake clearance. Inspect the sidewall for cracking, the tread for flat spots, and the wheel for bent flanges or elongated lug holes.
Read the four-digit DOT date code. The first two digits identify the production week, and the final two identify the production year, such as 2319 for the 23rd week of 2019. A stored tire can age even when its tread appears unused.
Also confirm the replacement retainer hole accepts the Journey carrier. A correct tire mounted on an incompatible wheel will not solve a hoist problem.
How Do You Prevent Another Hoist Failure?
Lower the spare completely at least once each year, preferably before winter travel, and inspect the cable, retainer, winch drive, and mounting points. Clean road salt from accessible components and use a lubricant suitable for the mechanism without contaminating the tire or brake parts.
Keep the spare at its specified pressure, usually 60 PSI, and record its age. Check the winch after severe winter driving, deep mud, flooding, or an underbody impact, because corrosion and deformation can progress without visible symptoms.
An experienced roadside rule is simple: test the carrier before you need it. Finding a seized hoist in a driveway is inconvenient; finding one on a dark shoulder turns a tire change into a recovery call.
Expert Rules That Prevent Common Mistakes
- Pressure beats appearance: A donut can look fully inflated while losing enough pressure to overheat. Use a gauge rather than judging by hand.
- Diameter matters on AWD: Four-wheel-drive and all-wheel-drive systems can react badly to unequal rolling circumferences. Follow the Journey manual instead of assuming a temporary spare is harmless.
- The hoist deserves its own service interval: Replacing the tire without testing the carrier leaves the original failure point untouched.
- Do not use tire sealant as a universal substitute: Sealant can contaminate a TPMS sensor and cannot restore a damaged sidewall or wheel.
- Cargo security remains a safety issue: A full-size spare inside the passenger compartment must be restrained with a rated tie-down.
Frequently Asked Questions
Does Every Dodge Journey Come With a Spare Tire?
No, equipment varies by model year, trim, market, and original purchaser configuration. Some Journeys have a compact spare and mechanical jack, while others may have an inflator and sealant kit. Inspect the rear storage compartment and underbody area, then verify the equipment list through the vehicle identification number.
Does the Dodge Journey Have a Tire Pressure Monitoring System?
Most Dodge Journeys use tire-pressure sensors associated with the wheels, but sensor behavior and relearn procedures vary by year. After installing a spare, the warning lamp may remain illuminated because the temporary wheel may not contain a compatible sensor. Follow the owner’s manual and check pressure manually.
Can I Leave the Compact Spare Installed Overnight?
A compact spare can remain installed overnight when the Journey is parked securely, the tire is correctly inflated, and the vehicle has no stability or drivetrain warning. It should still be replaced promptly, because temperature changes, traffic exposure, and the temporary tire’s limited construction do not make it suitable for routine driving.
Is a Used Journey Donut Safe to Buy?
A used Journey donut can be safe when its complete size marking, wheel fitment, load rating, tread, sidewall, and DOT date are verified. Reject any tire with cracks, bulges, exposed cords, severe flat spotting, or a date that places it beyond the manufacturer’s recommended service life.
What If the Spare Is Missing From the Vehicle?
Buy a complete, vehicle-matched compact spare, jack, lug wrench, handle extensions, and retainer-compatible wheel rather than purchasing only a tire. Test the underbody hoist after installation. A replacement wheel without the correct carrier hardware may leave the Journey unable to transport the spare securely.
The Bottom Line
The Dodge Journey spare tire is usually a 17-inch temporary donut mounted under the rear of the vehicle on a winch-and-cable carrier. Confirm whether your vehicle requires T145/70R17 or T155/90R17, inflate the tire to the marked 60 PSI when cold, and restrict driving to 50 mph and the shortest route to repair.
The most valuable maintenance step is lowering the spare before an emergency. Inspect the cable and retainer annually, replace aged or damaged rubber, and treat a seized winch as a mechanical repair rather than forcing it with improvised tools. Knowing the Dodge Journey spare tire’s size is only half the solution; confirming that the hoist works is what makes the spare useful.


